Hi everyone!
This installment of my Anna Coronation costume progress will be detailing how I drafted the skirt and the designs for the embroidery. There is a bit of math involved so I will try to be clear and concise!
Anna’s skirt is made up of a series of box pleats. A box pleat is formed by making folds in the fabric like this:
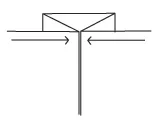
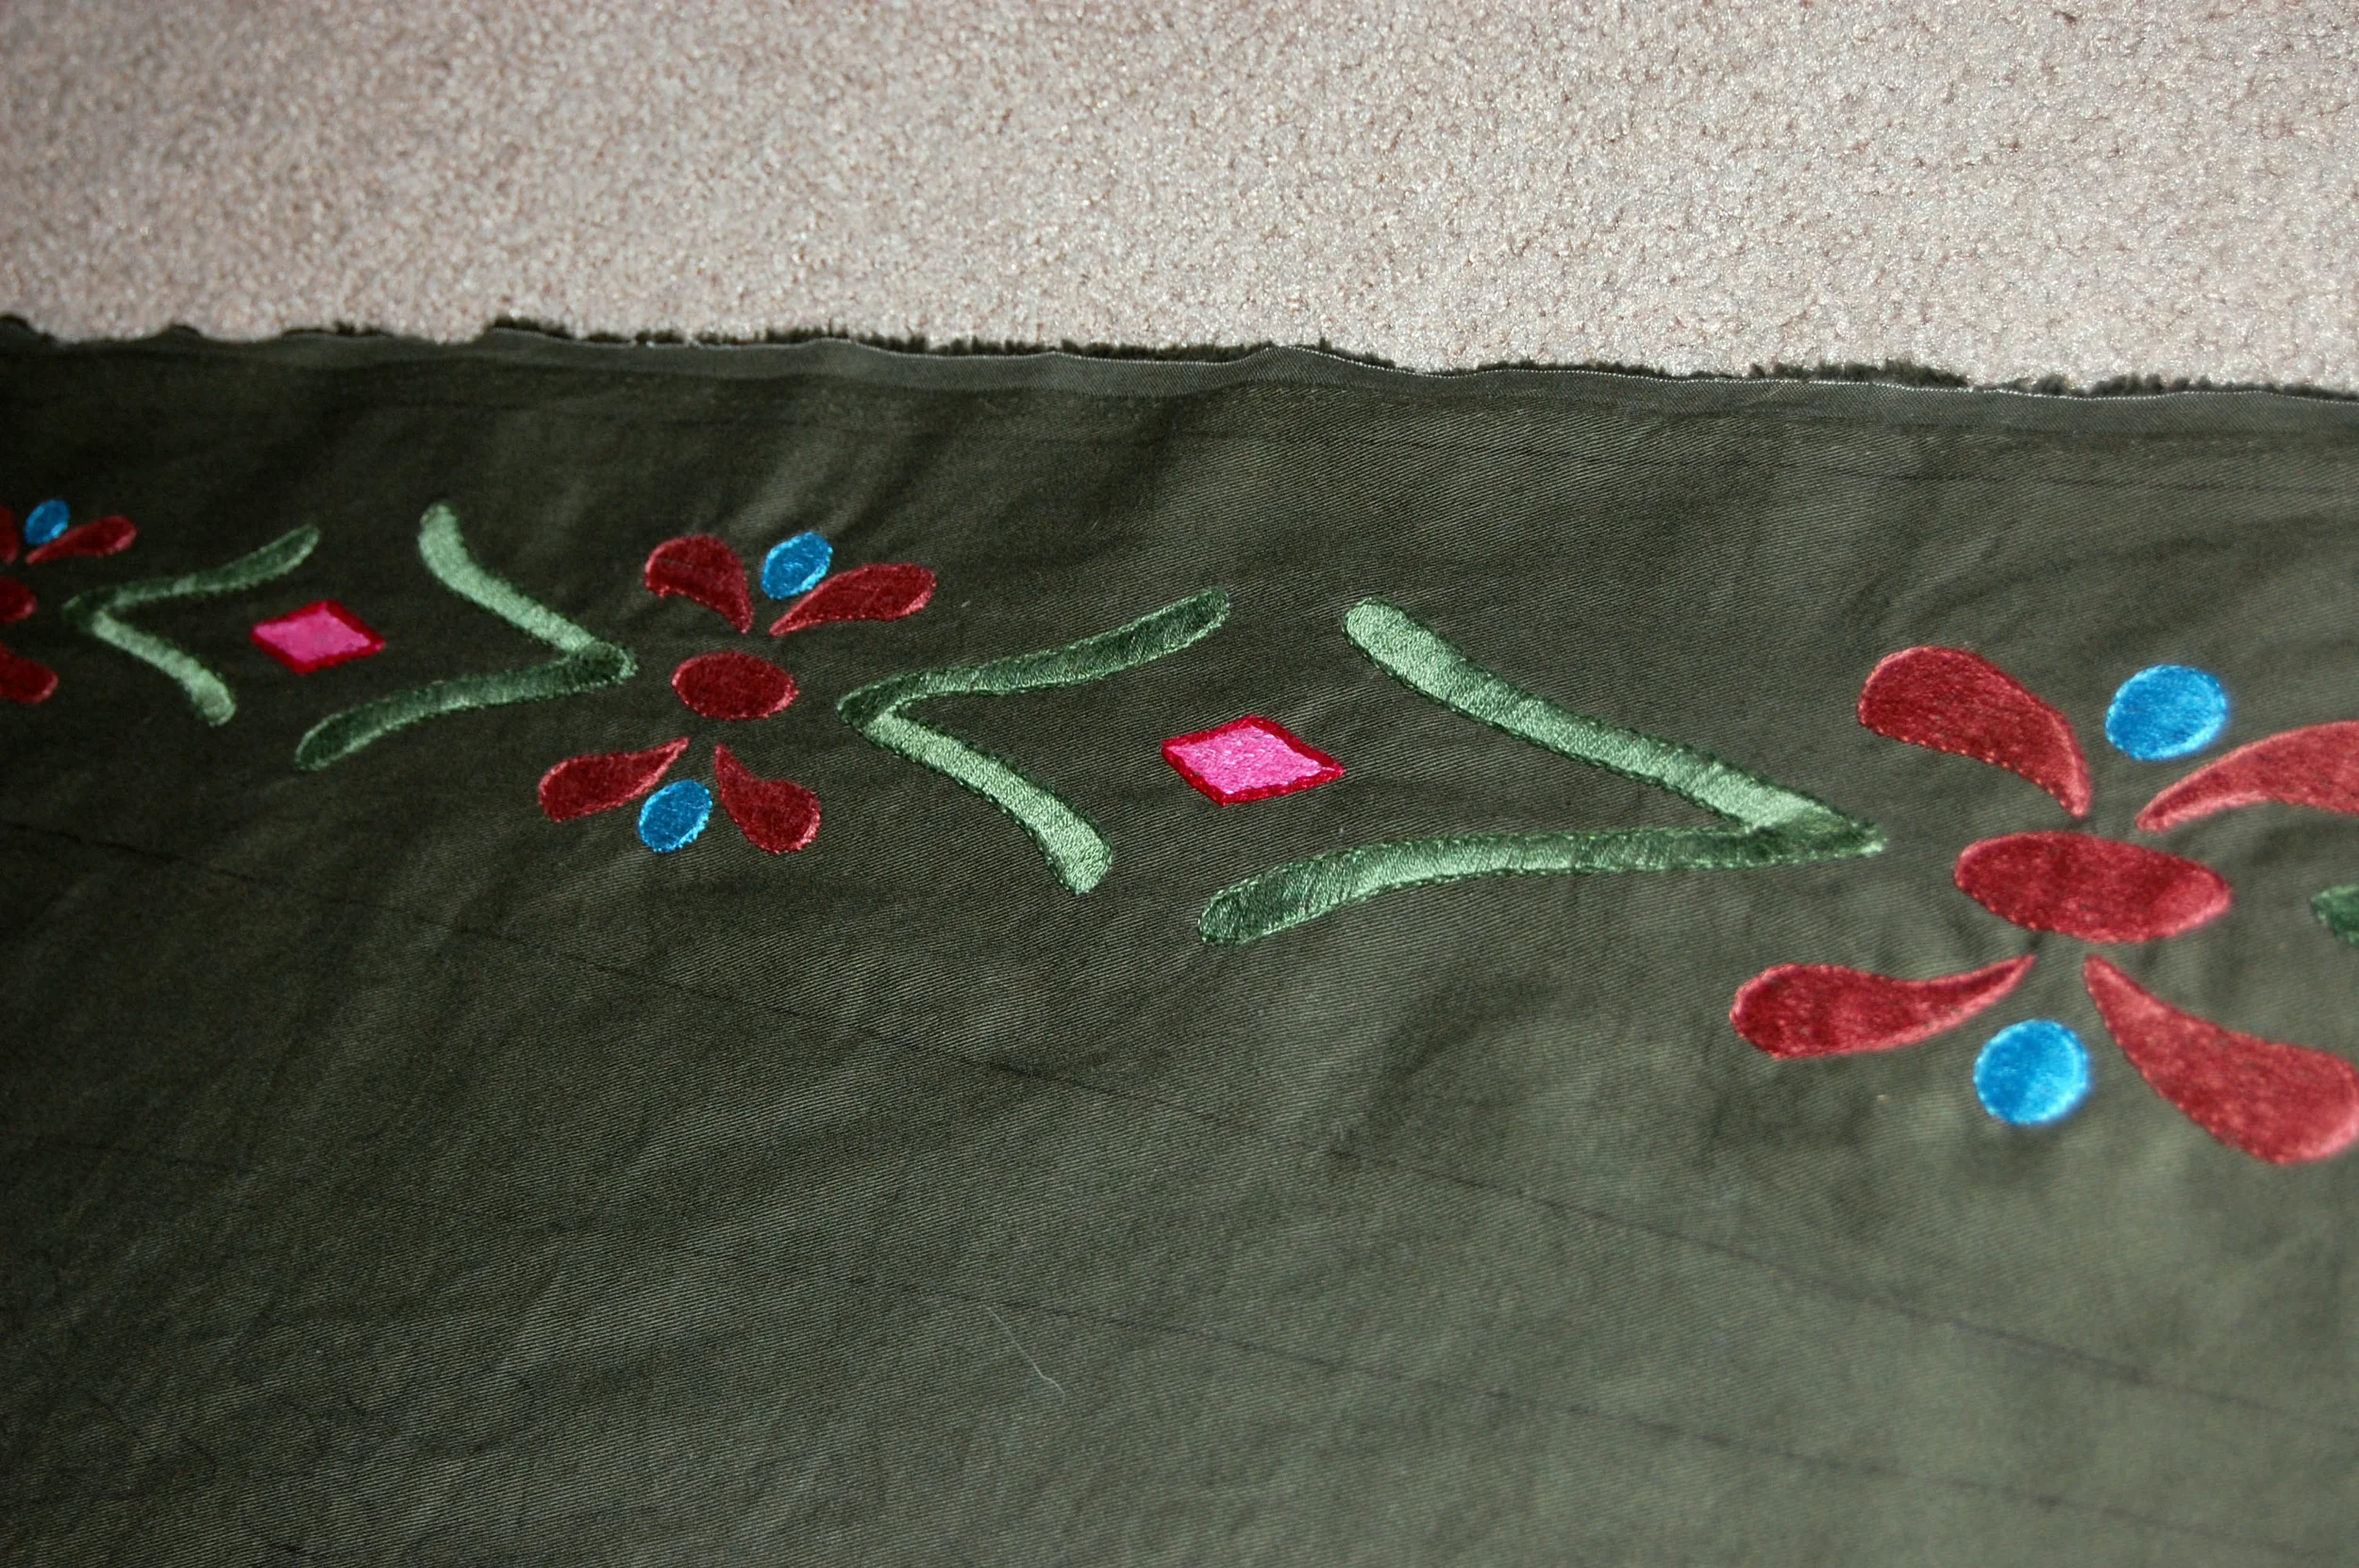
Anna's skirt is made of three different colors of fabric, a forest green for the embroidered panels, a lighter lime green edging, and a dark green inside pleat.

You will need four pattern pieces for the skirt:
1. The embroidered panel
2. Light green side panel
3. Inside underlay for the pleat
4. Back of the pleat
Now in order to draft the skirt we will need a few measurements to start. The first you will need is your measurement around the place on your body where you want your skirt to start. If you are planning to wear any kind of shapewear or corset underneath your costume you should get this measurement while you are wearing the shapewear. I am going to have my skirt start slightly below my natural waistline. The finished measurement I want plus a little bit of ease (I added about an inch) is 31.5.
You will also want the finished length of your skirt. If you are going to wear a petticoat and flats (which Anna wears in the movie) then measure the distance from your desired waistlineto the floor, over the petticoat. Record this. My skirt will be 40 inches long. We will add seam allowances and hem depth later.
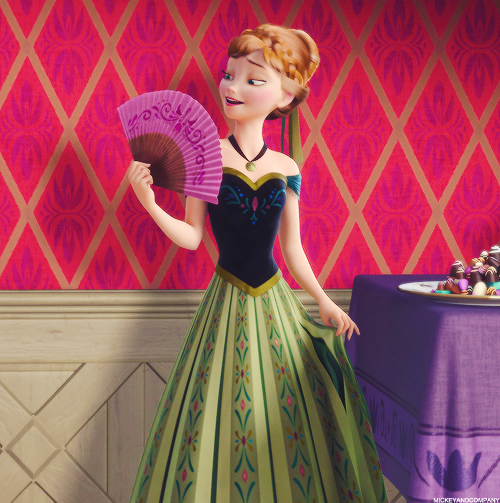
Now determine how many pleats you want. I based my count on this image and decided on 12 panels total, three for each quadrant of my body. This will also allow me to install a zipper at center back inside of the center back pleat.
Now we are going to start by drafting pieces 1 and 2 at the same time. When folded up, the 12 panels should equal the width of our waist. So to figure out how big each panel should be we can take out waist measurement and divide it by 12.
31.5 / 12 = 2.625 or 2 5/8
Each panel (which includes piece 1 with two piece 2's next to it, should measure 2.625" total across the top.
Now we need to know how wide the panel should be at the bottom. If you have your petticoat take a large piece of string or a measuring tape and measure around the width of your petticoat to estimate how wide the skirt should fall when worn. I made mine 120" so each of my panels would need to be 10" wide at the bottom.
Now take a large piece of paper that is at least 5 inches longer than your desired length and 5 inches wider than your desired width and fold it in half lengthwise. Take the top width of your panel and divide it by two. (2.625/2=1.3) and draw a perpendicular line at the top edge of your paper that equals this distance. Measure along the foldline your desired length of your skirt. From this spot draw a line that is half the desired width of the bottom of your panel (in my case 5 inches). Connect these lines.
Now looking at the picture of Anna, the width of the light green panel is not the same at the top as it is on the bottom. However it should be noted that the width of the two side panels equals the width of the center panel. So for example if the bottom of my panels is a total of 10 inches, the center of the panel should be 5 inches (where the embroidery will go) and on each side there should be a 2.5" green stripe. At the top my green stripe is 5/8" wide and tapers to 2.5" wide at the bottom. Draw this on the inside of your panel that you drew.
Now cut out your panel without cutting out the green striped section. Keeping the piece folded, trace it onto another piece of paper. This newly traced piece will now become piece 3, the inside of the pleat. Open up your folded outer pleat and trace around it on another sheet of paper, this is now piece 4, the back of your pleat. Now you can cut the green striped section off (you should end up with two since your piece is folded in half, I just discarded one) I decided to just combine piece 3 and 4 so when I cut out piece 3 I will just fold piece 4 in half. You can make two separate pieces or just make one.
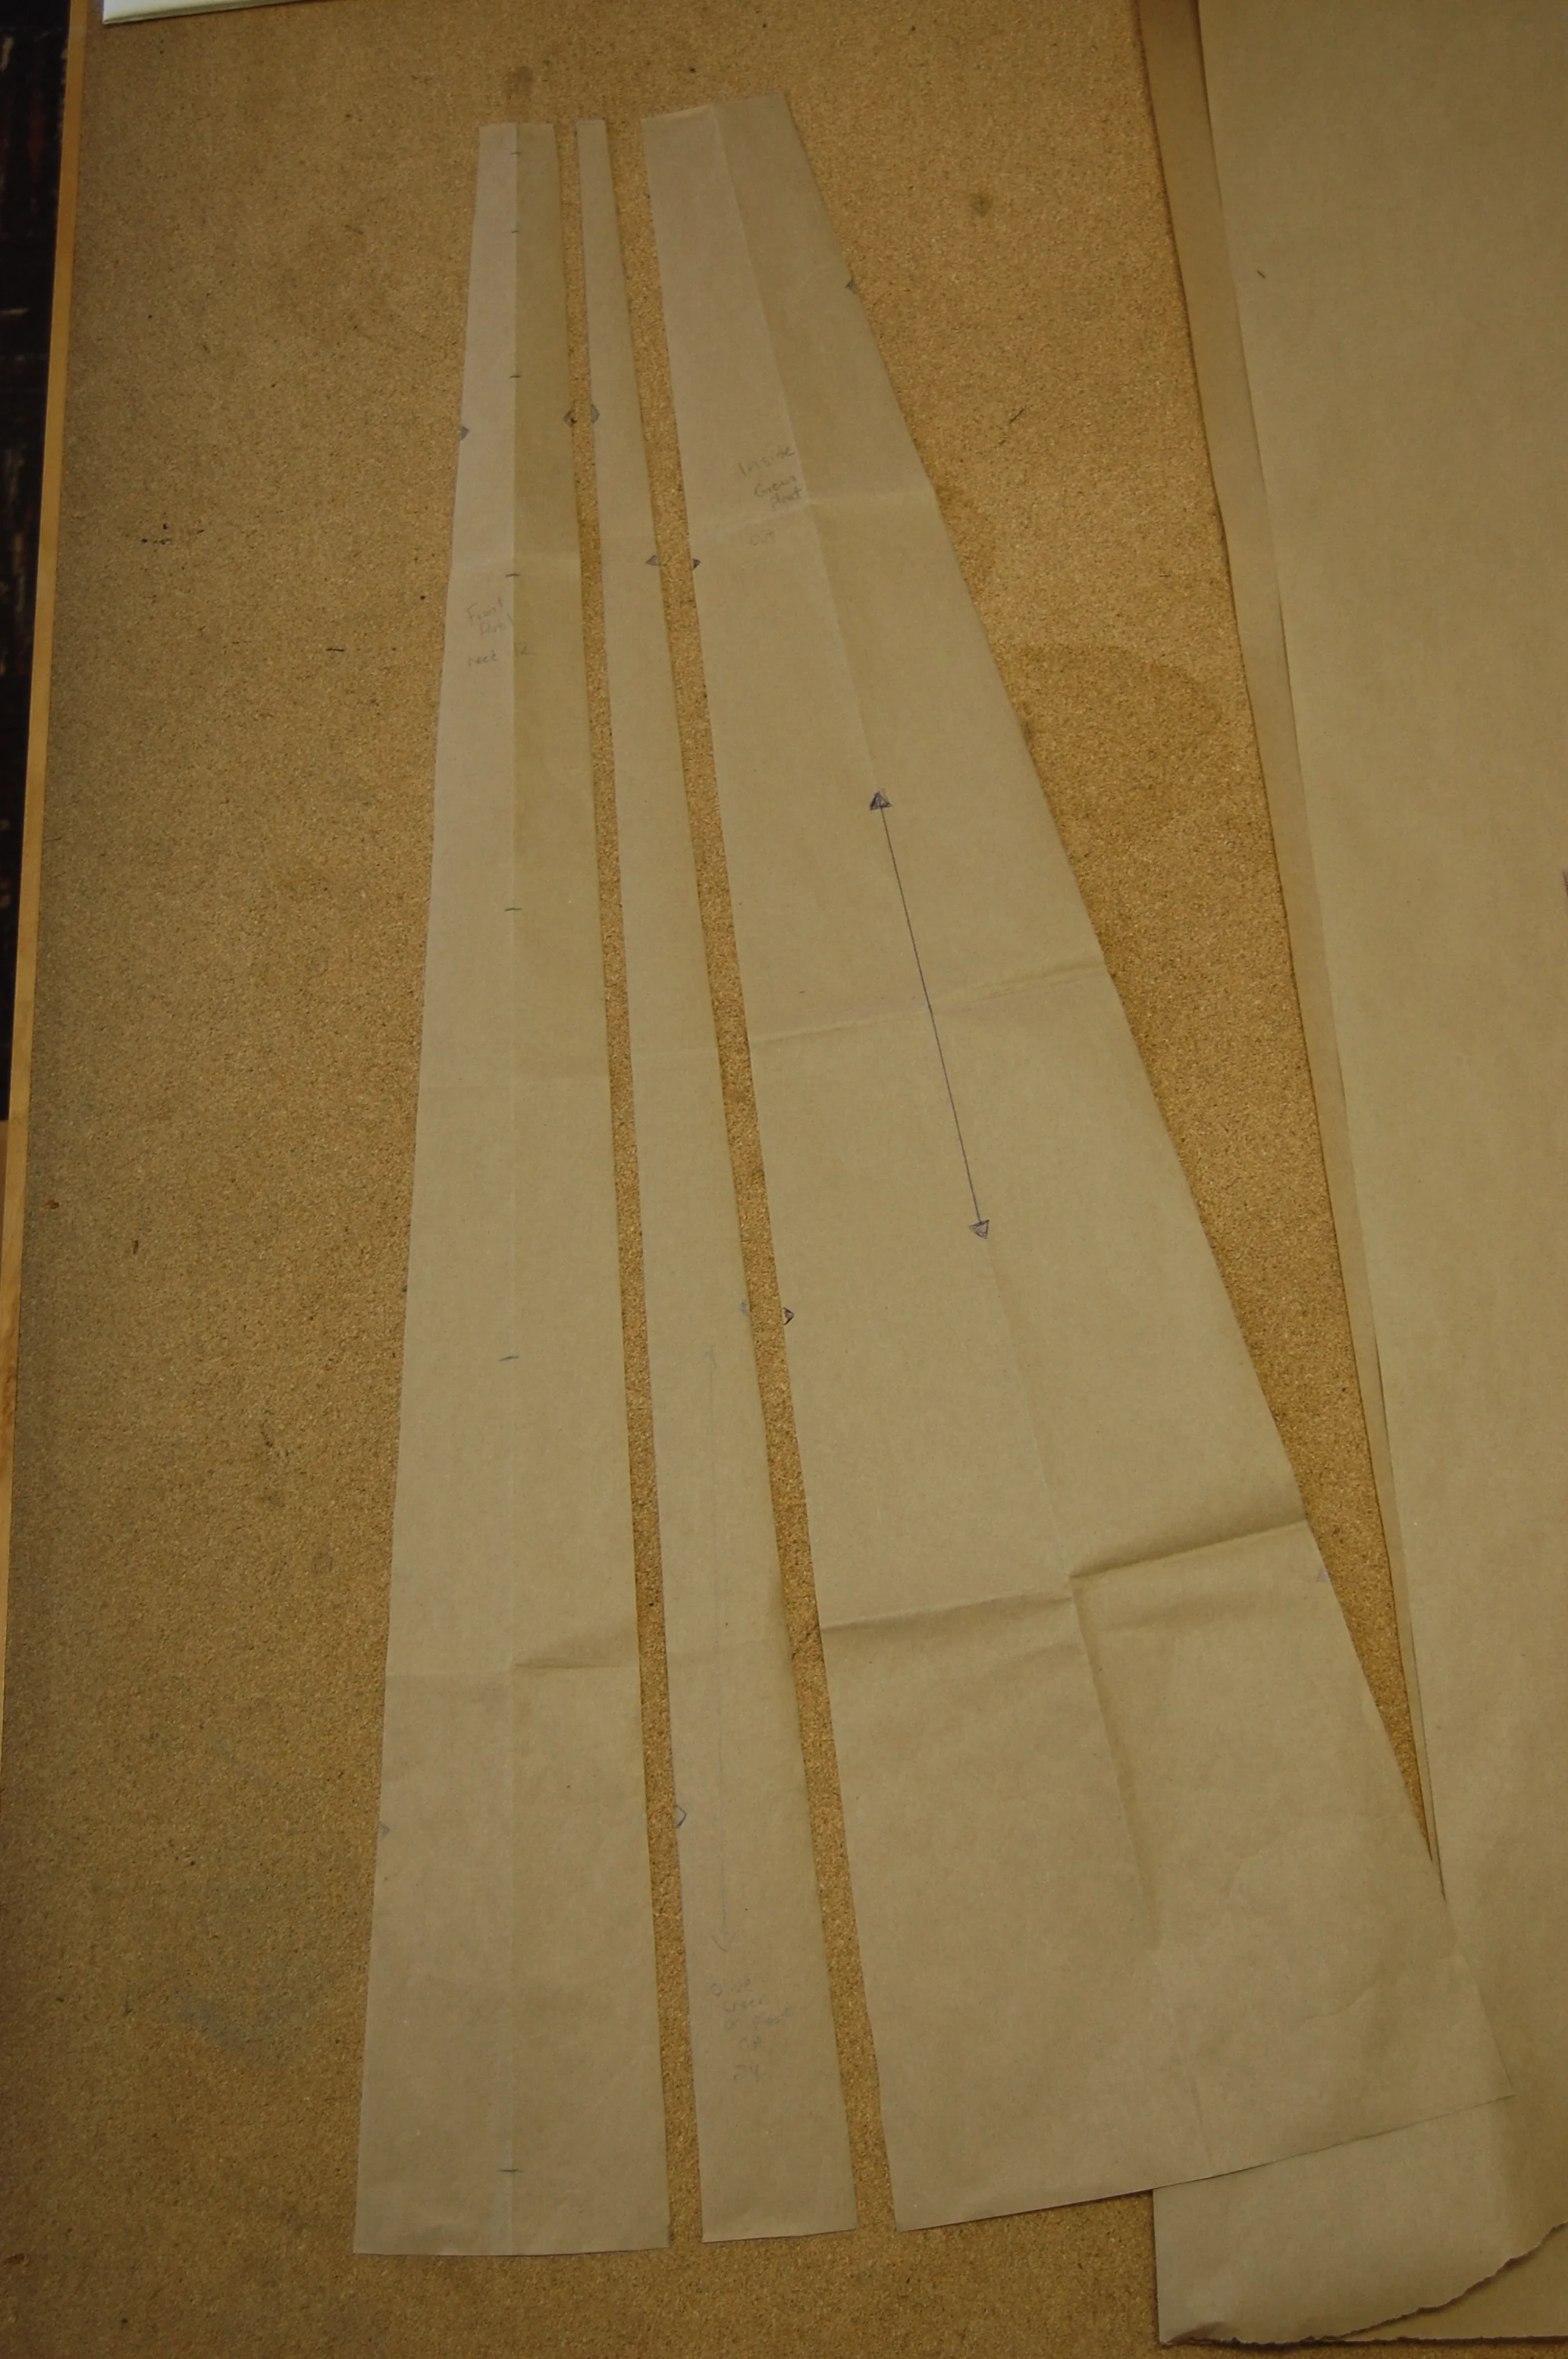
I added some notches onto my pattern so I can keep track of which panel gets sewn to which when I go to put it together. It is very important to note that these pieces DO NOT have seam allowances or hem allowances included. You can retrace them and add seam allowances, cut some extra paper and tape them on, or mark the seam allowances directly onto your fabric.
Now here comes to tough part- figuring out the placement of the motifs on the skirt panels!
I think one of the most important things to consider when making cosplay costumes is taking the proportion of the original design and scaling it to your body correctly. The way I like to do this is to measure a reference image and scale it up to fit my desired garment measurements. Looking at the photos of Anna from the movie the motifs on her skirt are not the same size at the top as they are at the bottom.
I wanted the proportion of my motifs to reflect the proportion of the motifs in the original reference. In order to figure this out I used this image for reference.
From here I measured the length of the skirt in the picture and figured out what percentage each motif was of the length. For example, in the picture I measured, her skirt measured three inches total, the length between each diamond shape starting from the top was 1', then 5/8" then 1/2", then 1/3" then 1/4" then 1/8" So when I did the math the first motif made up 33% of the total length, the second made up 20.8%, the third 16.67%, the fourth 11.11%, the fifth 8.33% and fifth 4.17%. I was then able to take these percentages and figure out the total length of each motif by multiplying these percentages by my 40" length. I marked them on my original pattern piece and wrote each distance on the pattern.
Now from this point your prefered method for making the motifs may differ. Since this costume is fairly popular, there are a number of people who have already posted files of what Anna's embroidery looks like up close. Dokitude is one of those people! She posted up vector files of the basic embroidery for Anna's dress. They need to be sized appropriately in order to be ready to use. I do not have an embroidery machine, so I used her file as a basis for creating my own pattern in Adobe Illustrator that I could print out and trace onto my fabric.
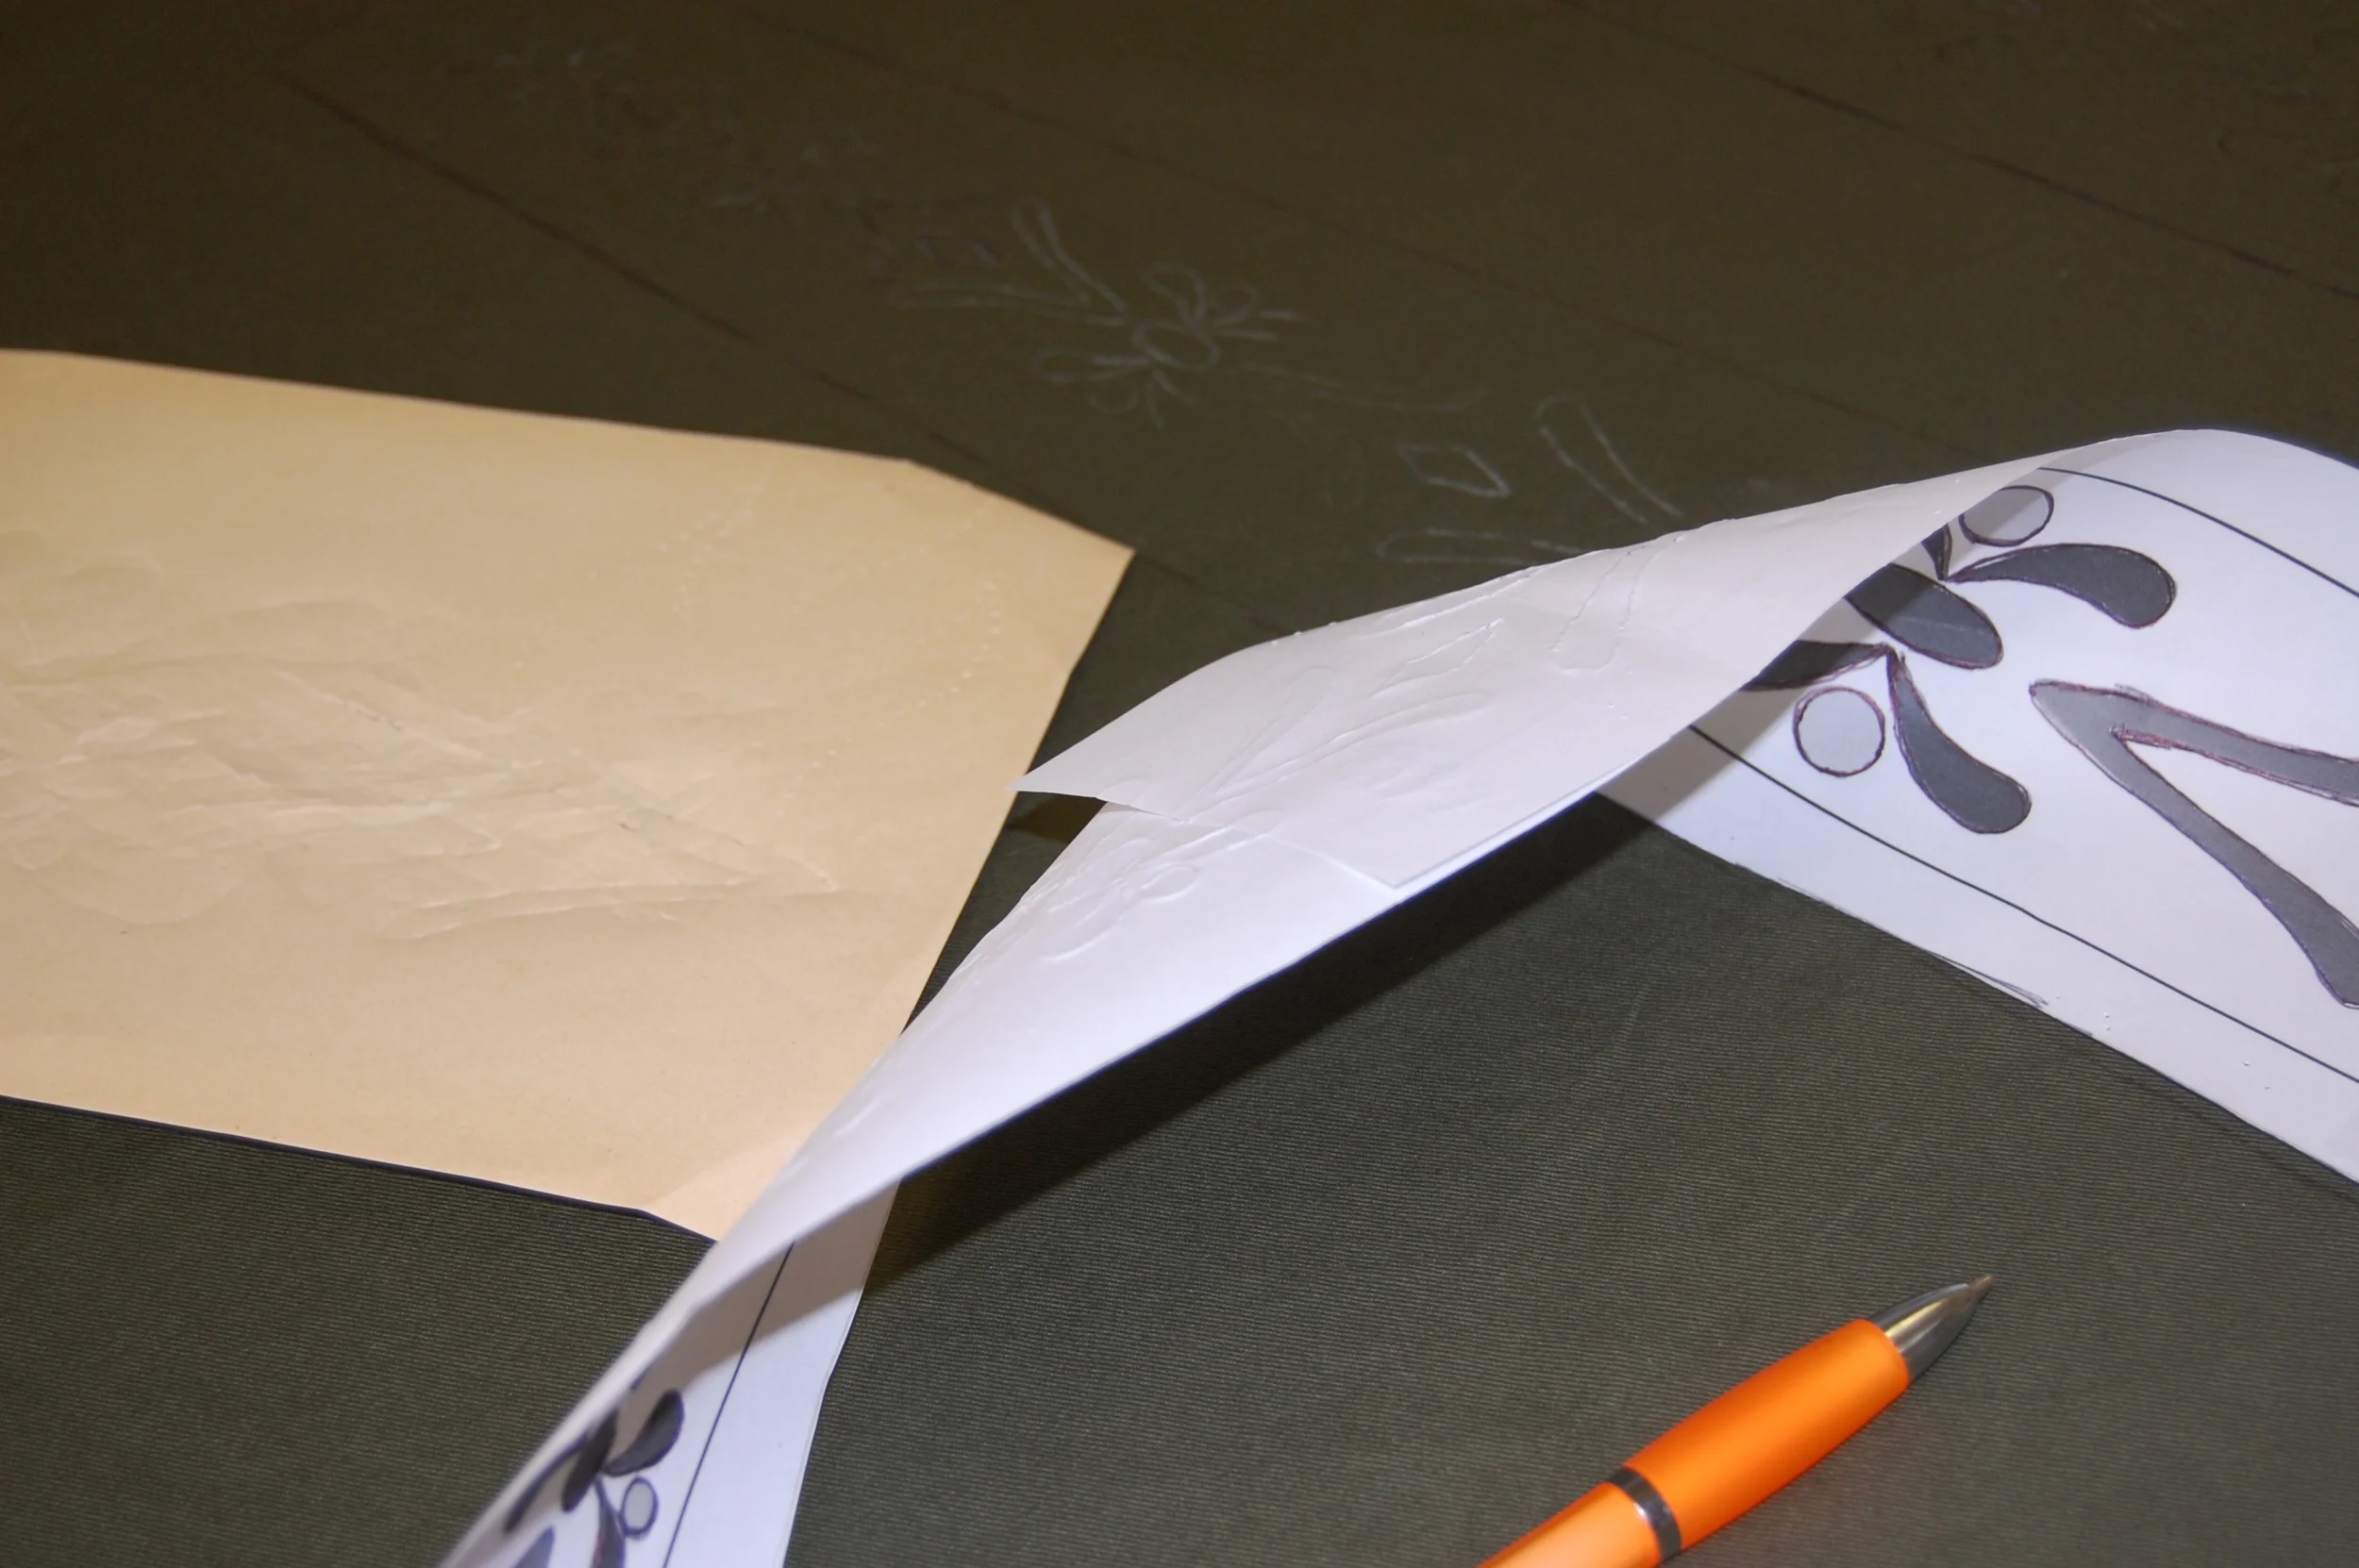
I used Adobe Illustrator to create a full size version of my skirt panel, and boxed out the length between each motif based on the scaled measurements. I then scaled and moved the motifs until I was satisfied with the layout. I was then able to print out the panel in full size, add seam allowances and trace it directly onto my fabric.
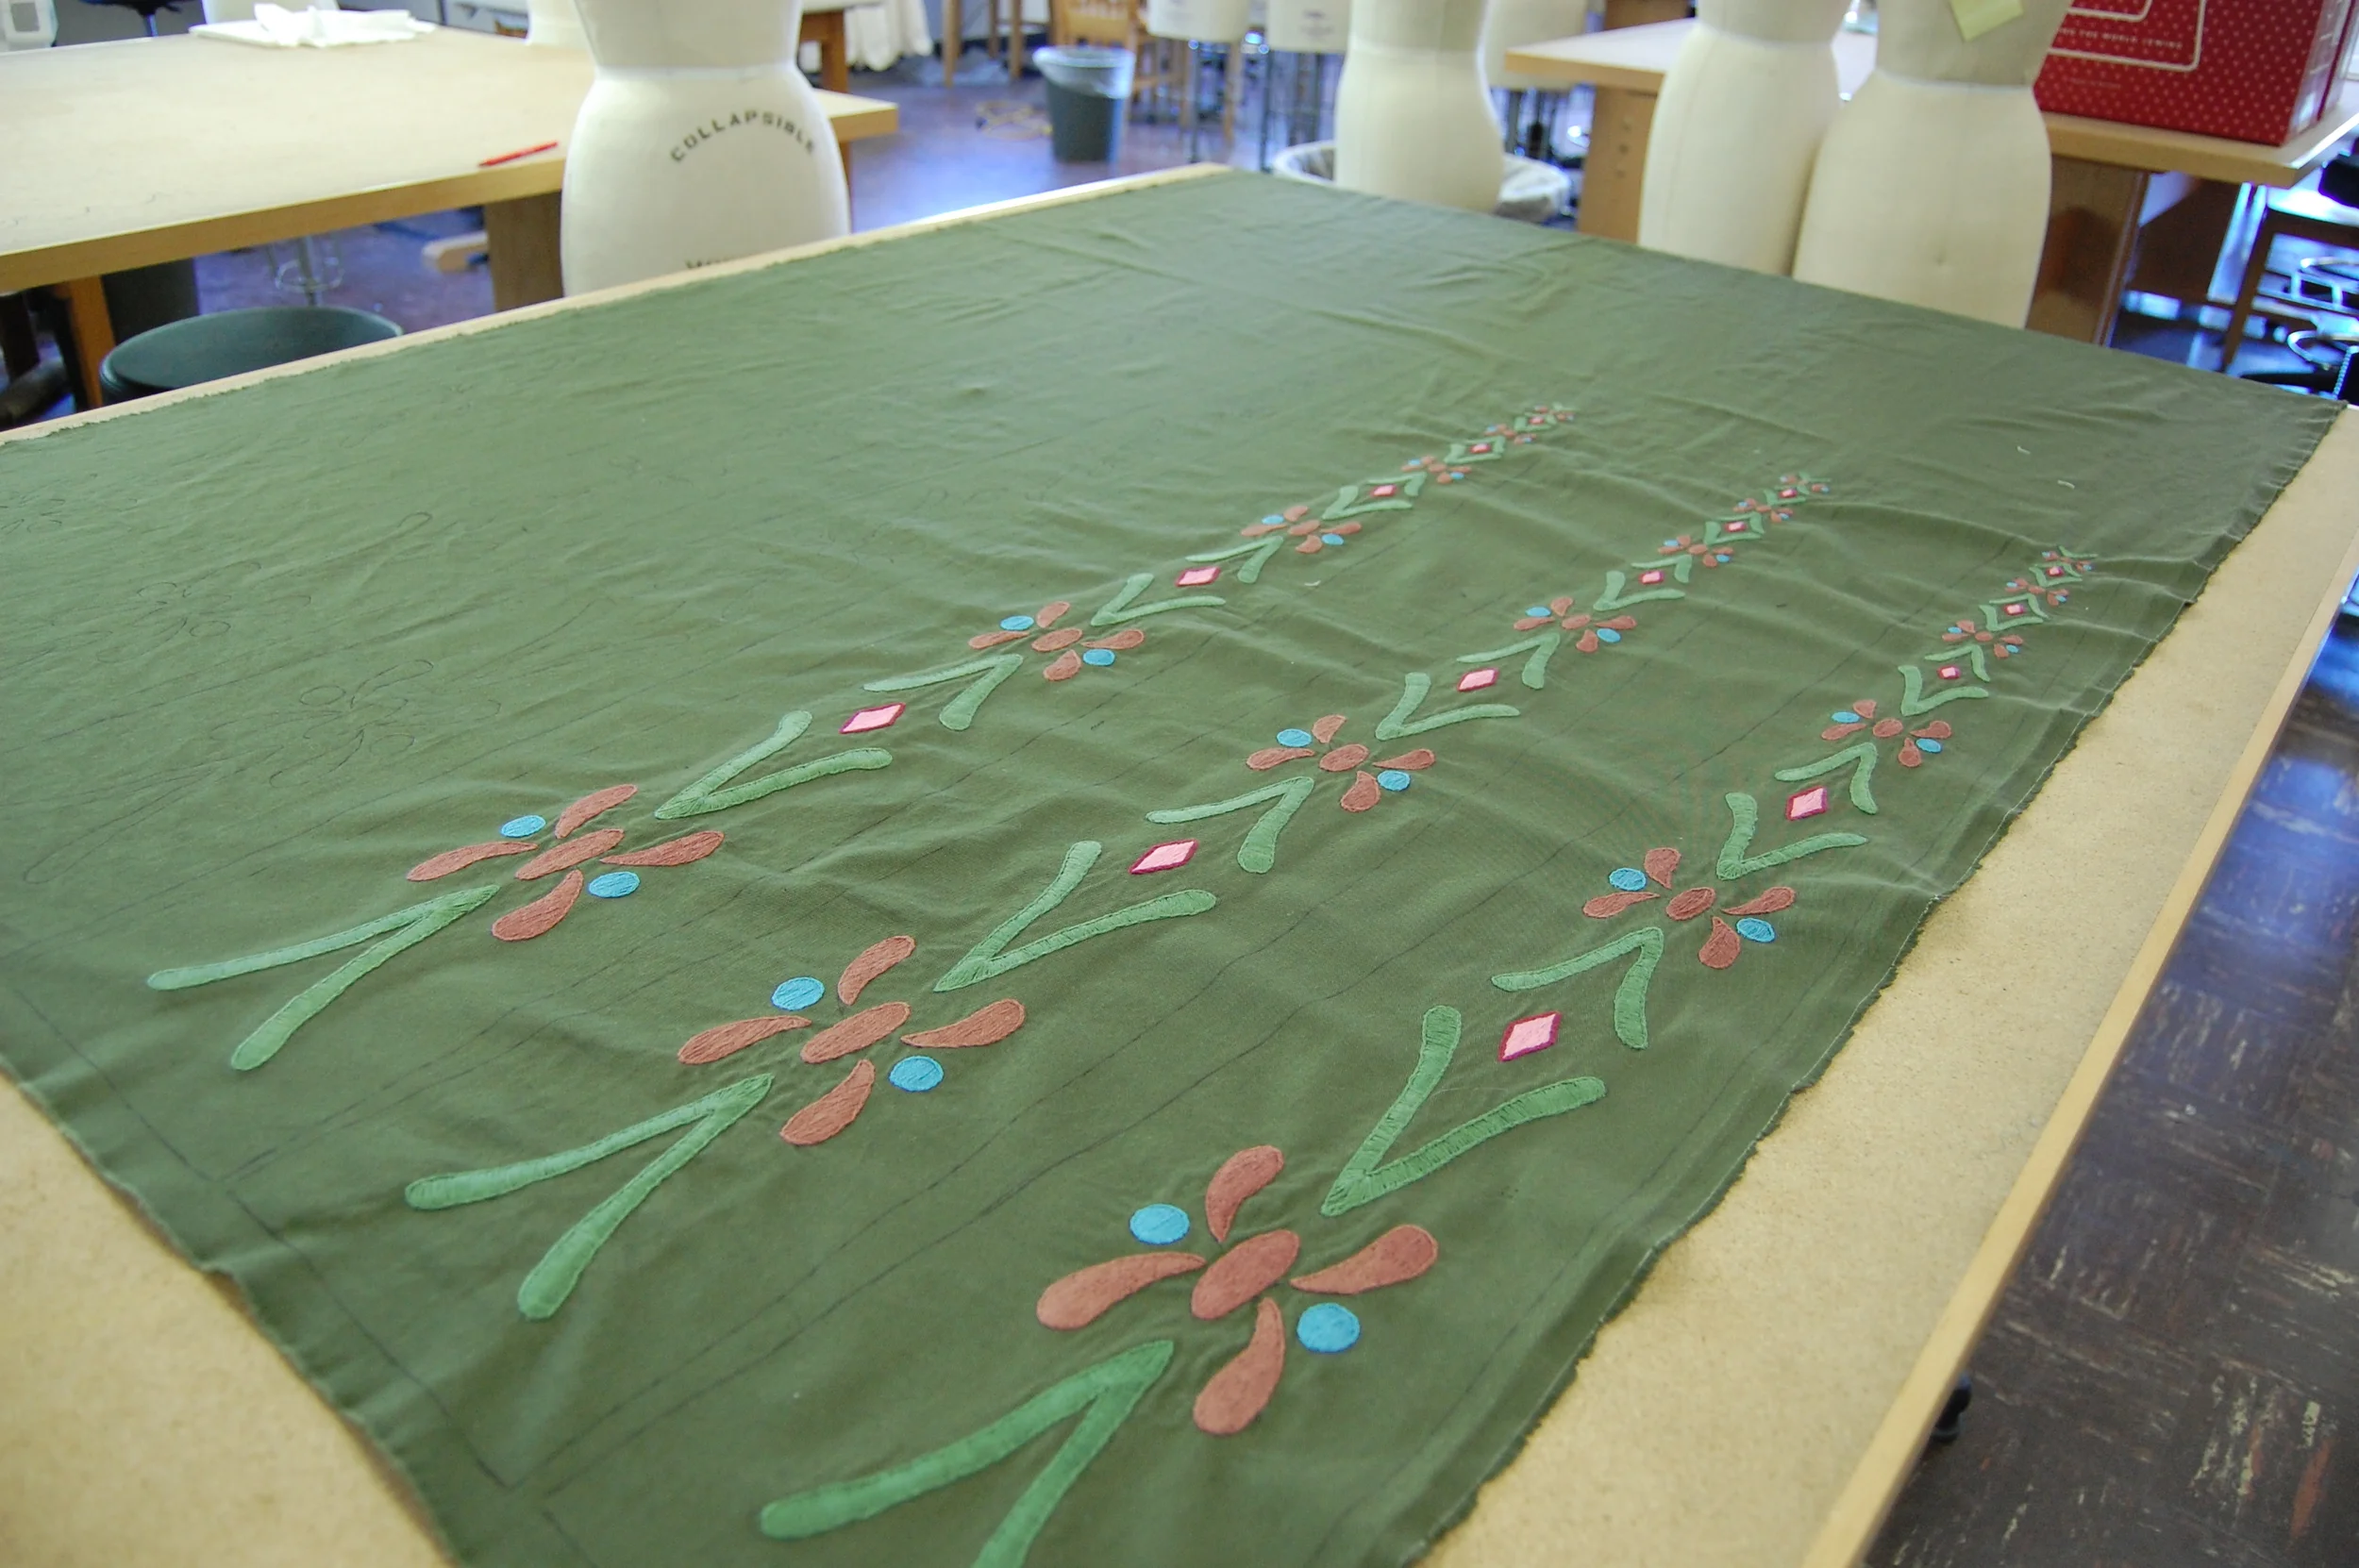
Using tracing paper I marked the placement of the motif on my fabric and marked each one with a ball point pen.
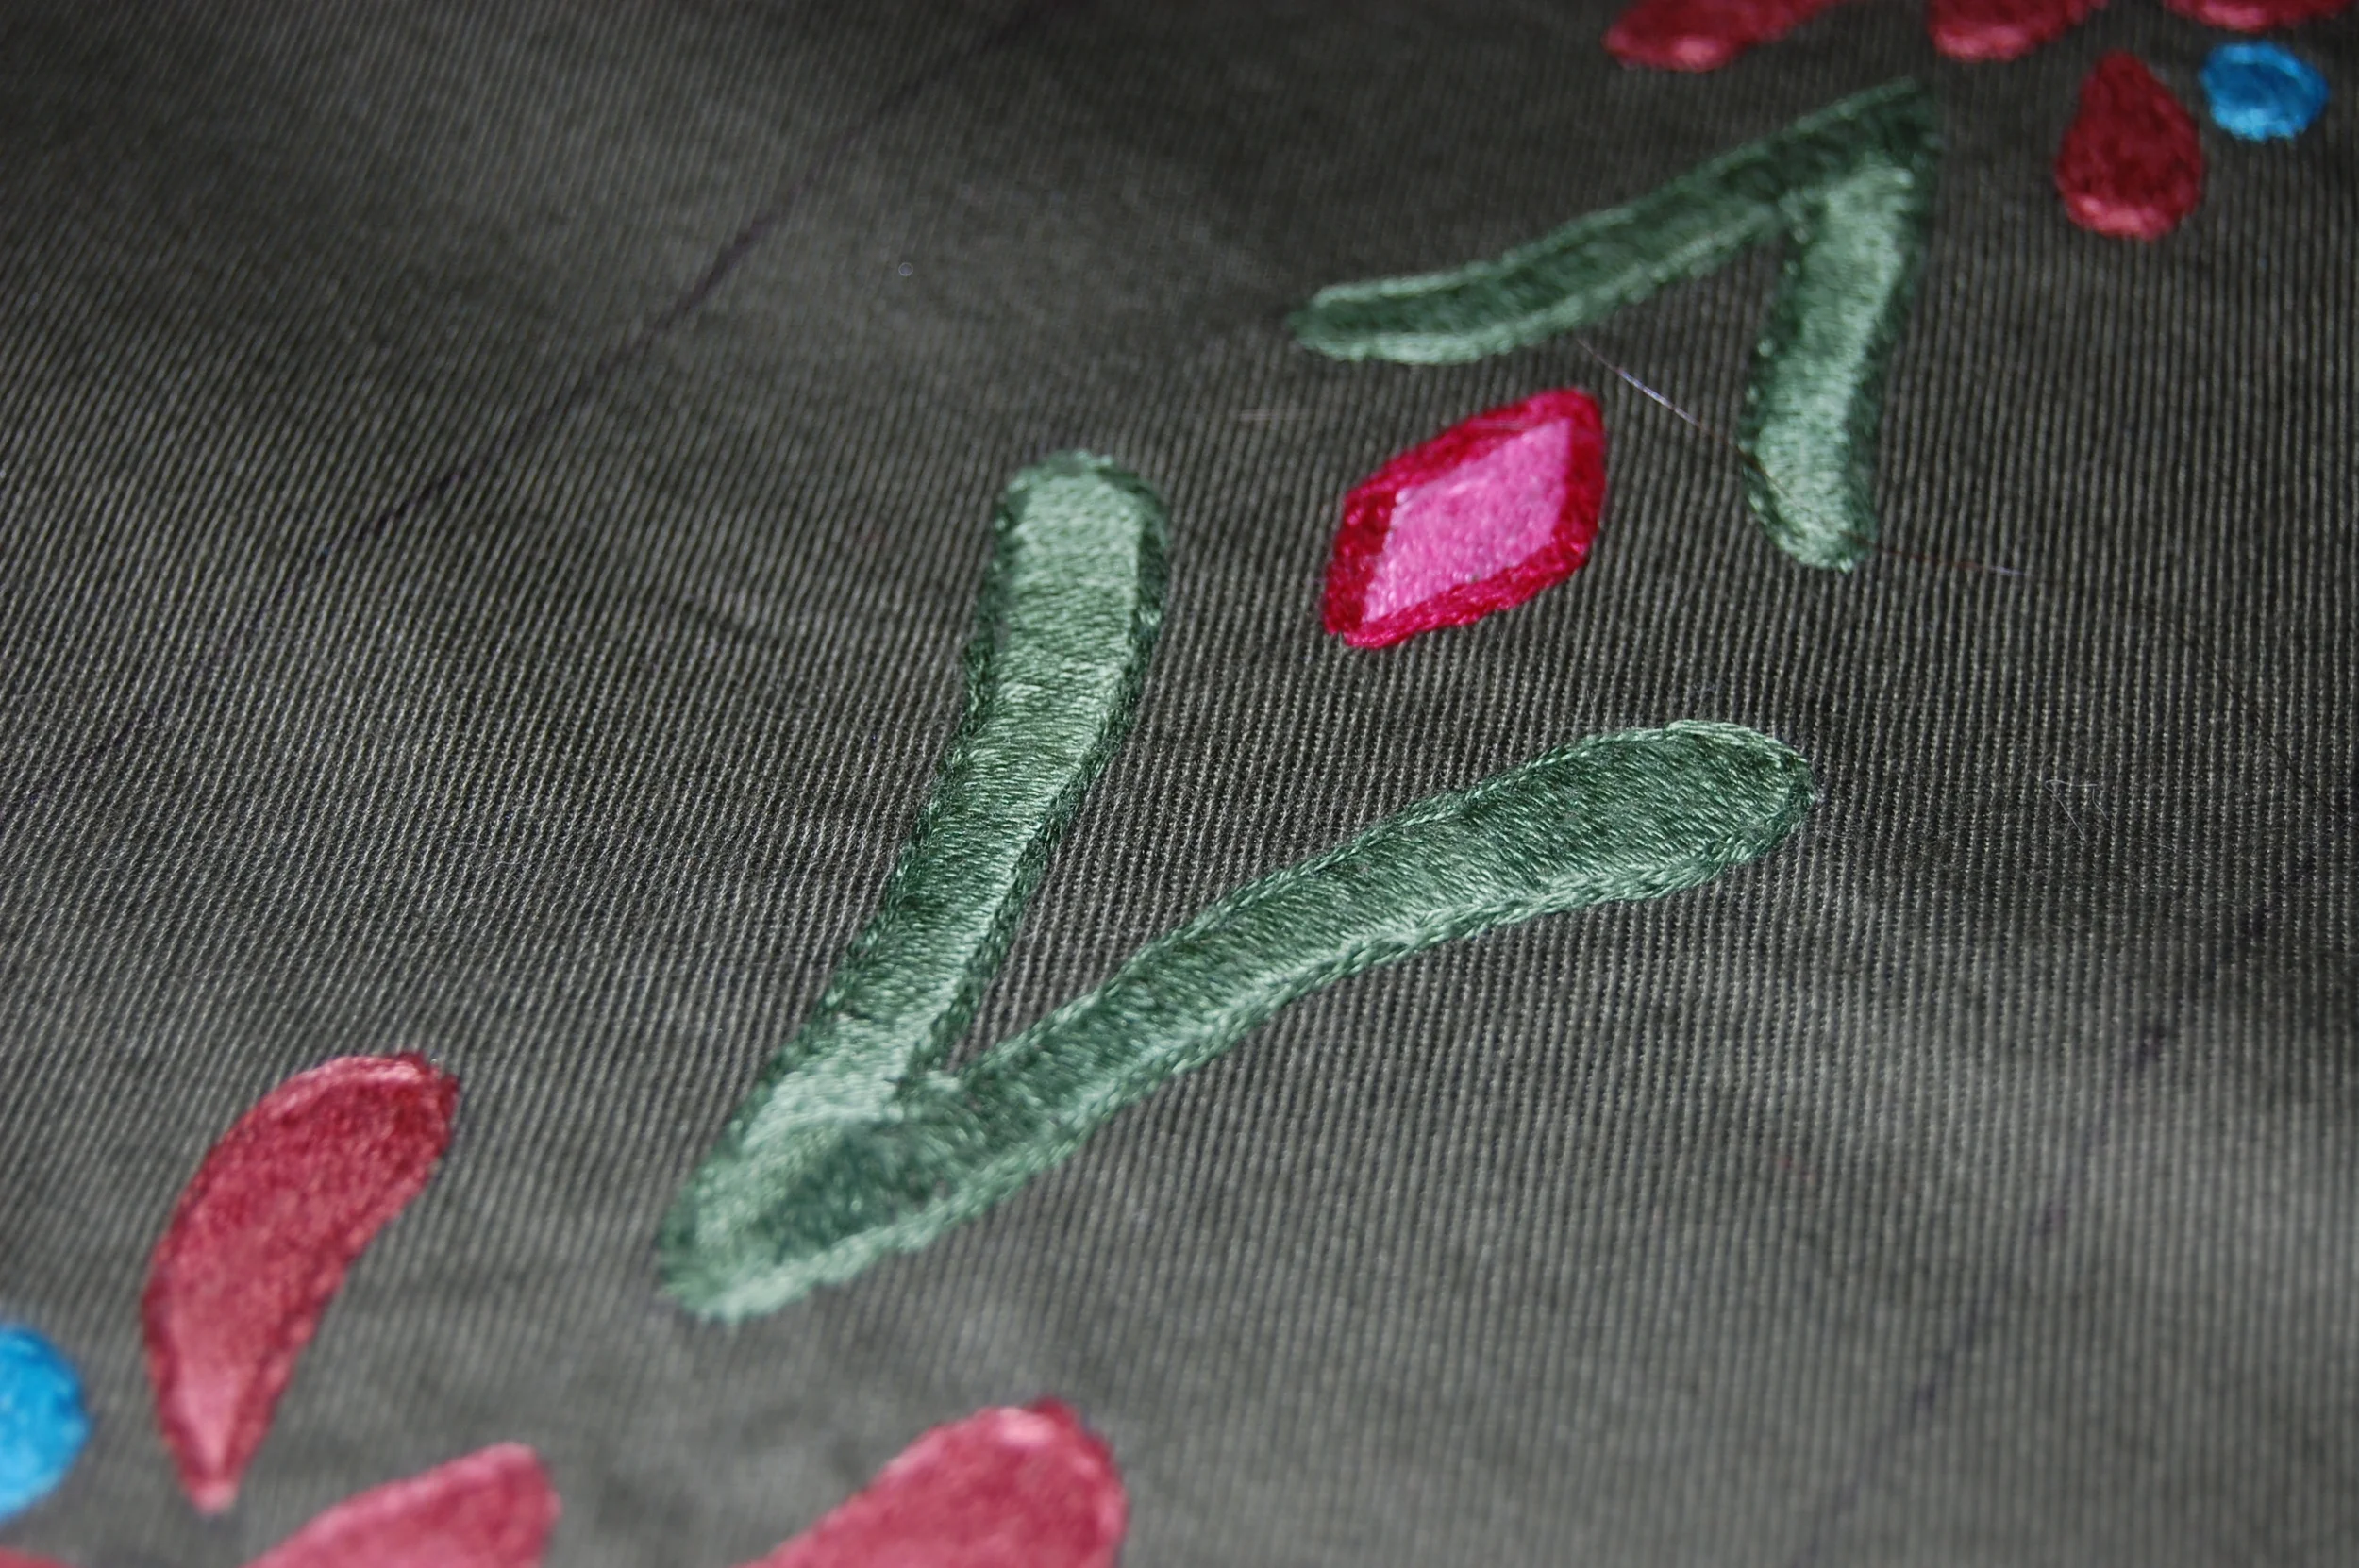
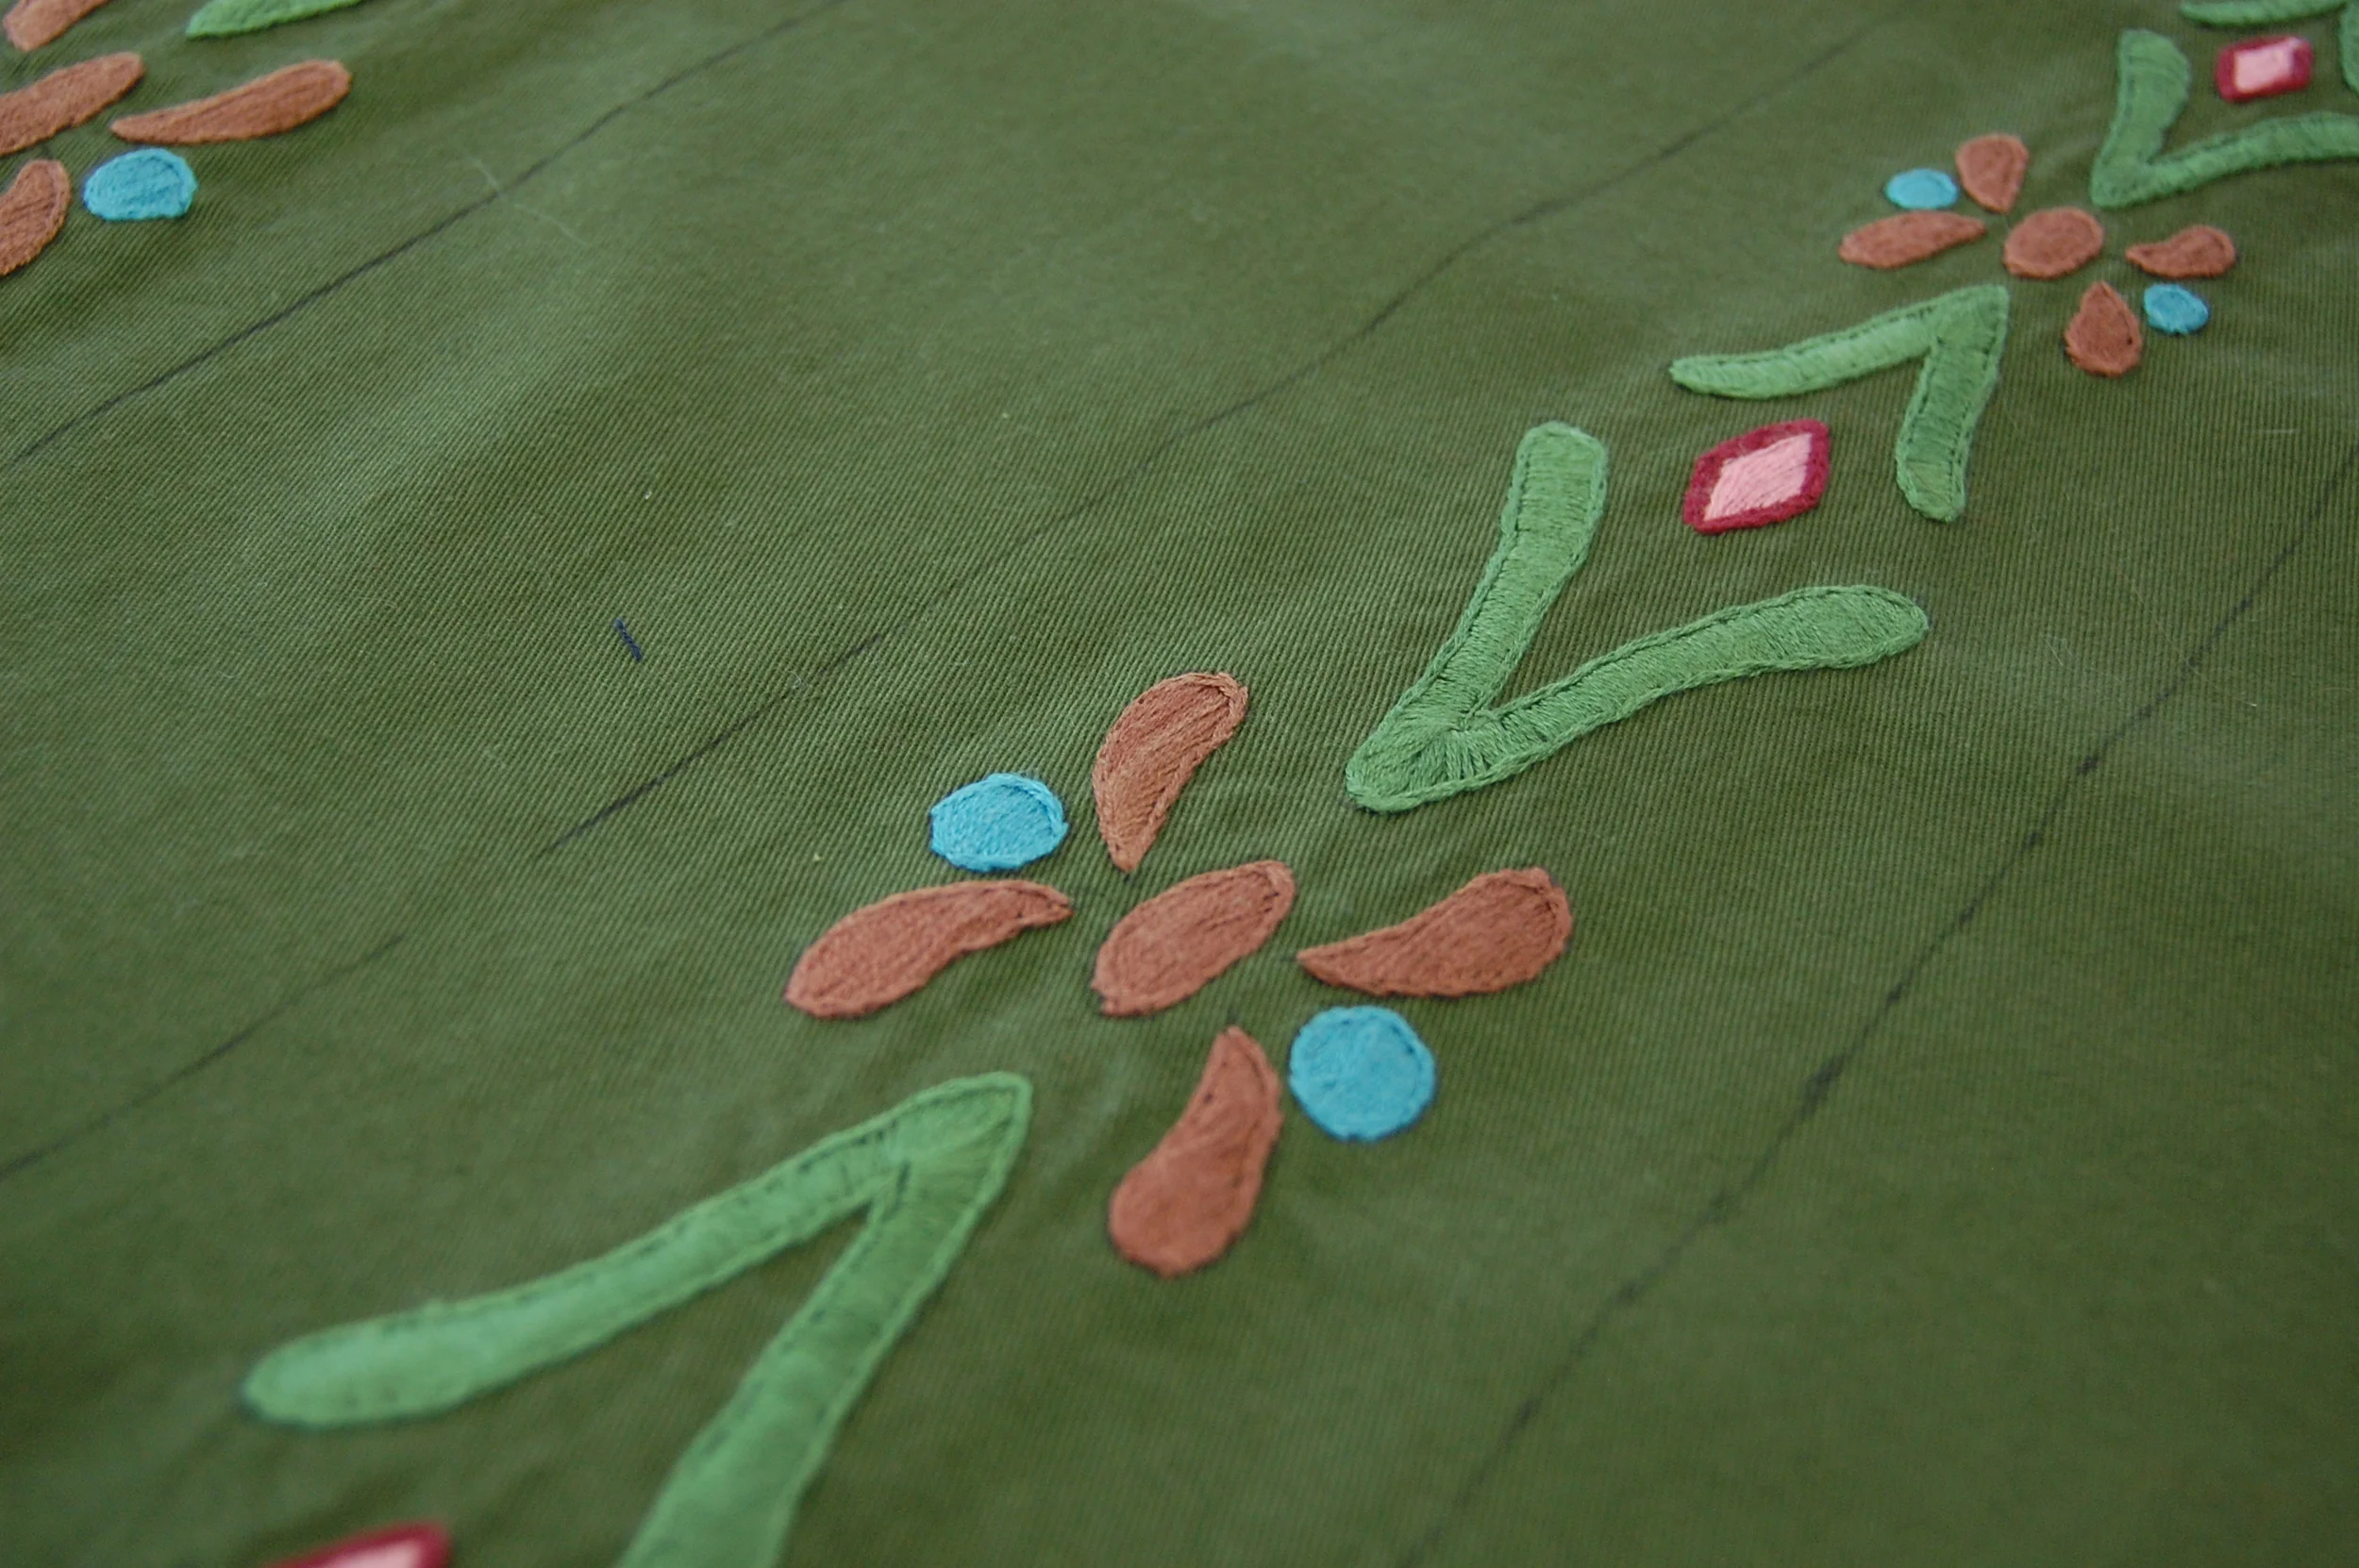
I chose to make the motifs by hand embroidering them using satin stitches outlined in split stitches. I am using water solulable backing and an embroidery hoop. Each panel takes about a week so I will working on the skirt for the next couple of months. As of this post I have 3 of 12 of the panels done!
Feel free to ask me any questions about the draft or the construction of my skirt so far!
Until next time, happy sewing!