This blog post was originally published on my old website and has been reposted here unchanged.
Hi everyone!
Sorry for the delay in updating. This post will be about how I constructed the remainder of my petticoat for my Coronation Anna costume.
So in the last installment I mentioned I was going to discuss the embroidery for the petticoat. I have a machine that does a few simple basic decorative stitches. Anna's dress has a series of dots and teardrop shapes edging the scallops of her petticoat and another line of dots about 6 inches above the hem. You can see them clearly in this shot:
I tested out a few different stitches and decided I liked a combination of straight stitches and decorative circles for the upper line, and decorative circles around the scallops. I did not have a large enough motif built into my machine to do the large teardrop shape, so I chose to free motion embroider them. If you are unfamiliar with free motion embroidery you are missing out!
Free motion embroidery can be done on any machine that enables you to drop the feed dogs on your machine (the feed dogs are what pulls the fabric through the machine). My favorite website detailing free motion embroidery is this one. I bought an extra foot for my machine to make free motion embroidering easier to manage. I've used free motion embroidery on several of my costumes in the past including my Shoomlah Snow White and George from Paradise Kiss.
So I left off last time with a stencil of the scallops I intended to trace onto the fabric. Before I began tracing them I prepared the facing for the skirt. Now I know I wanted this petticoat to have as much body as possible so I used a heavy duty fusible interfacing on the piece of fabric being used for the facing. Since the petticoat also has that decorative stitch about 6-7 inches from the hem I decided to make my facing that wide so my decorative stitch will anchor it down.
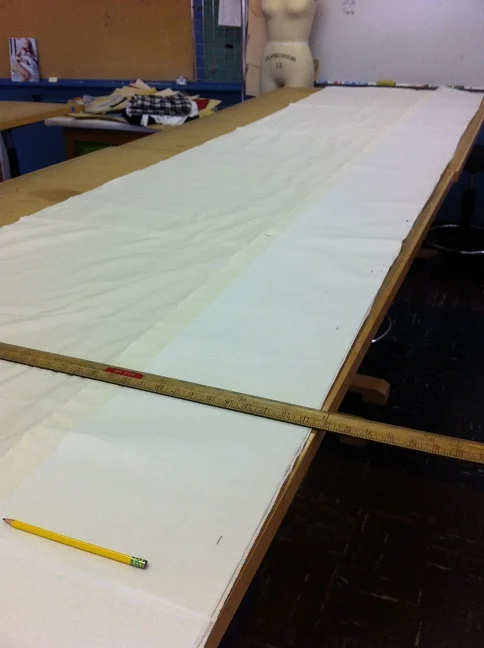
I laid out my now sewn together skirt across the big tables so I could get an idea of how long my facing would need to be.
VERY LONG is the answer!
After I laid everything out on the table and got every thing straight and pretty, I measured how long of a piece I'd need to make a facing and then cut out enough panels of my extra muslin to match. I then interfaced the whole thing with a little extra at the top to eventually be folded over.

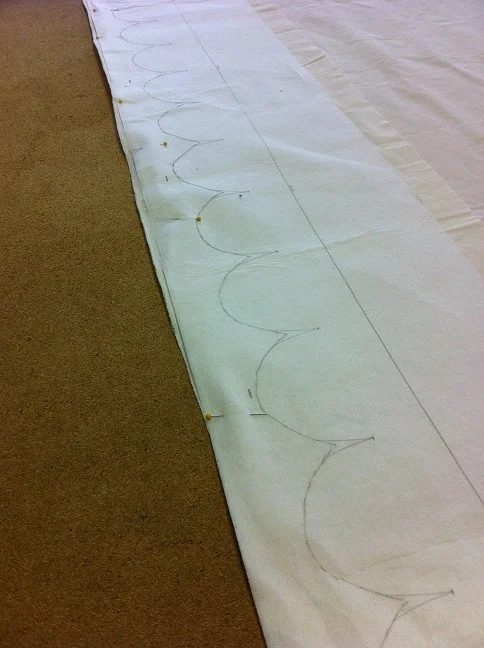
Once I had the piece interfaced and laid out flush with the edge of my skirt, I used a pencil and my scallop stencil to trace the scallops onto the interfacing. I took care to ensure that my first and last scallops were half size so that when I go to stitch the sides together I end up with a whole scallop. That extra bit off to the left is the seam allowance.
I ended up tracing all of the scallops down and then decided they were too shallow, and went and reshaped them all. If you are doing this make sure you like the shape of the scallops before you go and trace them all!
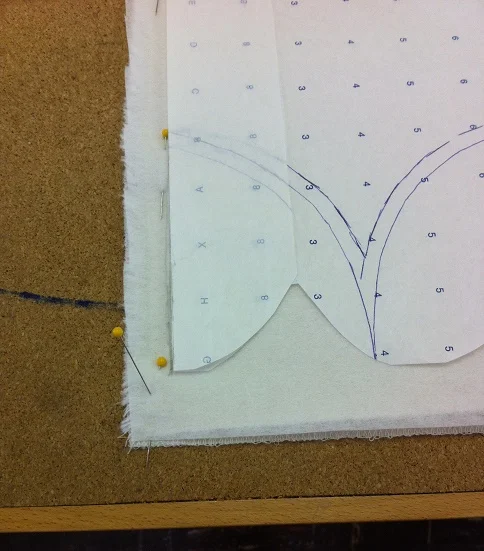

Once I had them traced and pinned I stitched my panel into a tube at the side seam and then stitched the scallops in one by one, making sure to pivot and stitch the shapes accurately. I made my inner points pretty deep and ended up stitching a little too deep on some of them and had to restitch them when it came time to turn the facing.
Once I had them all looking pretty I trimmed my seam allowances really close to the stitching and did my best to press them out as flat as possible.
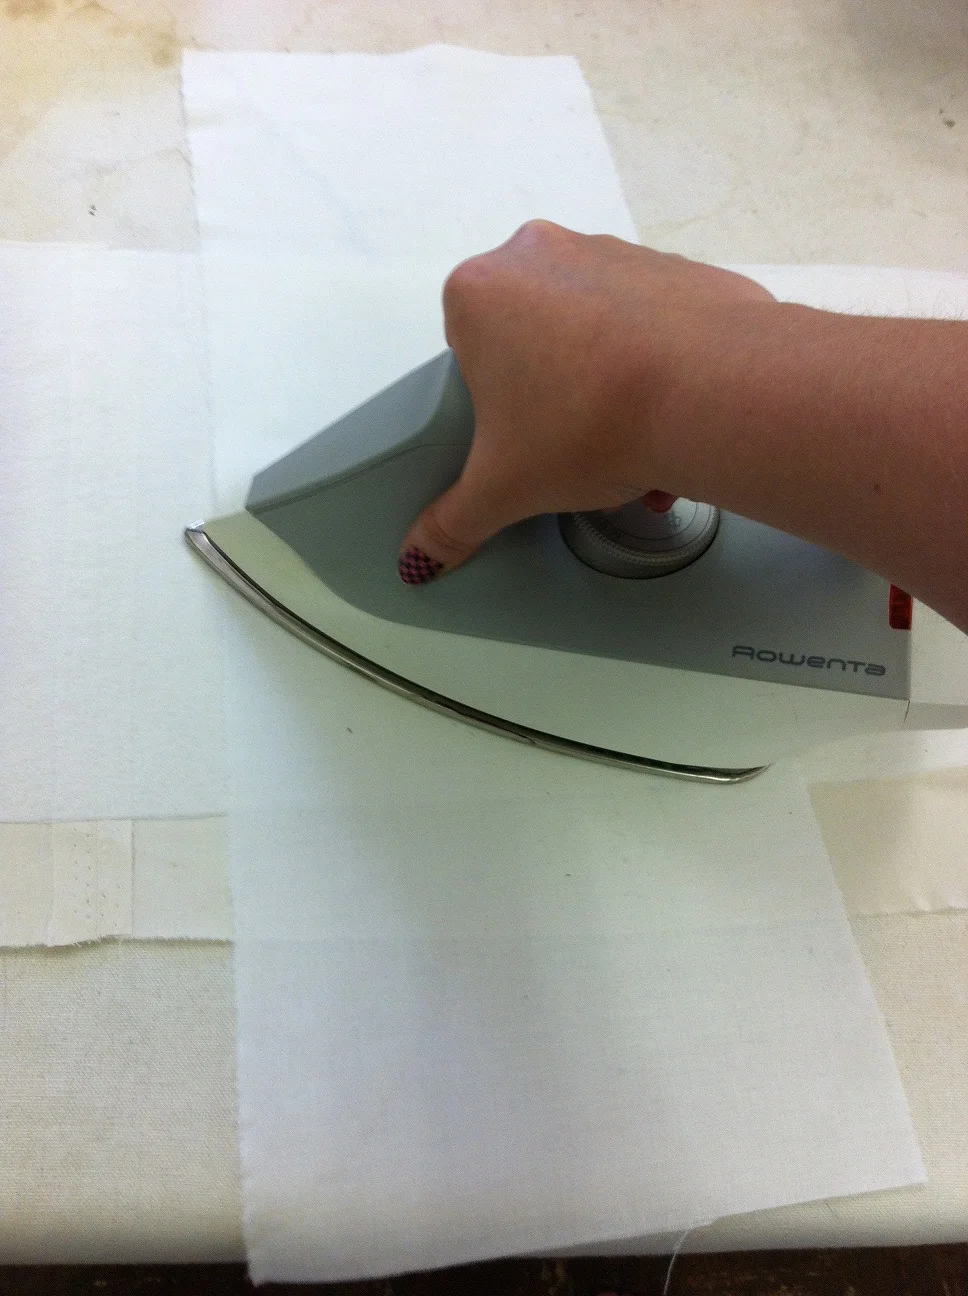
I also turned under and ironed my upper edge so that I could stitch it down with the decorative stitching when I turn the entire facing to the inside.
I do not have any photos of the process it took to turn them all inside out. It took a lot of ironing and pinning.
The next photos show what the scallops look like once I stitched down the facing with the decorative stitch and the scallops were edged in a decorative circle stitch. Both sets of stitches were done with my basic sewing machine. Bear in mind this was also taken before I gave everything a crazy steamy ironing.

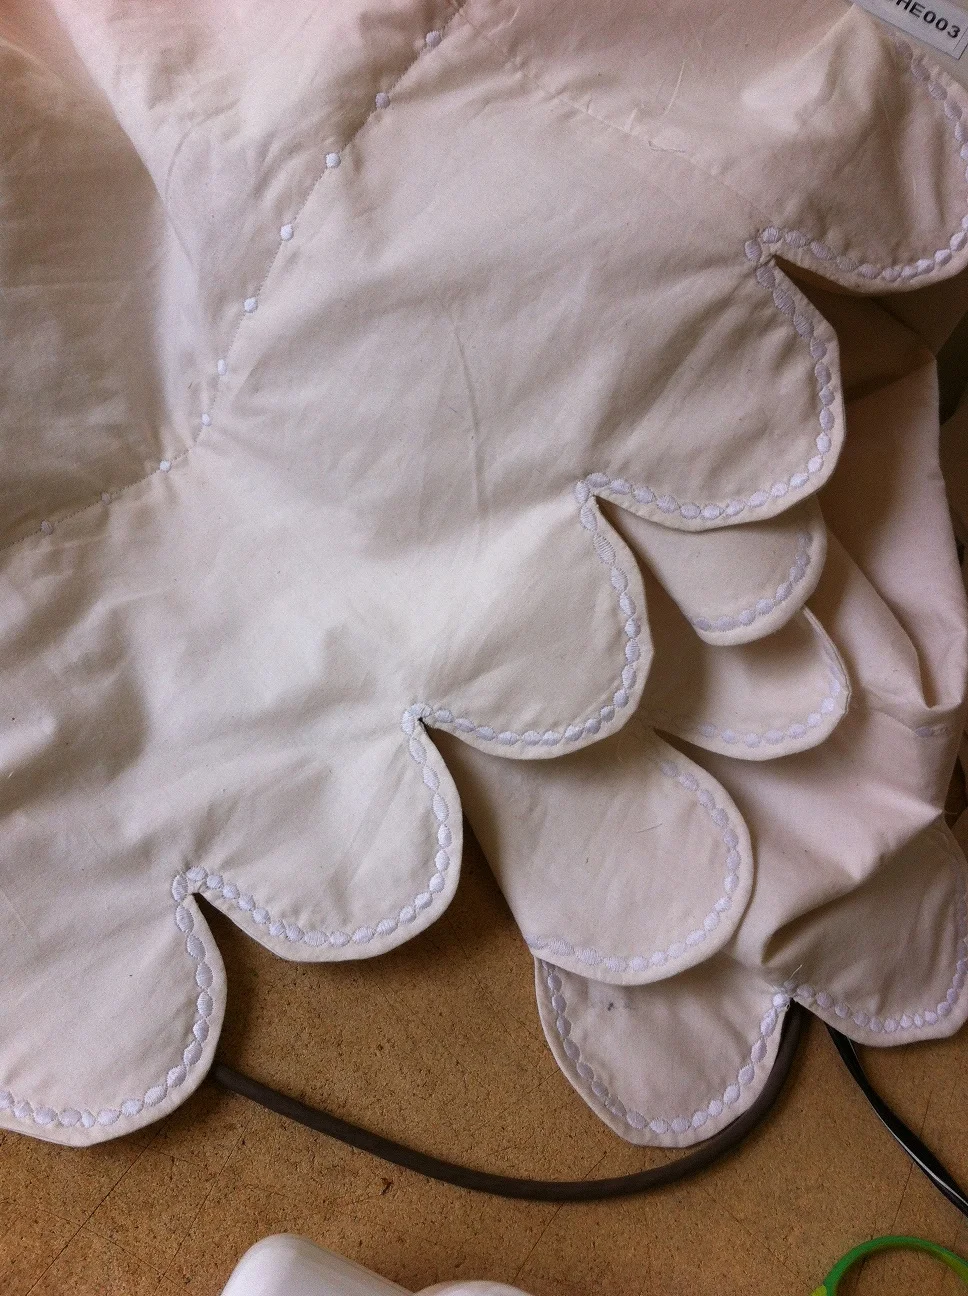
Once I had the decorative stitches on I moved to free motion embroidering the teardrop shapes. Now normally free motion embroidery is done with an embroidery hoop and stabilizer but my scallops were so thick from the interfacing and the tulle I decided I didn't need the hoop.
Once the embroidery was done I was able to move onto the yoke of the petticoat. I sadly do not have and pictures at this point I took about an 18" wide panel of my 108" wide muslin and cut a matching length of crinoline to underline it. I folded the edges in towards each other and folded the entire piece in half. This would become my upper yoke. I stitched a casing into the folded edge that I could later string ribbon through.

It then became time to gather the skirt to the yoke. I decided to use the zig zag cord method because it's more reliable. I still ended up with my yarn breaking because it was crappy yarn but I managed to wrangle everything to the size of the yoke. I stitched the yoke to the skirt. I left a slit open at the top of the center back seam of the petticoat so I could have a small opening to pull the petticoat over my hips. The yoke edges folded over the top edge of this seam and were stitched down close to the fold.
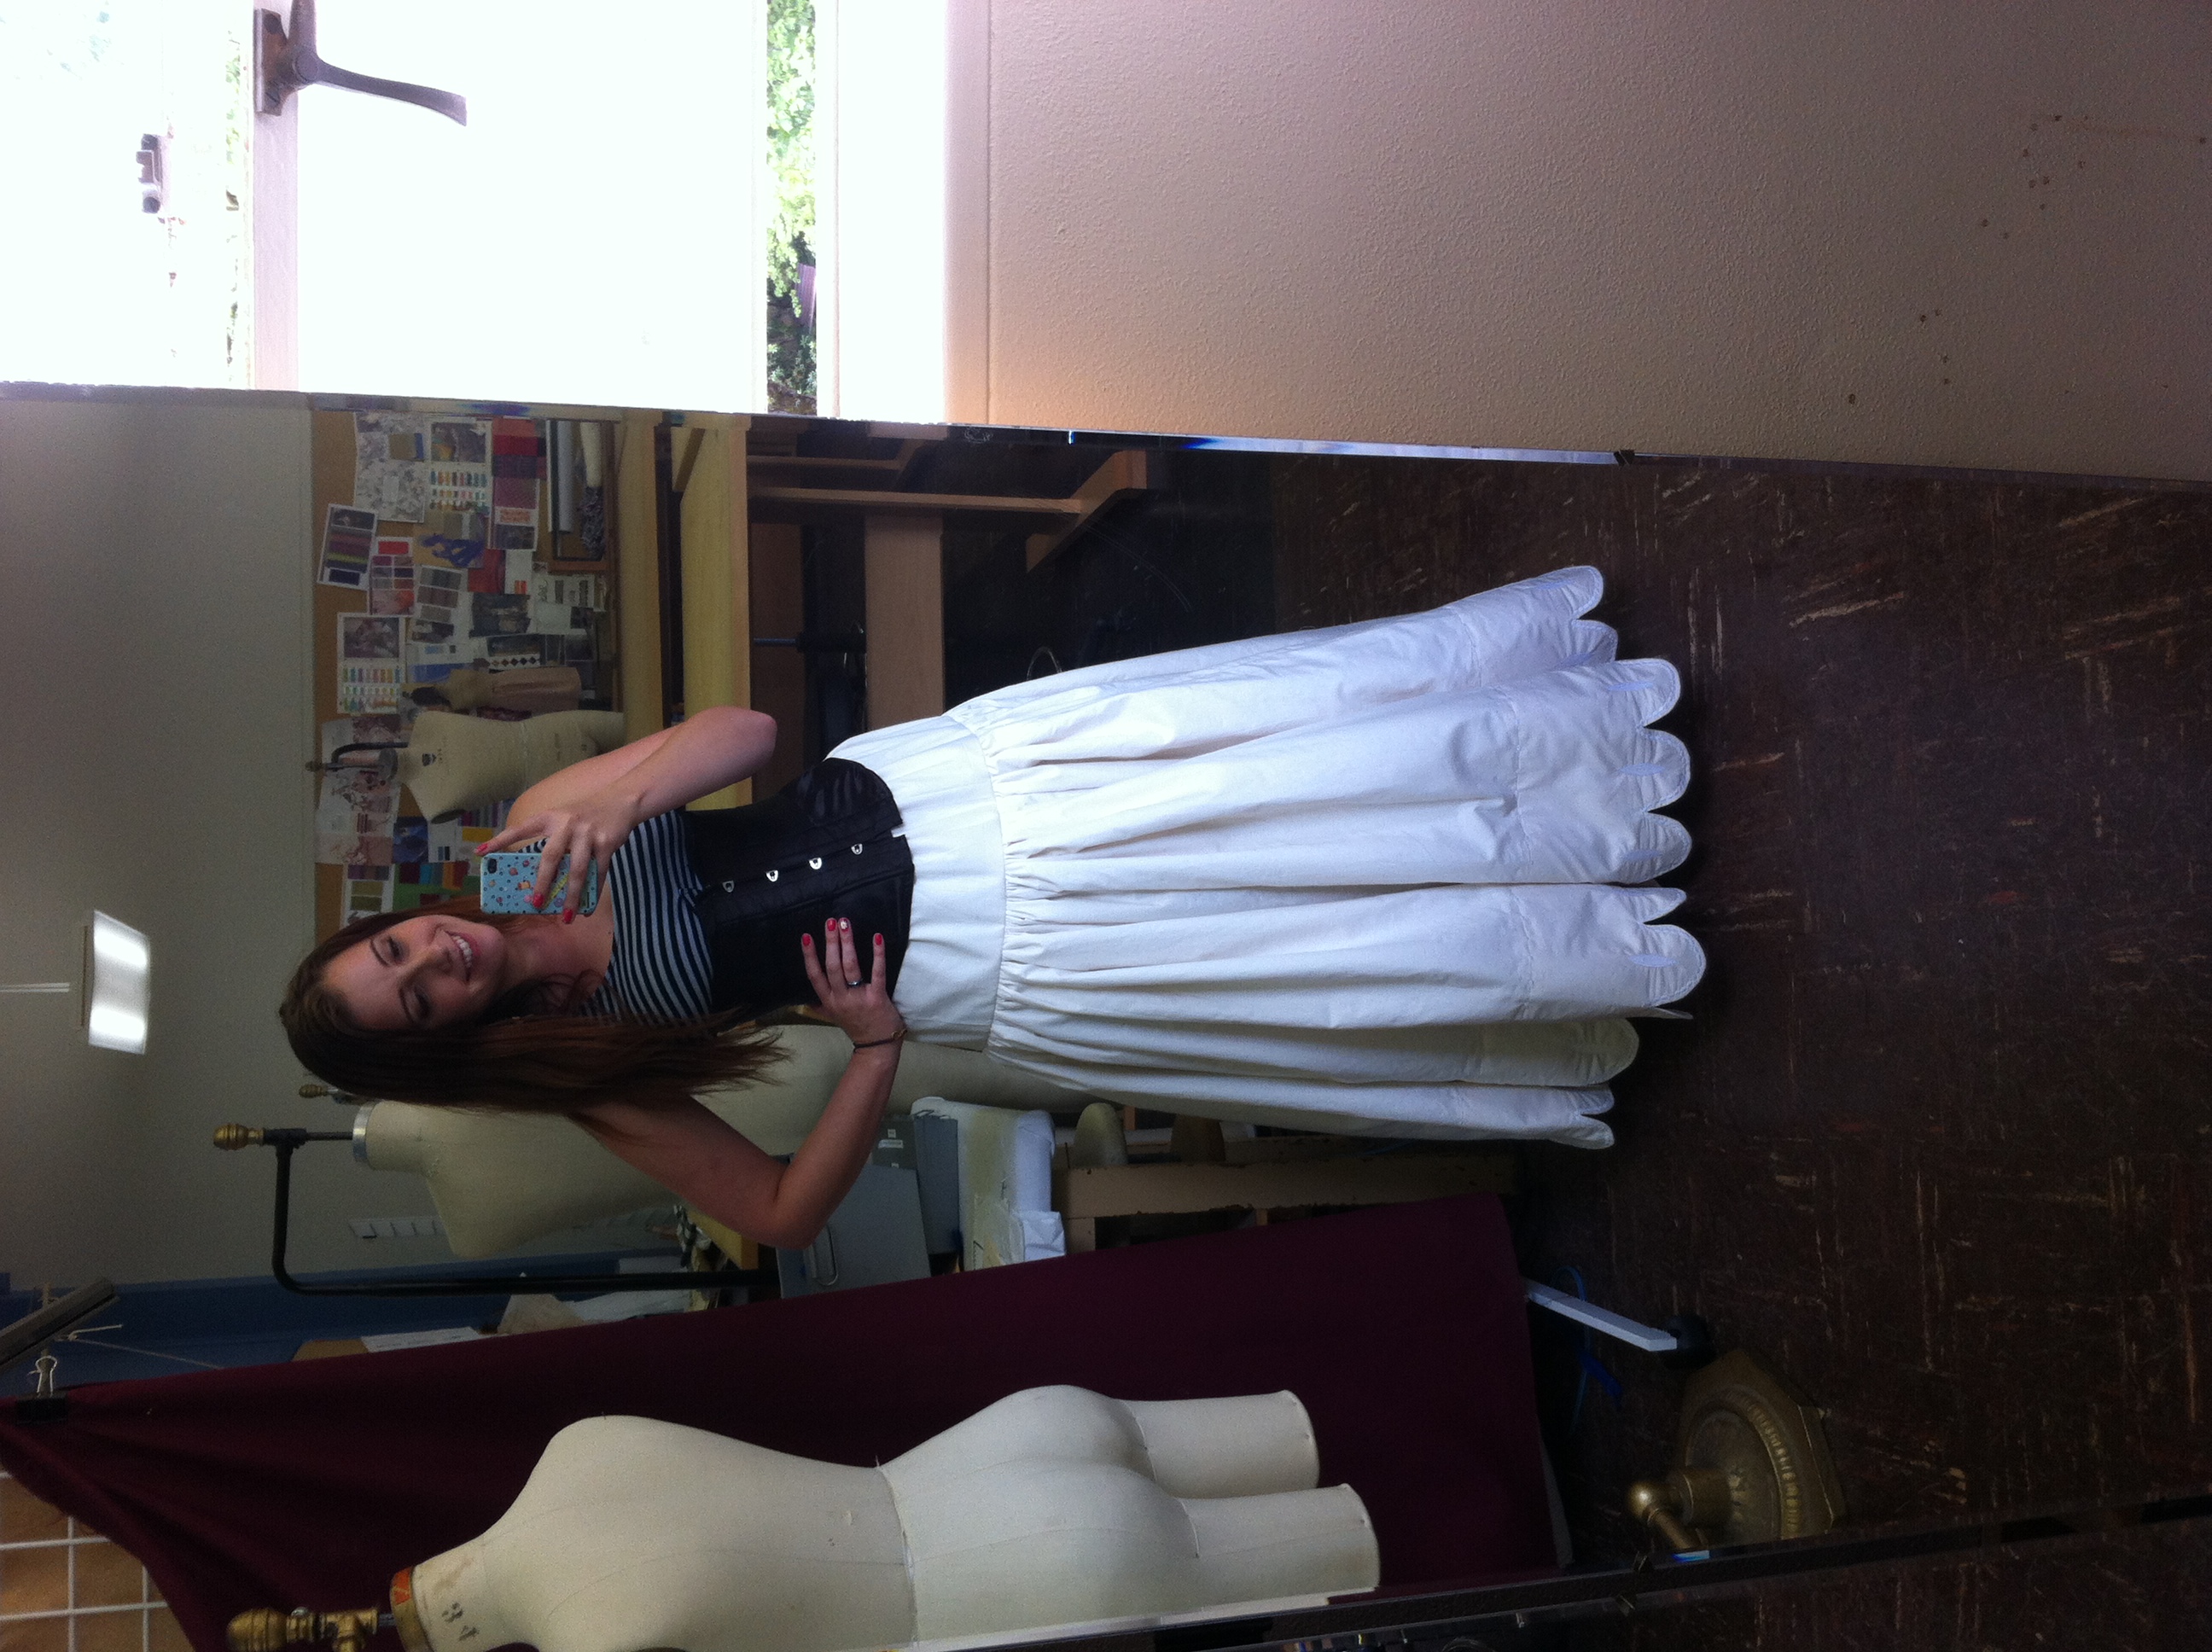
Once I had ribbon drawn into the casing the petticoat was done!
Bonus video of it in action!