A Tribute to the Oregon Coast Part 4-Vegetation

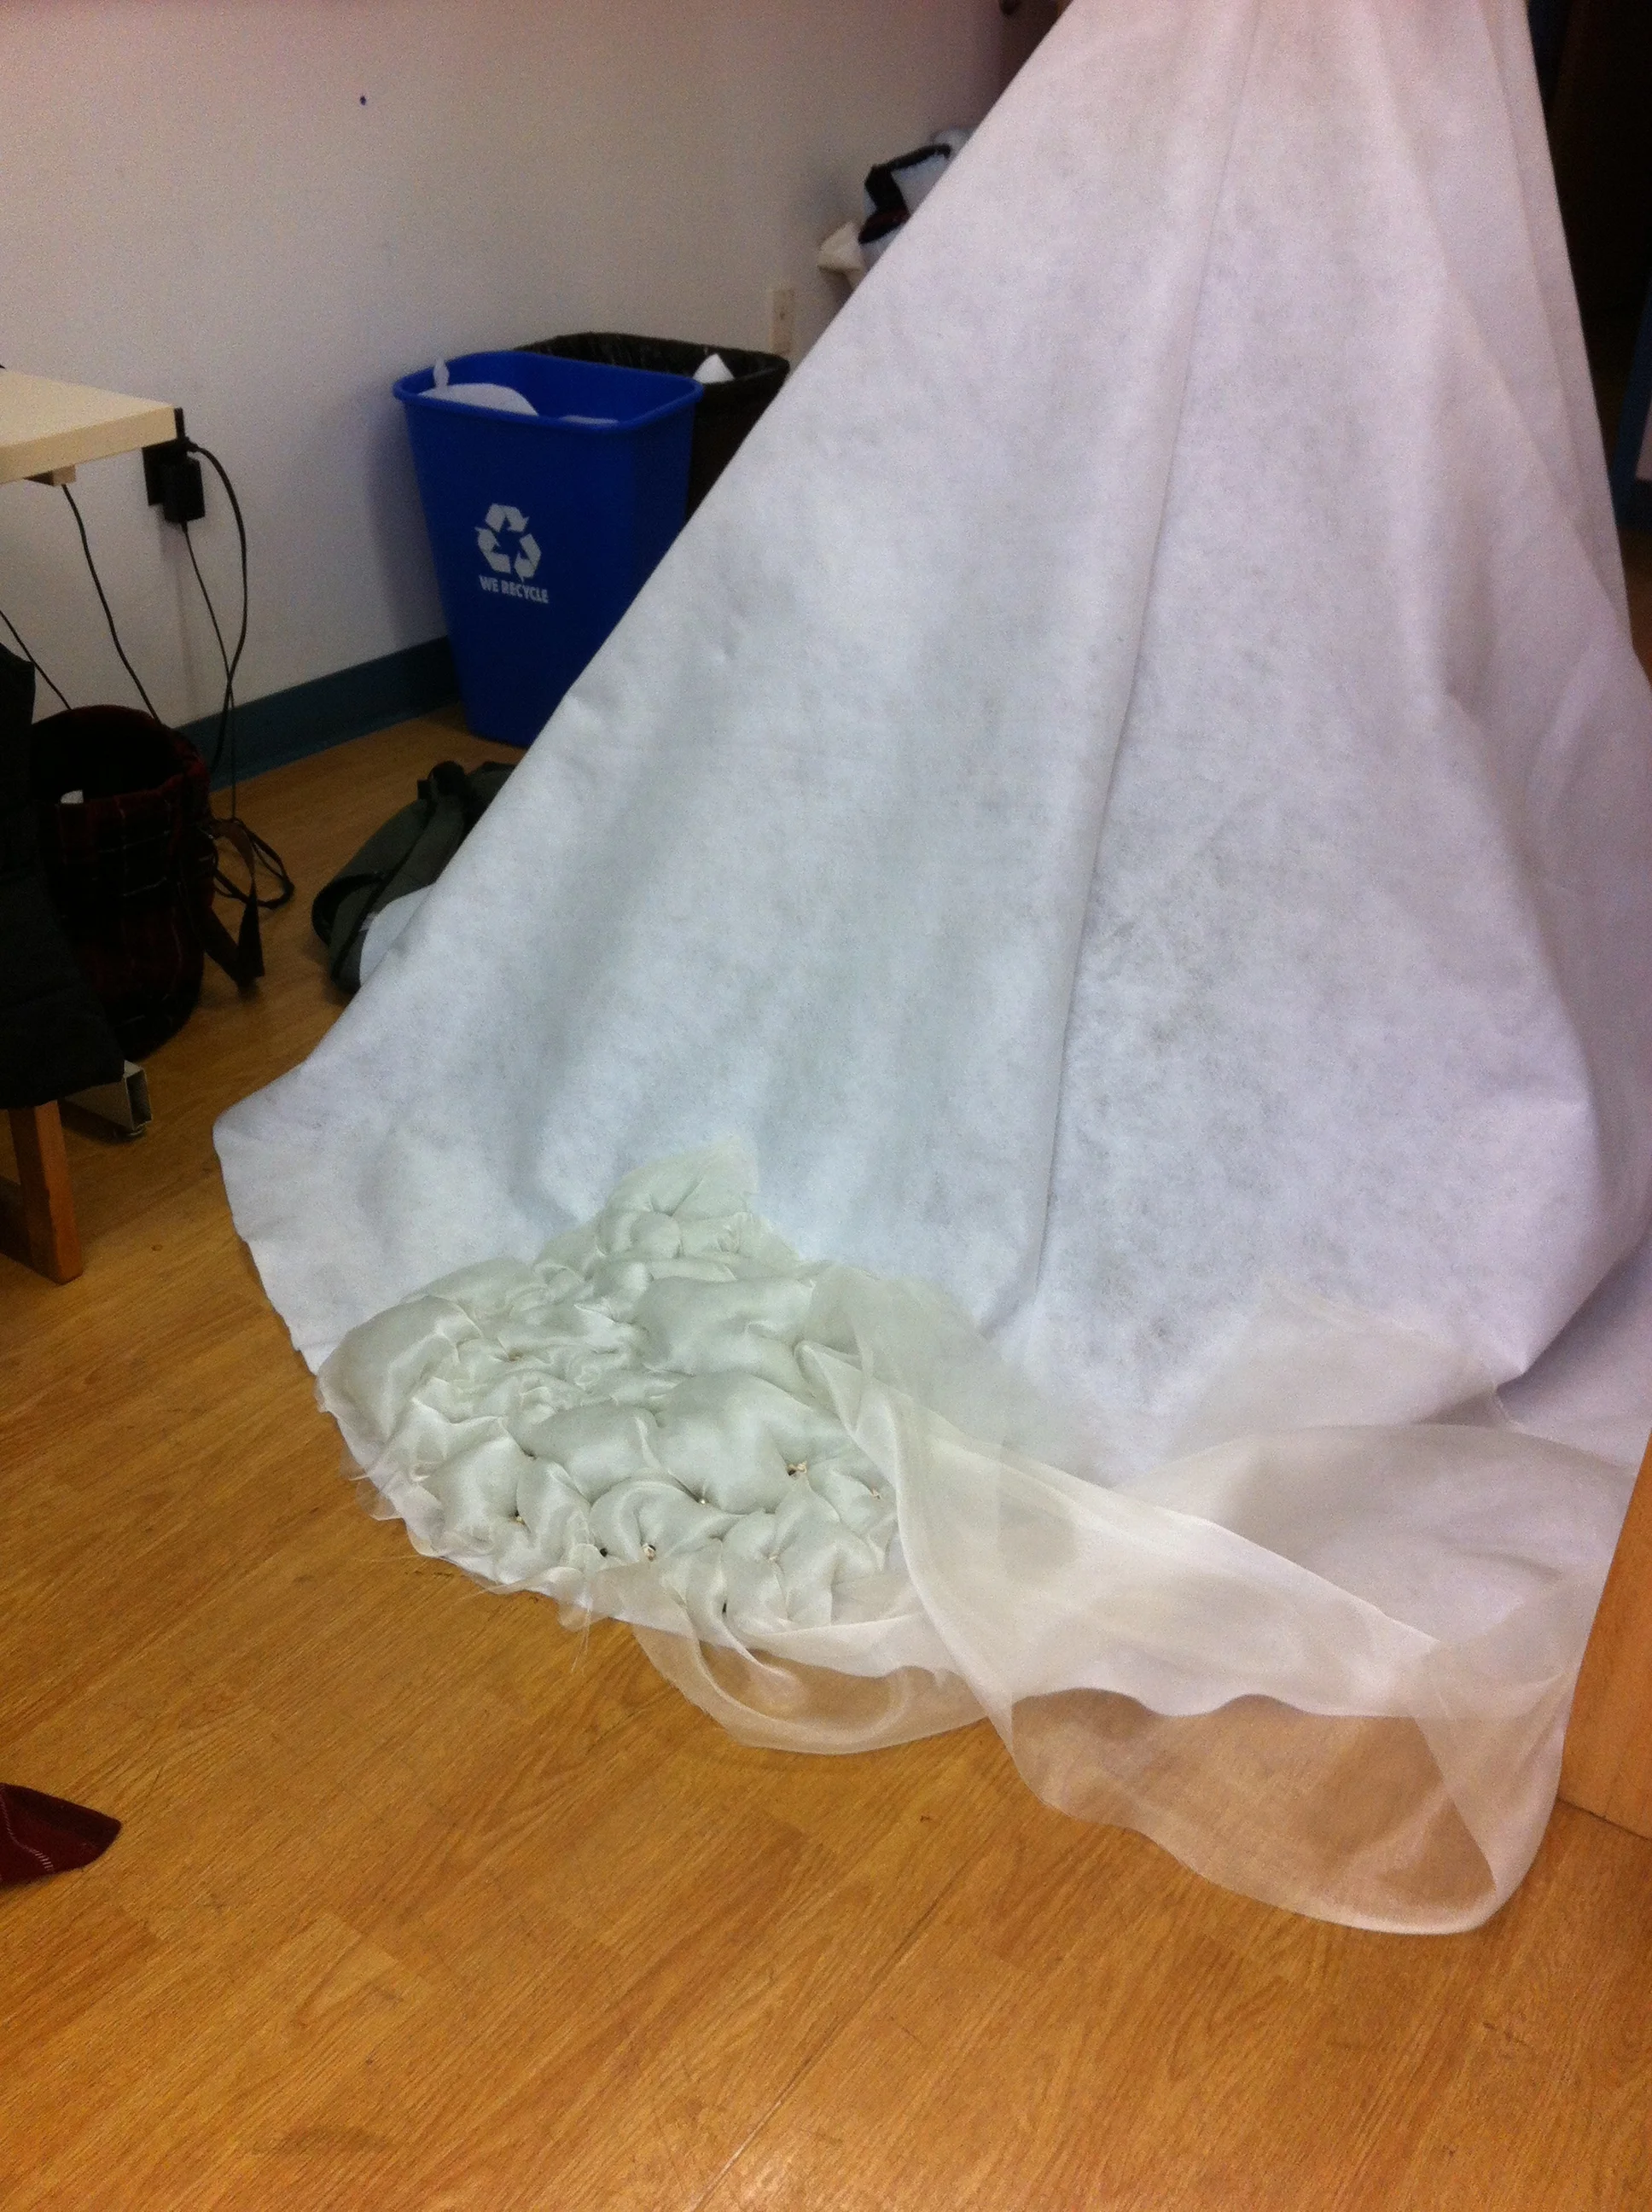
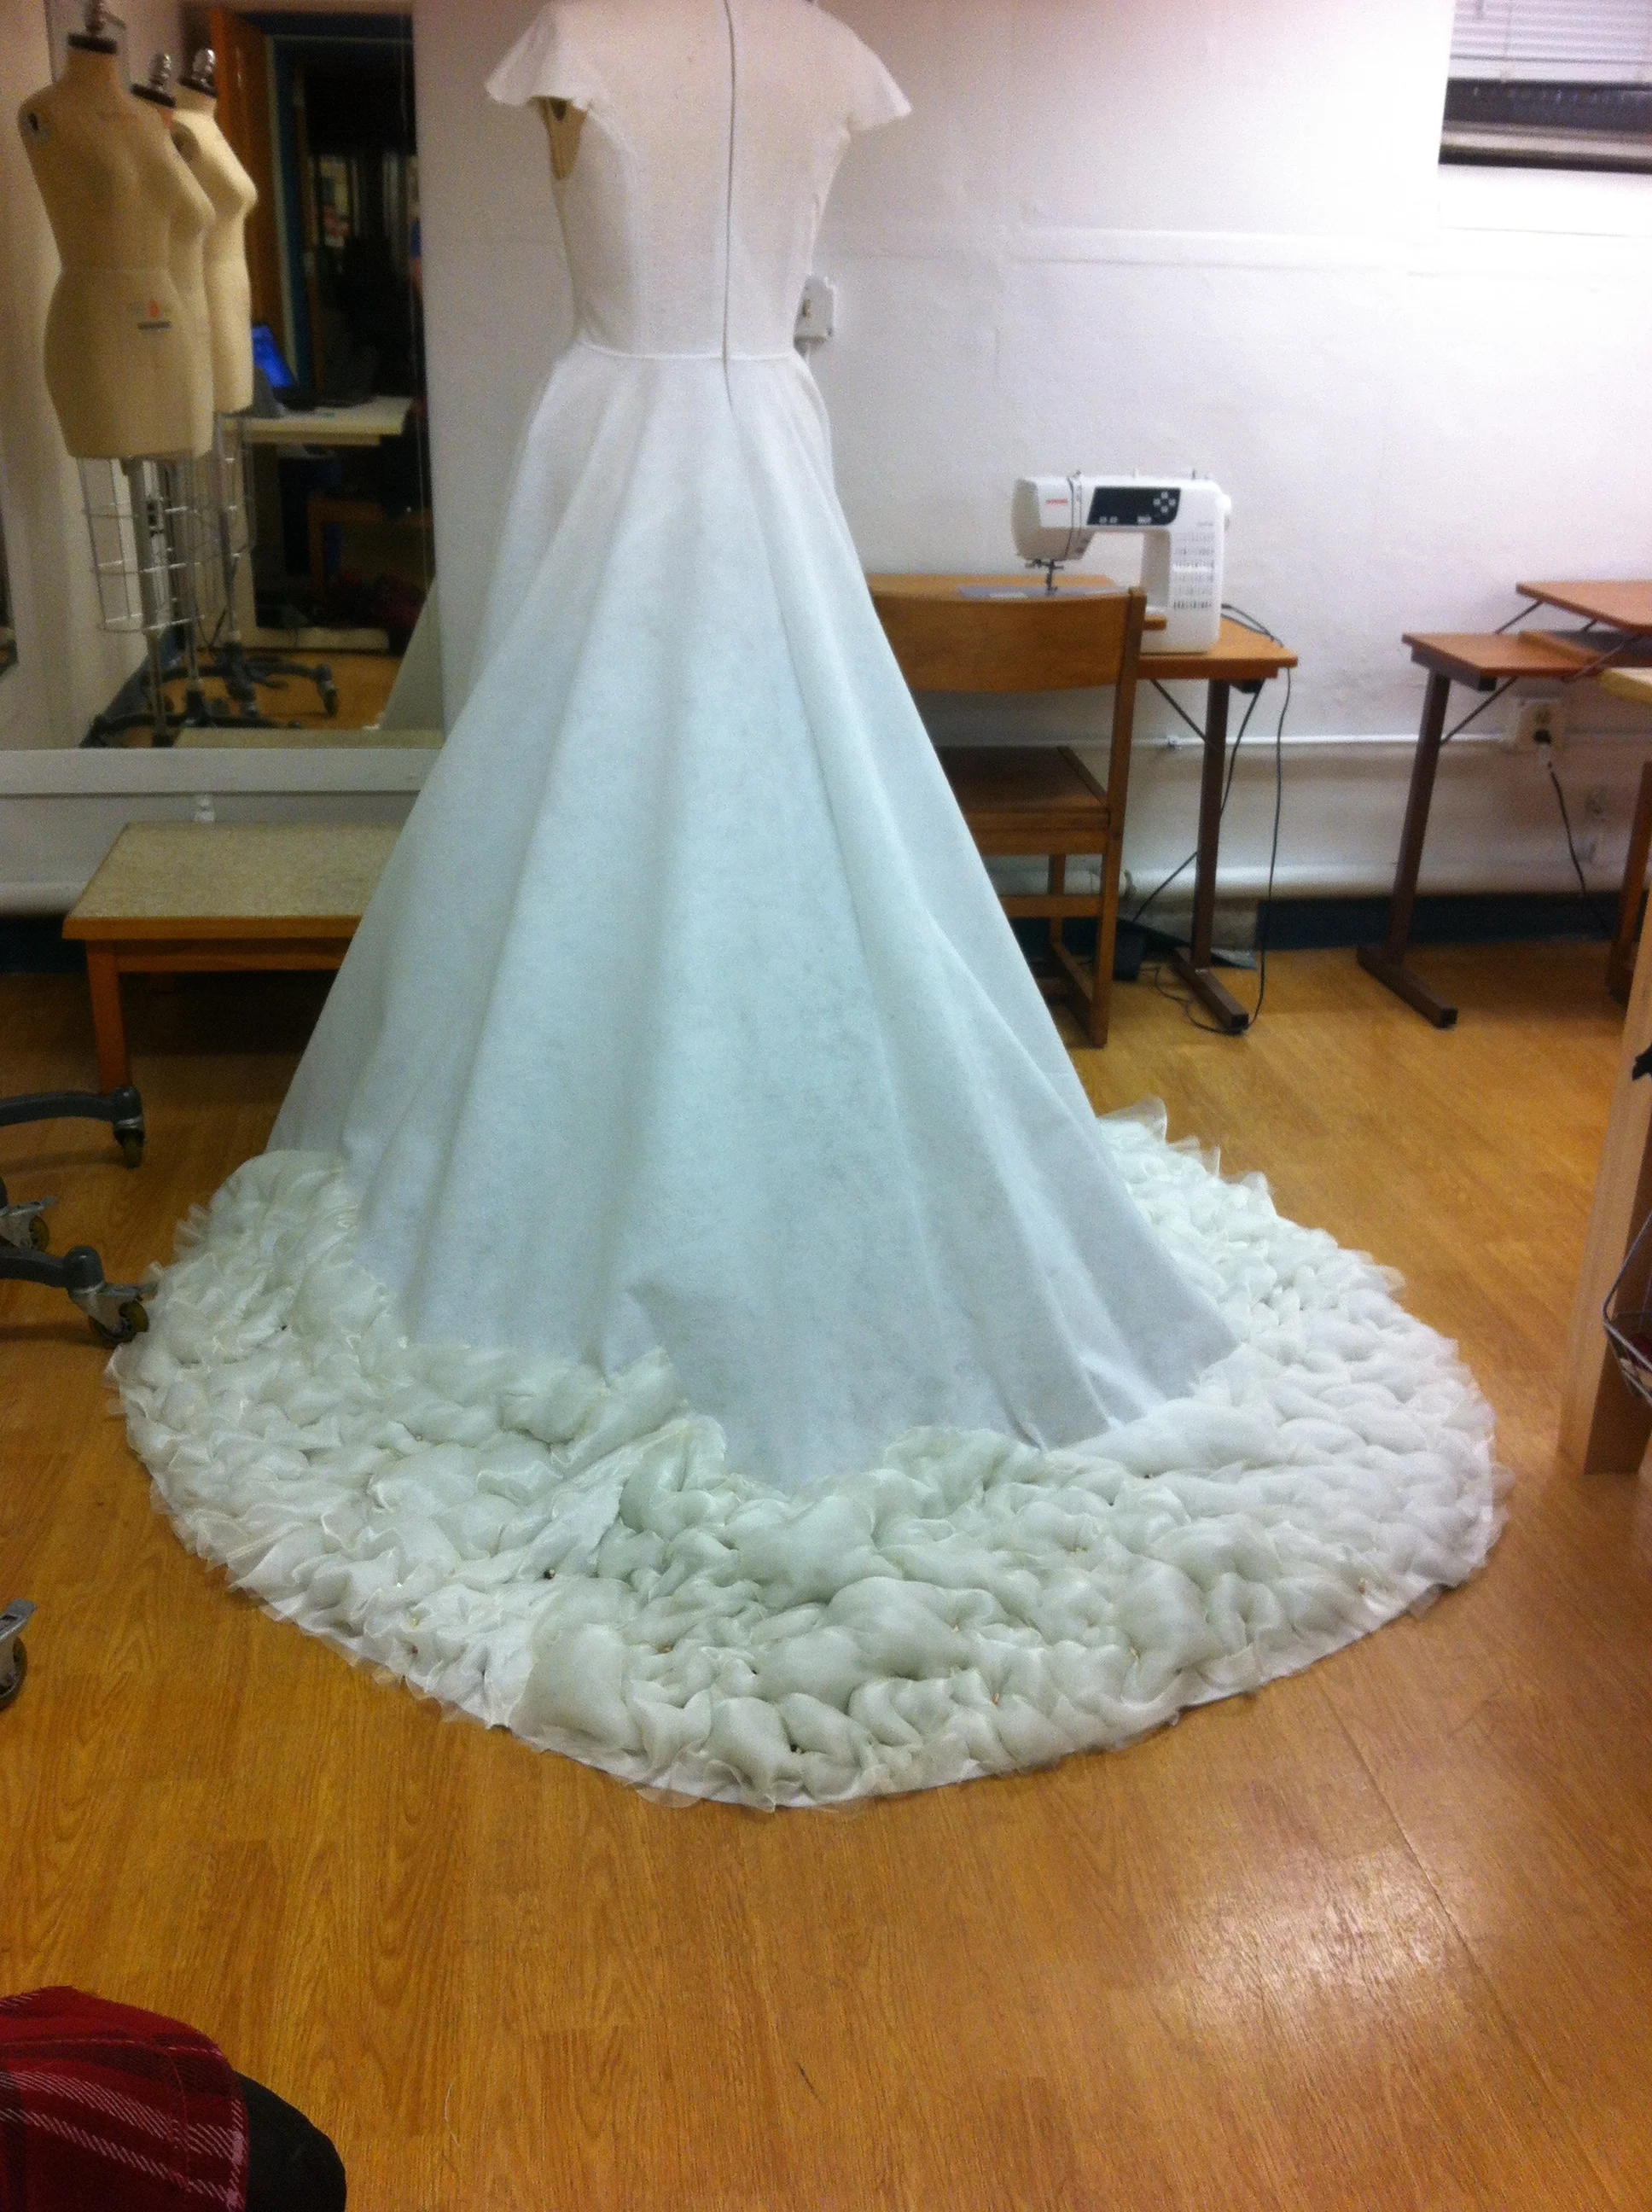
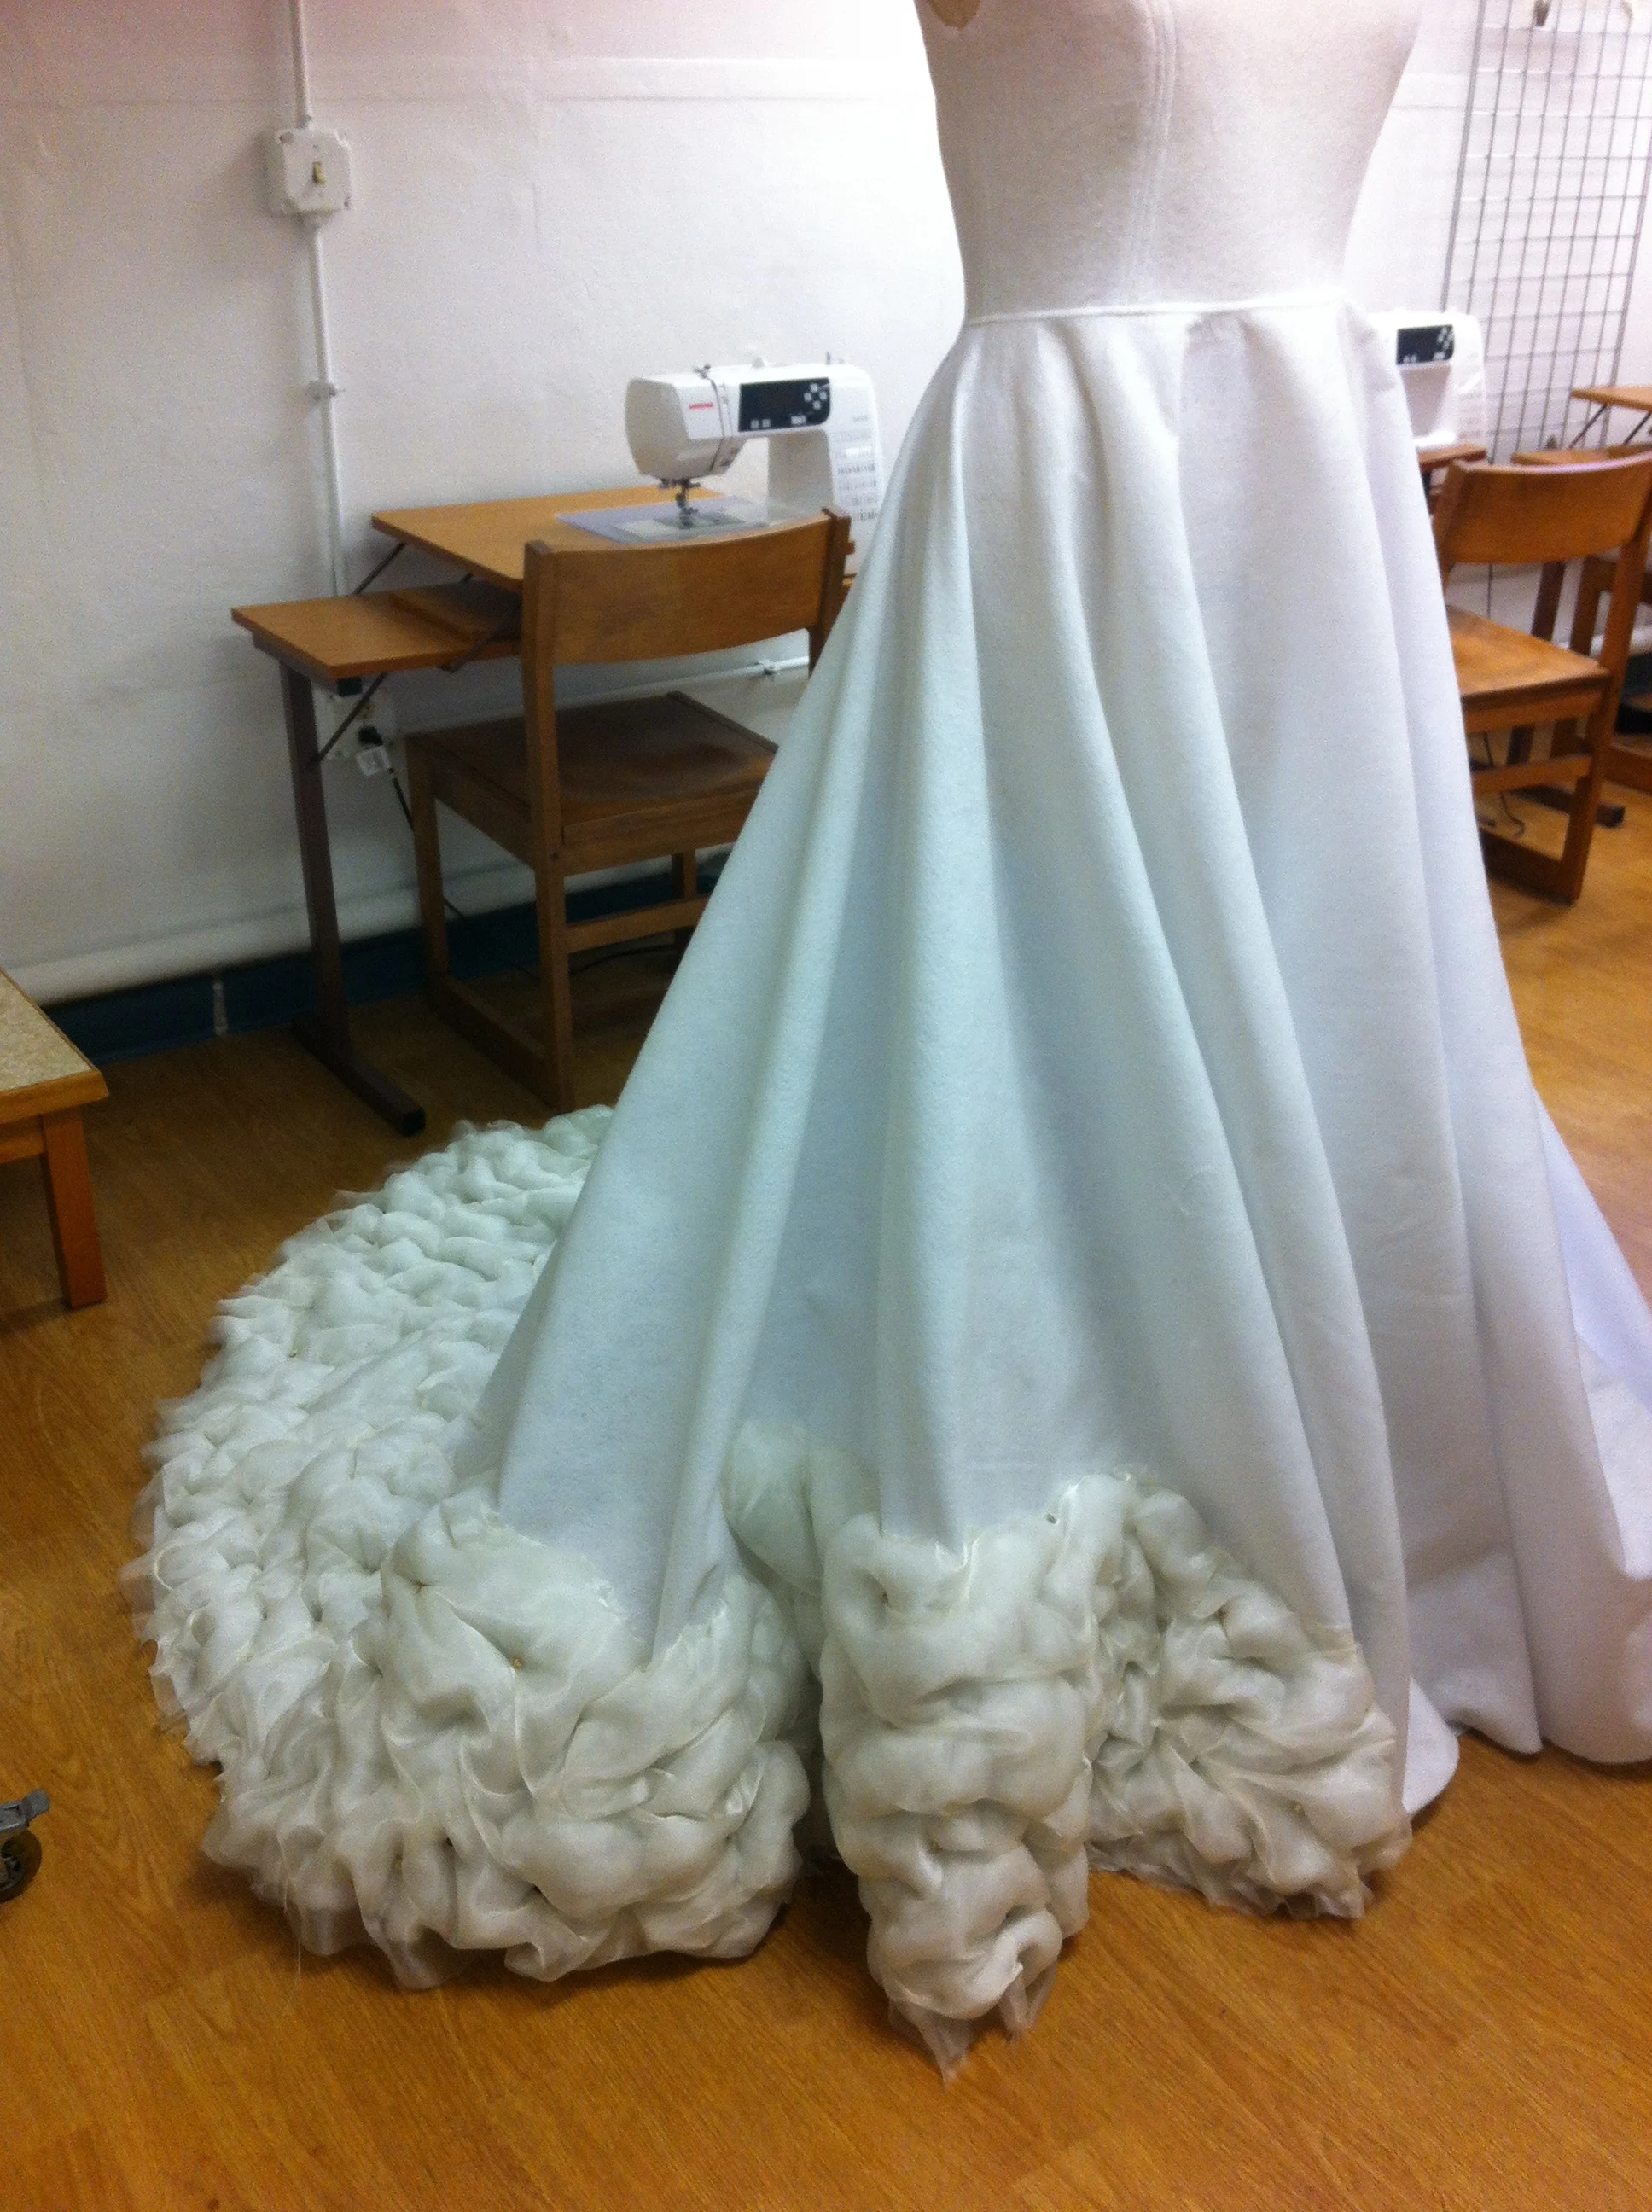
First off, wonderful readers, I would like to apologize for the astonishing lack of updates on this blog and on this website in general. The last two years have been a whirlwind of changes on both a personal and professional level. Since the last post in March of 2016, I have earned my doctorate degree, presented the Seafoam dress at ITAA and won a major award for it, completed a 3rd project in the Tribute to the Oregon Coast series, moved from teaching at Mount Mary University to now teaching at my alma mater Framingham State University, and am now living in a house that I am renting to own!

The most recent exciting news is that this Earth Day, April 22, 2019 I will be having a solo exhibition of my Tribute to the Oregon Coast garments on display at the Henry Whittemore Library on the FSU campus. The exhibition will open with a reception and a talk I will be giving on creative scholarship and my process on creating the garments. This exhibition will also showcase the fourth and final garment in the series: Vegetation!

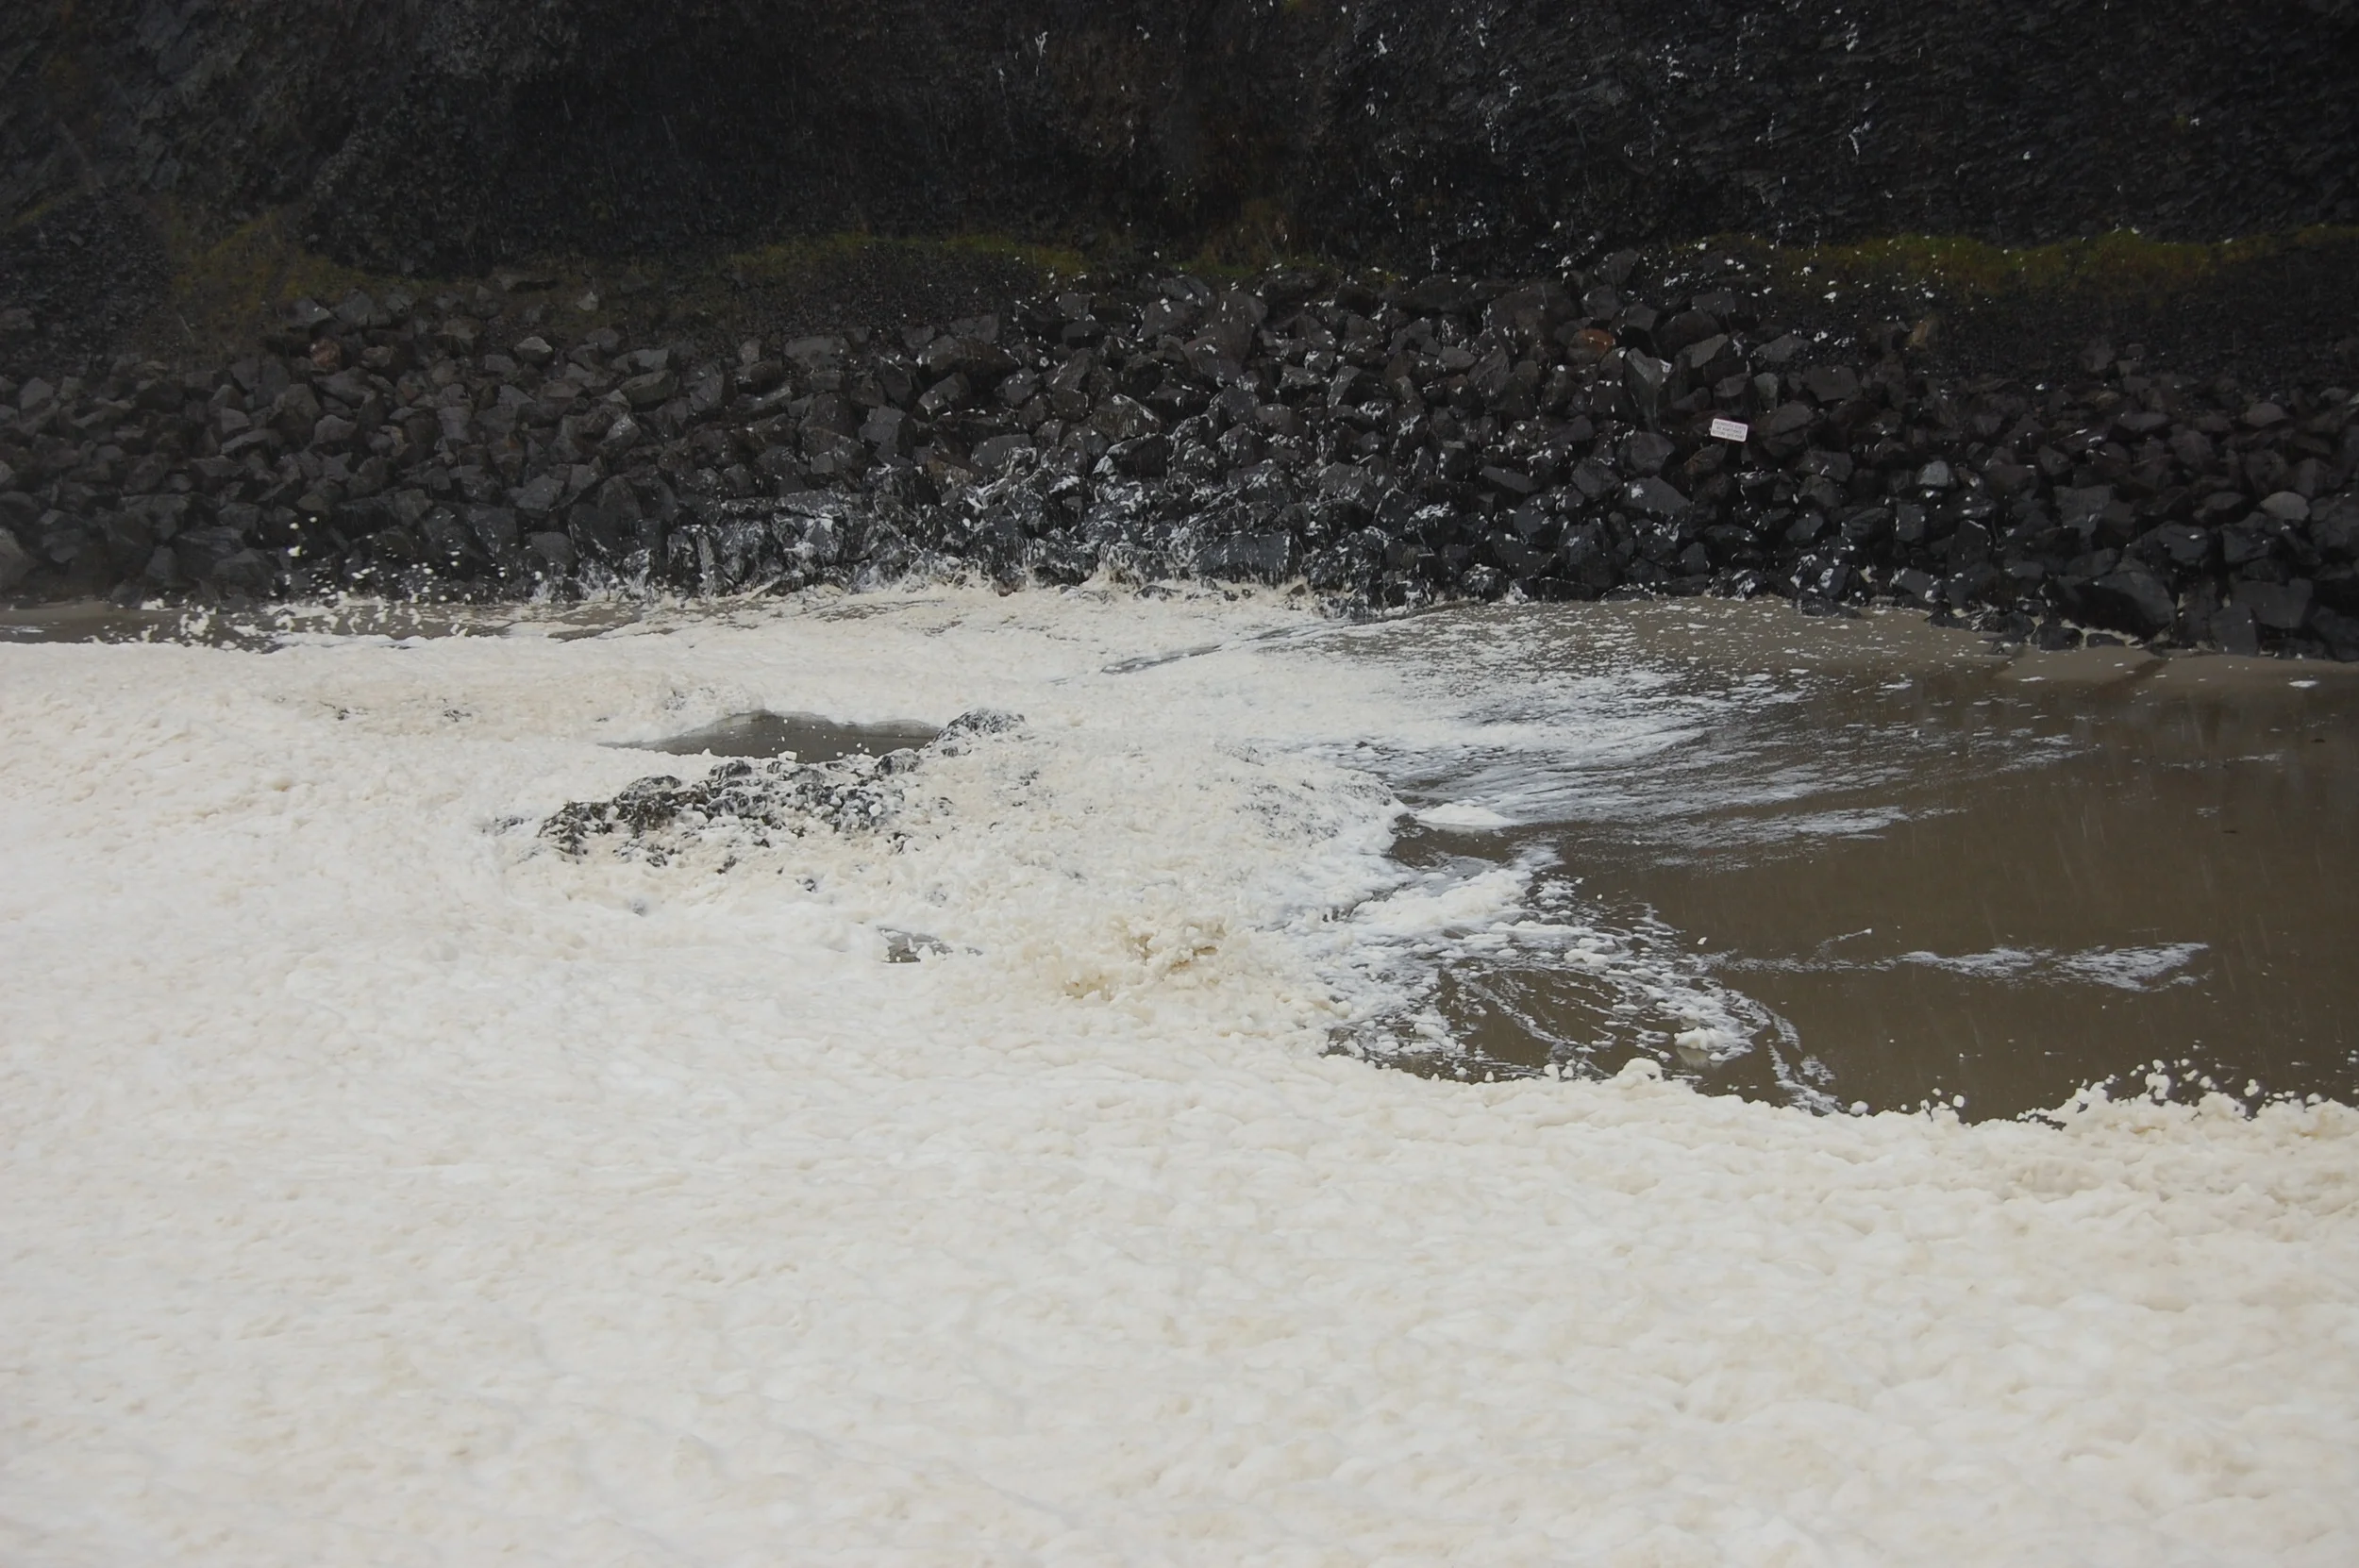
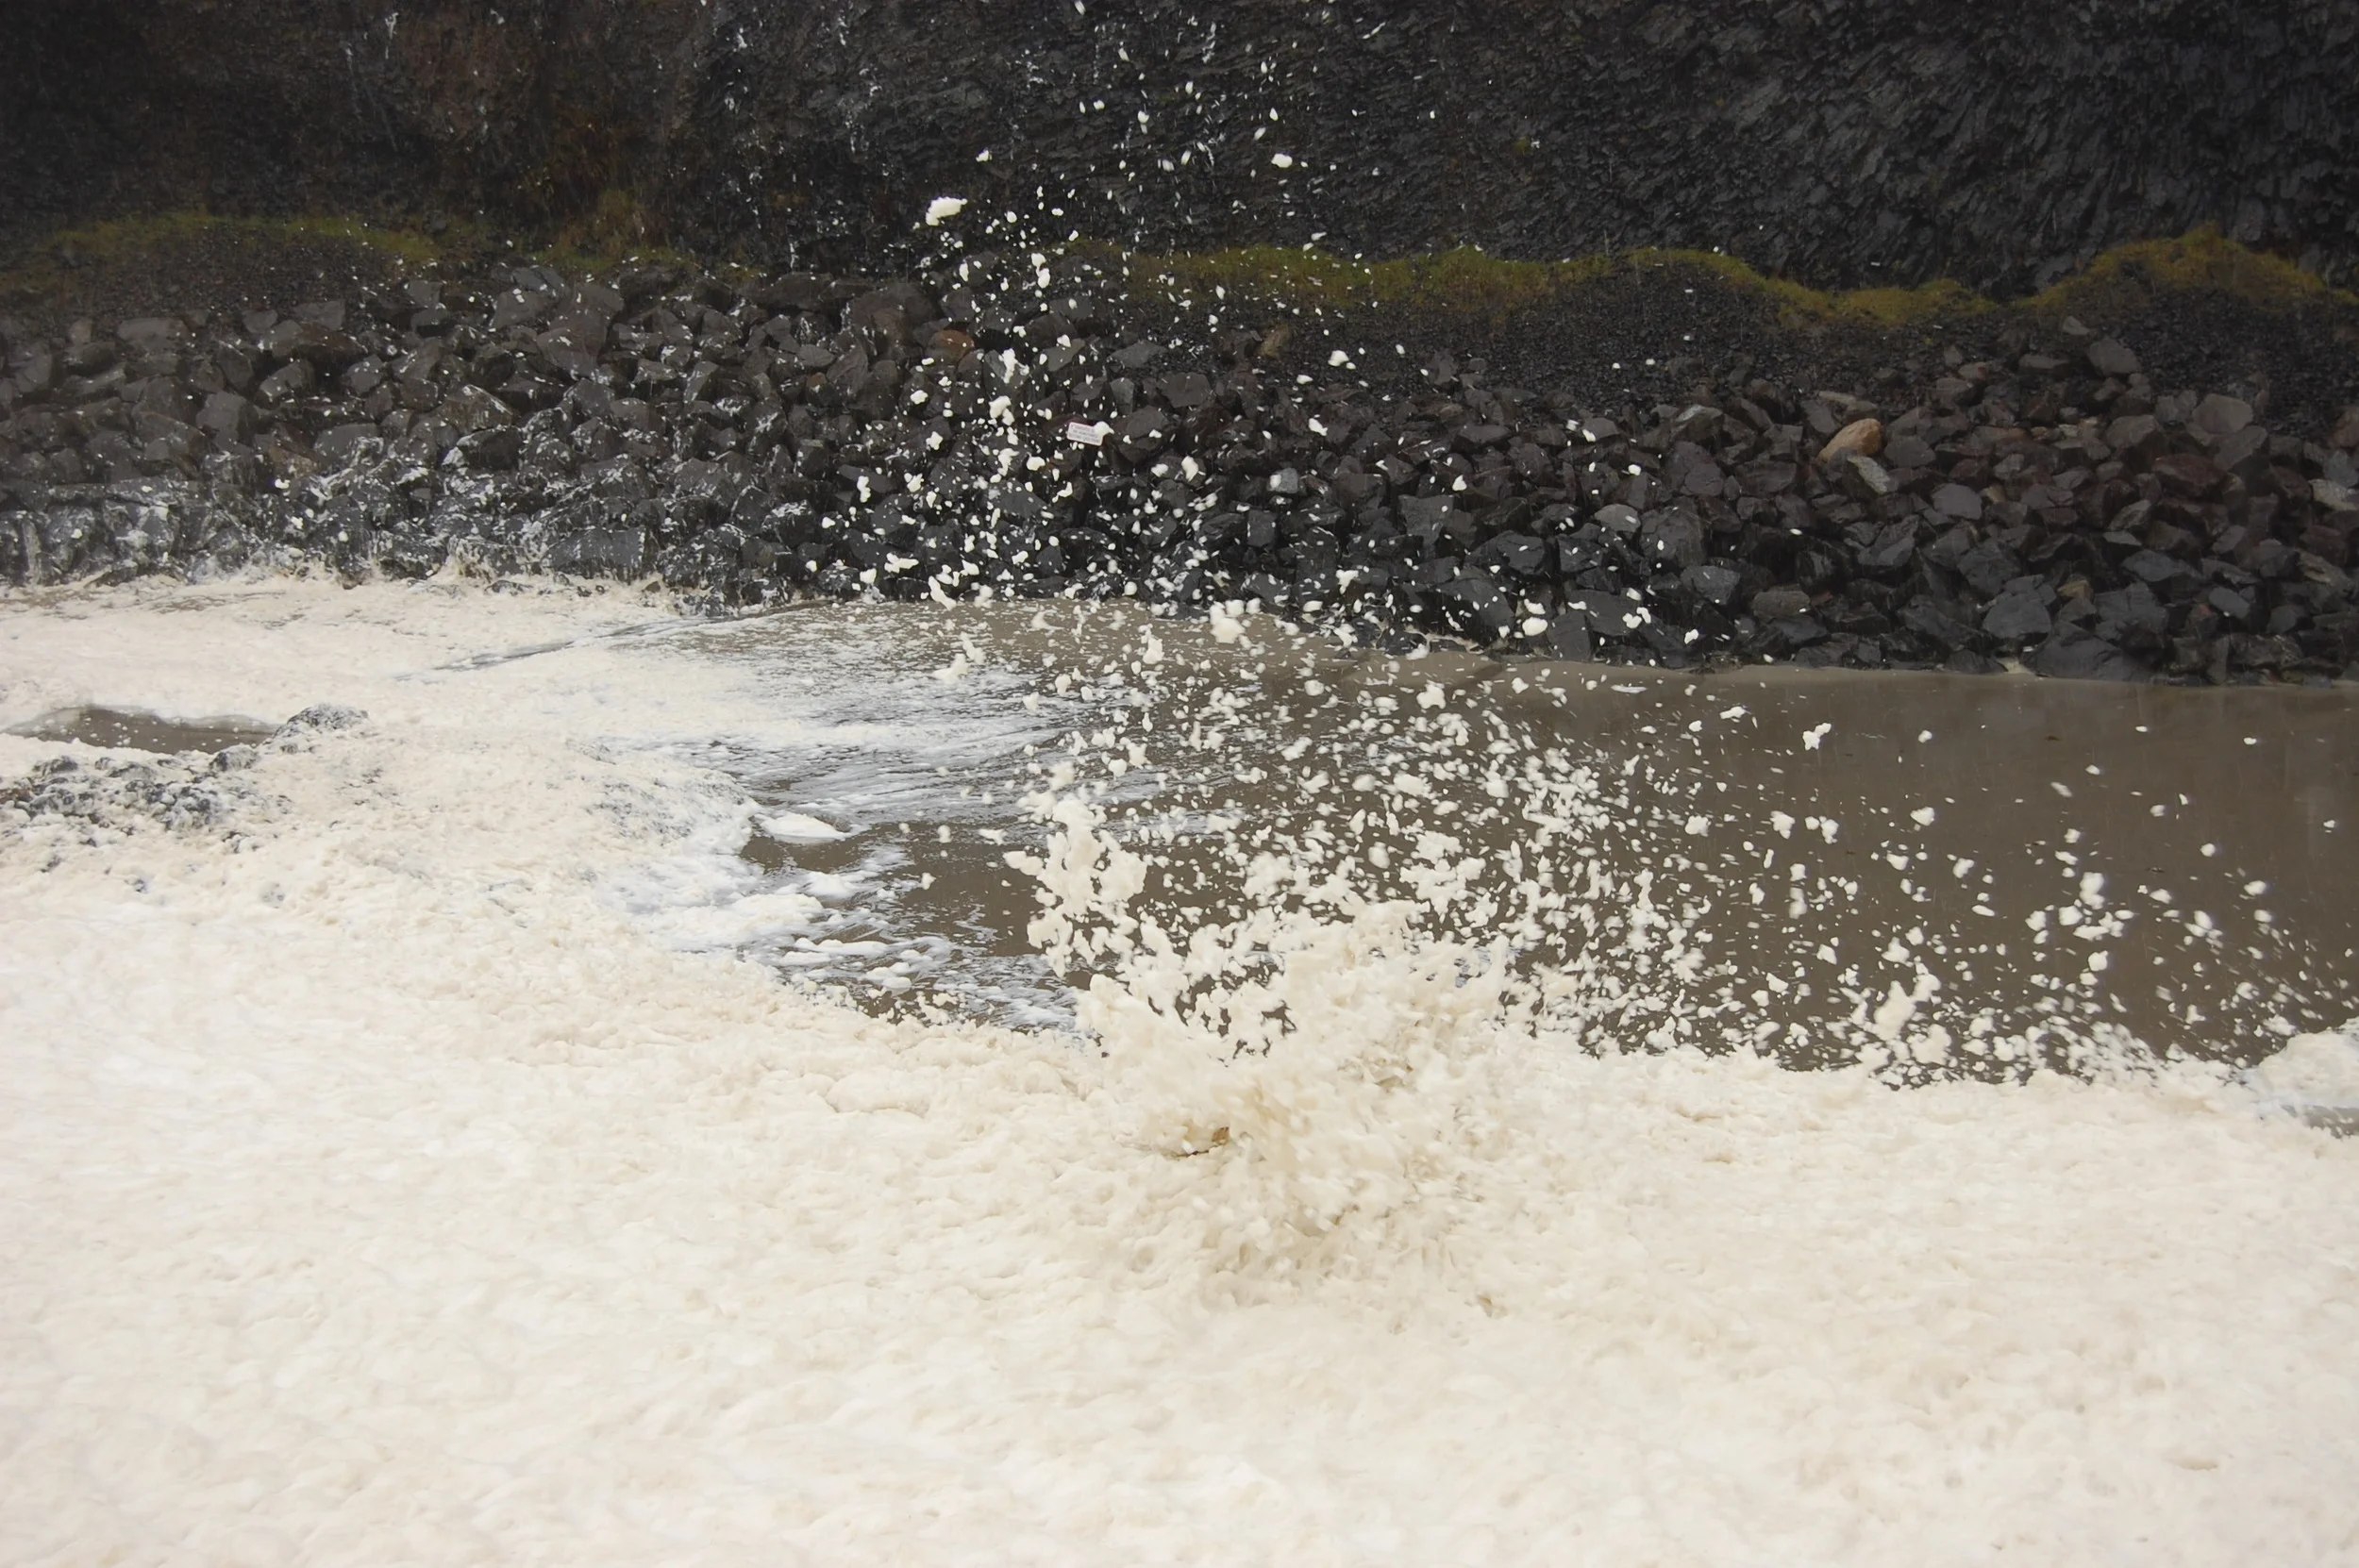
The concept for the Vegetation project has been something I have had in mind since the beginning of the series. When I used to spend time out in Newport and Yachats, Oregon and on the shores of Orcas Island up in Washington State, the coastline would often be littered with various washed up seaweed and kelp species from the area. The waves would often tangle the long stems and leaves into piles along the shore. After laying out in the sun for hour they would start to smell and dry out. I always thought the pieces had an interesting texture and shape, and the tangled up piles were fun to poke with sticks! While these were interesting on the surface, the kelp along the coastline has a number of uses and benefits to the ecological landscape.

https://www.discoverourcoast.com/coast-weekend/coastal-life/wild-side-nereocystis-luetkeana-bullwhip-kelp/article_9e7a6438-856f-569d-b496-9b7412640b84.html

http://www.methowvalleyherbs.com/2008/06/pickled-bullwhip-kelp.html

https://www.opb.org/news/article/kelp-seagrass-oysters-ocean-change/

As seen in the articles linked above, the kelp can be harvested and used for pickling , and according to the third article, could be used to help regulate the acidification that is effecting the oyster population along the entire Pacific coast. With these benefits in mind, I found it appropriate to end the series with designing a garment that would aid in bringing awareness to a more positive environmental phenomena.

My very early sketches of this concept were very literal—like making a gigantic bullwhip kelp as a dress. Structurally this could be interesting, but I was having difficulty finding workable fabrics with the color and texture that looked the most like the kelp and would work well with the shape. I played with this concept for months, but never felt the spark of inspiration to move forward on testing these designs out. The second one seriously just gives me tennis ball vibes. Yikes!

I lost steam with this project until February when I stumbled upon a really unique leather hide in a small fabric shop in New York City during a school field trip. I admit that I find working with leather very daunting. I’ve never made anything but small accessories from leather, and the price usually scares me off. I did love the color and texture of this hide though, so I took a picture and left it in the store. I thought about that leather for months. I had serious buyers regret. I could not find anything quite like it anywhere locally. I took another trip out to NYC in May and went on a wild goose chase trying to track down the same store and amazingly the leather hide was still there! I could not leave without it. It turned out to be the most money I’ve ever spend on a single fabric purchase but I think it is absolutely perfect for this project. That being said, I now finally have to face my fear of cutting into it!

I jumped back into this project reinvigorated to try all new territory. Sewing in leather was one hurdle I would have to jump, so why not give myself a few more? So I am going to make this piece a menswear project! I have yet to make a non-cosplay specific menswear piece. In contrast to some of my earlier creative scholarship, I am also aiming to make this more of a wearable piece with elements that could be worn separately in everyday life. I am going to be fitting this garment to a very special friend of mine, and he is serving as a muse for this project.

I am aiming to create a three piece look for this project: a leather jacket, digitally printed shirt, and modern kilt. My model enjoys wearing kilts, and finds them easy to wear and style with many types of other garments. My hope is that he can incorporate this piece into his wardrobe.

I’d like to share some of the journaling and brainstorming I’ve been doing over the past few weeks. Whenever I start a new project like this I like to quickly sketch many different ideas, jot notes, and figure out specific embellishment techniques that would work well with my intended design. For this project I am considering trapunto, cording, and heat forming techniques on the leather. I cut a small section of the hide and practiced with a few different techniques. I am heavily leaning towards the design in the third and fourth images, as I like the balance of the embellishments on the coat with the shirt and kilt.

I have much, much more to go on this project, but I am hoping to make considerable progress over the next few weeks. I have already created a print and had a swatch sent from Spoonflower. The colors are not to my liking so I am going to try a couple more varients before I settle on a final design. You can look forward to seeing that in the next post!

Thanks for reading and I’d love to hear your feedback on what I am working with so far!

Best,

Laura

A Tribute to the Pacific Coast Part 2-PROGRESS!

Well it's been a few long months of working on this dress now and I'm finally starting to see the end. This gown has been a labor of love and I am just obsessed with how it is coming out.

If you follow my Facebook page you've probably seen my progress photos. I went with the technique I posted about in the last blog. One of the coolest things is seeing how the foam "grows" from photo to photo.

Each and every puff is sewn down by hand to the felt underlayer. In nearly every puff I've sewn in beads, shells or sequins so in person there is a very natural and almost "sandy dirt" look to it. The garment looks so much more gritty and "wet" in person due to the shimmer of the organza and the texture of the batting coming through the sheen of the organza. I am very happy with how the garment is coming out. It weighs a ton, will be very difficult to pack into a closet or a box, but I love it so much I don't care. I hope to someday photograph it on the actual Oregon coast.


The rest of the garment will have the puffs getting smaller, more concentrated, and covered in more beads. I'm hoping that by sewing in more beads there will be a slight difference in overall color as well. I'm leaving the bottom edge of the garment unhemmed because I really liked the broken deconstructed look of it. This dress is not meant to be pretty. I wanted it to look very organic.

If you want to keep up to date on more progress be sure to Like my Facebook page. I often post my progress pictures on days that I work! 

Thanks for reading!

A tribute to the Pacific coast part 1: Dancing Seafoam

In the last few weeks I've begun to think about where I would like my design scholarship to go. I've been seeing patterns in my work over the last few years and my time spent at ITAA seeing other scholars design work has made me think more critically about what kind of designer I am and what I hope to accomplish as a designer. I've done some reflection on the work that I've done and thought about the kinds of things I'd like to do and have noticed my work follows two veins: studies in sensory experience and tributes to natural phenomena through clothing (sensory experience being my autobiographical projects, projects based on movement, or clothing to elicit sensory responses). I have decided to pursue both of these endevours in a more purposeful way to create more complete and rigorous design scholarship. This year for my three ITAA entries I've decided to focus on tributes to natural phenomena. My first project in this new series will also be a study on movement and texture. I've decided to design three garments that pay tribute to my favorite place in the world: the Pacific coastline, specifically along the Oregon and Washington coasts. 

The very first time I visited the Oregon coastline I went with my mother and my husband and it was shortly after our move to Oregon. The day was abysmal. It was very rainy and the wind was gusting close to 70mph. We tried to make the best of it and visited several key locations near Newport, OR. The most memorable place for me was the Yaquina bay natural area. We walked out to view the water and this odd seafoam had built up on the water and seemed to be overtaking the shoreline. The waves made the foam undulate with each swell and the wind was causing the foam to break up and fly into the air like snow. It was absolutely mesmerizing to watch. I had tried to capture the phenomena on my camera in several photos.

The foam was a light beige color, and parts of it were mixed with sand and various flotsam and jetsam from the shore. The surface of the foam was bumpy, almost like lava, but the whole thing moved with lightness and quivered in the high wind. It was beautiful.

Since seeing this I started to think about how I could mimic that kind of movement in a garment. The juxtaposition of the heavy looking sheet of foam with the lightness of it when wind hits it is fascinating. I began with some crazy ideas. My first involved trying to replicate the vertical flight of the foam in a swirling vortex. I designed large complicated garments with fans built into the skirt and along the back. I had pictured wiring all the fans to a phone app that I could turn on with the touch of a button and parts of the garment would lift and swirl seemingly on its own. This turned out to be a much larger engineering feat than my means could pay for (the only way to get battery operated fans all synched to an app was through a custom battery unit produced by one company that still had the project in Kickstarter phase and it would have cost hundreds!) I decided to test my grand idea on a small scale and purchased a small desk fan (small enough to sew into a garment) and sewed some fabric strips to it. The result was comical. Only the fabric closest to the blades would lift, and once they reached a certain height they'd fall in a sad stringy mess to the side. I had to change my approach.

I sat on the idea for a month or two trying to decide how to approach mimicking the seafoam. I thought of maybe sculpting cotton gauze with starch in order to get light but solid "bubbles" that I could loosely attach to a base fabric. This idea could work, but I did not like the woven texture the gauze would have, and the technique would be messy and not quite the light-but-solid look I was going for.

This last week I came upon a technique I think will work. I purchased batting, felt, and organza and constructed a small sample of "puffed" bubbles much like the image above. I layed batting in between the organza and felt and sewed tucks into the fabric, making ridges that resulted in fabric that looked a lot like the foam. The result is not light on its own, but with the right design and silhouette the movement of the garment itself could lend to the movement I am looking for. 

To make the look more authentic, I sewed small glass beads, sequins, wooden beads, and sea shells into the tucks of the puffs much like how parts of the shore were mixed into the foam.

Once I had the technique down I began to think about the garment. I wanted the garment to have a large sweeping hem so that as the model walked the movement of her legs would add to the look of the garment. I immediately was drawn to one of my favorite Alexander McQueen garments: the Oyster dress

This dress was part of his Spring/Summer 2003 "Irere" collection wherein many designs were inspired by a ship wreck at sea. See the entry for this at the Met here.  The gown is made to look like the edges of an oyster shell, and the large skirt and hanging ruffles reflect the image of a drowned maiden emerging from the waves. I adore this gown and the movement and rawness of it. The hanging strands of silk over the shoulders and the complex laying of the skirt are incredible. Seeing this garment in motion is similar to  the type of movement I picture the foam dress to have. You can see the gown in motion here at 5:45. (I've also noted that the shape of this gown is similar to Elphaba's second act dress in Wicked but on a much larger scale and that's probably why I love it so much)

I decided that my silhouette would be less full, but still flared to allow full movement. I designed a high necked, extended sleeve bodice with a long circle skirt base to sew my puffs on to. My goal is to make my model look as if she just stood up from the sea and the foam has surrounded her body. Today I constructed the base of the garment from 72" craft felt so I have a sturdy, yet flexible base to sew my designs onto. The dress zips up with a cream colored invisible zip (since the fabric on top will eventually be cream colored). The waistline and shoulders are reinforced with twill tape to help support the eventual weight of the dress. 

Once I get a large portion of the puffs sewn on I will make a new blog post about that. For now I have a lot of work ahead of me!!