Costume Research-Cruella deVil

Hi All! 

For those who don't know, I have a younger sister who is CRAZY about Glenn Close, Maria Friedman, Julie Andrews and Gertrude Lawrence. She runs her own blog dedicated to these ladies and more over on Tumblr under the name LadyLizaElliott. She has some sewing experience, having worked with the University of Rhode Island's costume shop for a number of years, and having me as a sister :) She does not cosplay much, but she has always wanted to make one of the gorgeous costumes Glenn Close wore as Cruella deVil from the live action version of 101 Dalmatians. She decided to finally tackle making one of the costumes this year after my sister in law agreed to dress her two adorable daughters (1.5 and 2.5 years old) as dalmatians for Halloween if my sister dresses as Cruella. 

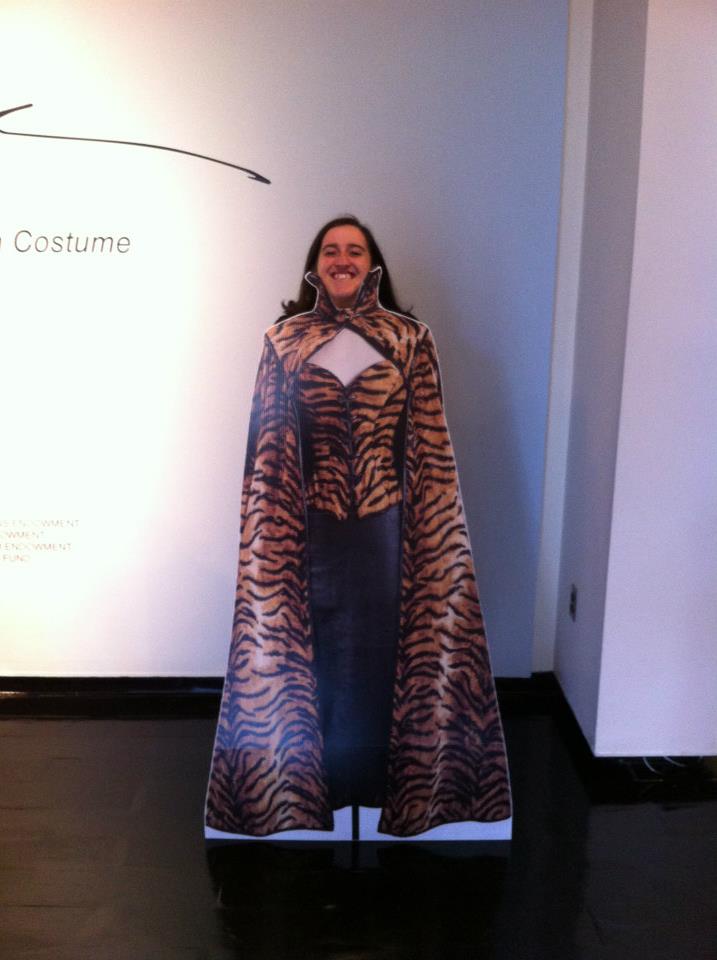
My sister had the chance to visit the Glenn Close costume exhibition on display at the Muscarelle Museum of Art at the William & Mary University earlier this year. She was able to see a number of Cruella costumes up close, and came away with her own costume notes and was generously given one of the full sized cardboard cutouts of the tiger printed corset and cape. It now sits displayed in her closet in her room.

After much debate she decided she'd like to recreate the tiger printed outfit for her Halloween costume. She contacted me asking tips on how to construct the cape of the ensemble. As I began to break it down I decided to document my findings here for others to see!

The original costumes were designed by Anthony Powell and have a number of beautiful design details. There are a number of great promotional shots of Glen in the costume. Here are most of them:

The first thing I'd like to point out is the way the sleeves on the cape are constructed. The first two photos are the best for viewing how they are put together. Take note of the binding surrounding the end of the sleeve. It looks like the back of the cape is tacked to the front of the sleeve at a corner in the front. If you follow the pivot of the binding at the wrist towards the underarm or bottom of the armseye you can see that the binding ends under her armpit. Looking at the picture of the back of the cape there is no indication that the binding is attached to the back anywhere but at the wrist and underarm. To get a better idea of this imagine draping a towel over your arm with one edge hanging longer than the other. Then pinch the shorter corner to the part draped over the back. I think this is how her cape is constructed.

For the yoke portion of the cape it is pretty straightforward. There are some seriously padded shoulders happening, which is easy to recreate by adding shoulder pads between the outer fabric and the lining. The back of the cape has some interesting seaming, which can be seen in this lightened screenshot from the movie:

In this shot it is clear that there is a seam at center back on the collar and the center of the cape. There is likely a side seam at the collar in order to get that exaggerated curved shape. Take note of the binding at the side of the armhole. It does not continue all the way around the armseye, which further points to the idea that the sleeve just wraps around and tacks down under her arm instead of being sewn in as a traditional sleeve. 

There's one more picture I'd like to share and that's this one:

This is a shot of the costume from the movie that I lightened so you can see the cape better. Take note of the direction of the tiger stripes here. There is a distinct difference in the direction of the stripes from the sleeve portion and the center back panels. This indicates that there are seams down the back of the cape. It is likely that the cape is constructed in four pieces: two sleeves and two back panels. The seam connecting the back panels to the sleeves likely runs in line with the armseye seam along the back of the yoke. 

I did not do any research into the way that the cape closes since my sister got to see the costume up close and has a much better idea of the closure and the brooch that is at the neckline.

To try and illustrate all these details a little easier I did a very rudimentary sketch. This is by no means meant as a definite illustration of what the cape actually looks like, it is just my interpretation in order to hopefully make everything a little easier to visualize.

I also did a very basic sketch of what some of these patterns would look like. Again, this is just for reference and not to scale or the exact shape. These are just for visual reference.

That's all for now. I will keep updating with new information and progress as she works on her costume!

Anna Coronation Dress Part 1

This blog post was originally published on my old website and has been reposted here unchanged.

Well it’s that time of year again when school is done for the summer, ITAA projects are finished and turned in, and I’m itching for a new project. I have really important graduate school tests to take over the summer, so my goal with my new project is to provide me something I can work on in my downtime at night after writing all day. My project would double as my Halloween costume, so it has to be fun. I decided on Anna’s Coronation gown from Frozen since I love the movie, my sister in law is convinced I am Anna, and my 2 year old niece will love it. The embroidery will keep me occupied for most of the summer so it’s perfect.

Since Frozen is so popular I thought I’d document my process in an almost tutorial like fashion in case other cosplayers are interested in how my costume is made.

I’m going to start from the inside out (sorta) I’m starting with her petticoat, then skirt, bodice, wig, and then finally her bloomers.

Today I am starting with the petticoat.

Anna’s dress has a very distinct motion in the movie, and behaves differently than most ballgowns would. Her petticoat is frequently seen when she kicks up her legs, jumps, and dances.

It appears to be a cream color, with a scalloped hem and decorative stitching. The petticoat helps to poof out her dress somewhat, but is easily collapsible, suggesting that there is no built in hoop, no visible layers of tulle, just a single layer with enough body to stand out.

Since the scene takes place in summer, it is likely the petticoat is made of a cotton-like fabric. Cotton would be period accurate, and also very breathable.

My goal with making this petticoat is to try and mimic the movement of the dress while maintaining the body the dress has while she’s standing still. In the screenshots there is no visible vertical seam lines. If the skirt was made with a single length of fabric I would be limited to 120” of fabric. I don’t think this will be wide enough so I’m going to add vertical seam lines. There is also no clear line where the facings of the scallops would be, implying the dress is lined up to the upper edge. I think a double layer of cotton would be too heavy, so I am opting for a faced scallop hem instead which will correspond with the horizontal line of decorative stitching shown in the above photos.

Lastly since the transition from her bodice to her skirt is fairly smooth, the fullness of the petticoat cannot interfere with the smoothness of this line. For this reason I will be making a yoke to stitch the petticoat onto which will then be tied at the waistline. If I wear a shaping corset underneath the bodice and over the petticoat, this will create the smooth line I am going for.

This is roughly the look I am going for. This is a crude rough sketch just to get an idea of the shape and pattern pieces. There will be a small slit at center back that will open for the drawstring. I haven’t decided how I am going to do the scallop embroidery yet but I will get to that in another post. For now I will just post about my progress so far.

I decided to flat line the cotton fabric with a thick nylon crinoline material to help give the fabric some body. I picked a crinoline in a color that is very similar to the outer fabric in the hopes that it will blend in well. The crinoline came in 54” wide bolts so I decided to make flat lining easier with little fabric waste I purchased 108” wide cotton muslin and cut it right down the middle.

I cut each of the large skirt sections in 36” long pieces. The rest of the length will be made up of the yoke section. If you are going to be doing this method always remember to check that the grain of your fabric is laying straight. I snipped and tore my fabric so I would end up with exact lengths, but check out how much my fabric was off grain straight off the bolt! With some stretching I got it pretty close to straight. Straightening the grain line of your fabric is important no matter what project you are working on!

Once I had the pieces laying straight I overlaid the crinoline on the top and pinned it all the way around the outside as flat as possible. At this point I serged them together along each side. If you don’t have a serger you can just straight stitch them together and do your seam finish when you go at attach the sides.

Once I had one panel serged together I threw some temporary gathering stitches to see how tight I could gather the material up. This allowed me to see how many panels I could theoretically stitch onto a yoke roughly 1.5x my waist. I ended up deciding to use five panels.

Once I had all five panels serged around the edges I stitched them together end to end until I had one long panel. Then I measured the length of my bottom edge to help figure out how long of a facing piece I’d have to cut. This also let me measure how big I wanted my scallops to be. I then created a pattern for the scallops that I will be transferring to the facing piece.

Next post will be about stitching the scallops and testing the embroidery!