Nova Prime Irani Rael-Guardians of the Galaxy: Part 1

Hi Everyone! 
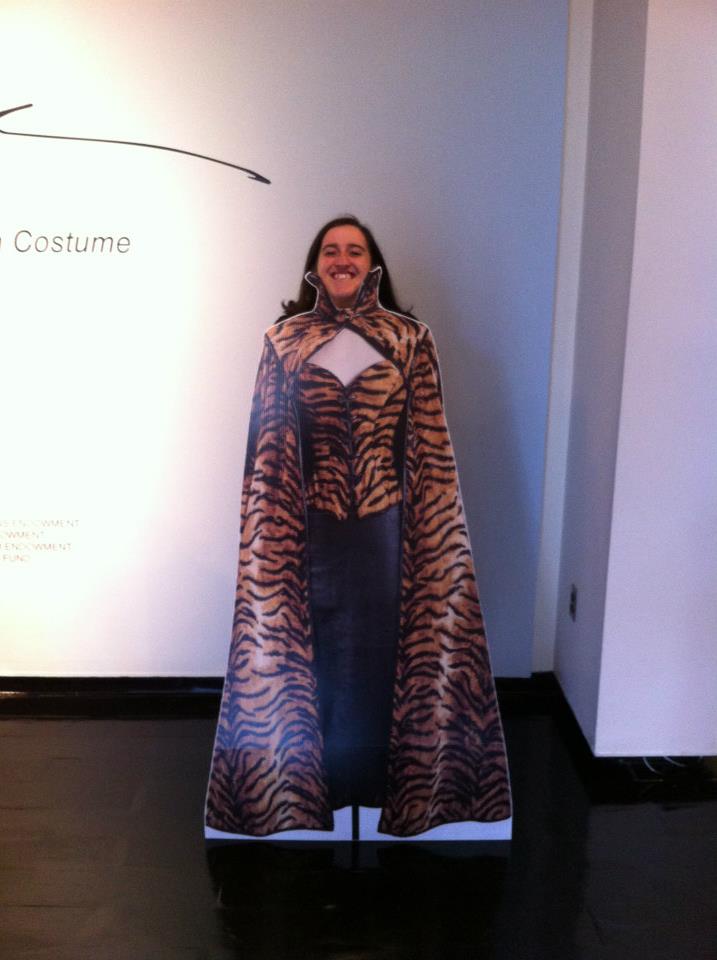
Melanie and I are at it again! Continuing her love of all things Glenn Close, my sister has decided she wants to make a Nova Prime Irani Rael costume from the Guardian's of the Galaxy movie. Being the sweet sister I am, I volunteered to make her pattern and her wig. I'm currently taking a class on pattern grading and computer pattern development using the Optitex software so I not only get to help my sister but I get some great guidance while developing this pattern.

This post today will just be focusing on the pattern for the vest. 

Now if you don't remember this character from the movie she is the leader of the police force wearing a great blue suit and crazy Saturn ring hair.

Now looking at the costume I broke it down into several parts. First is the undershirt with the white collar that peeks out from above the vest and below her sleeves. I'm not going to draft this part. I'm going to leave it up to my sister whether or not she wants to make faux cuffs/collar or make a shirt. I know she can handle it. That leaves a vest which the jacket hooks on to, a skirt, and the outer jacket layer. I ended up sketching the skirt but I'm not going to develop a pattern for it since Mel has a skirt pattern that matches it almost exactly. 

The exhibit photos were taken by Freya over on Flickr. Check out her gallery for more photos of the FIDM movie costume exhibit on display now. 

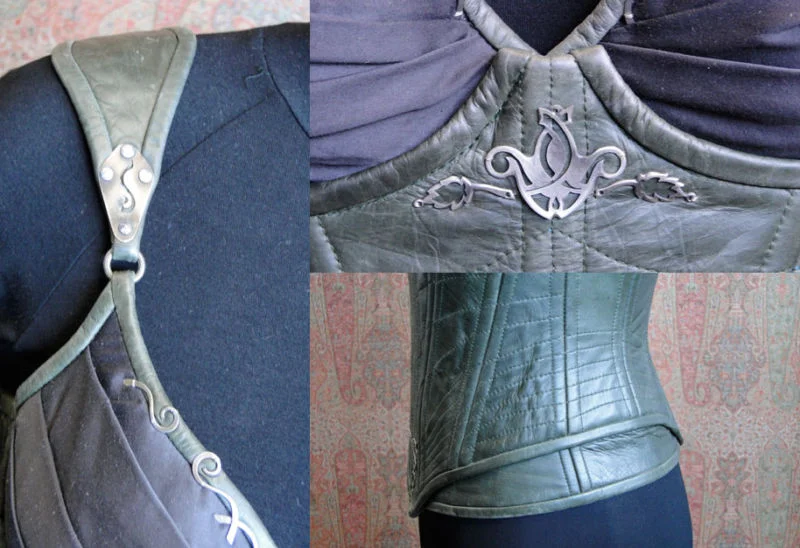
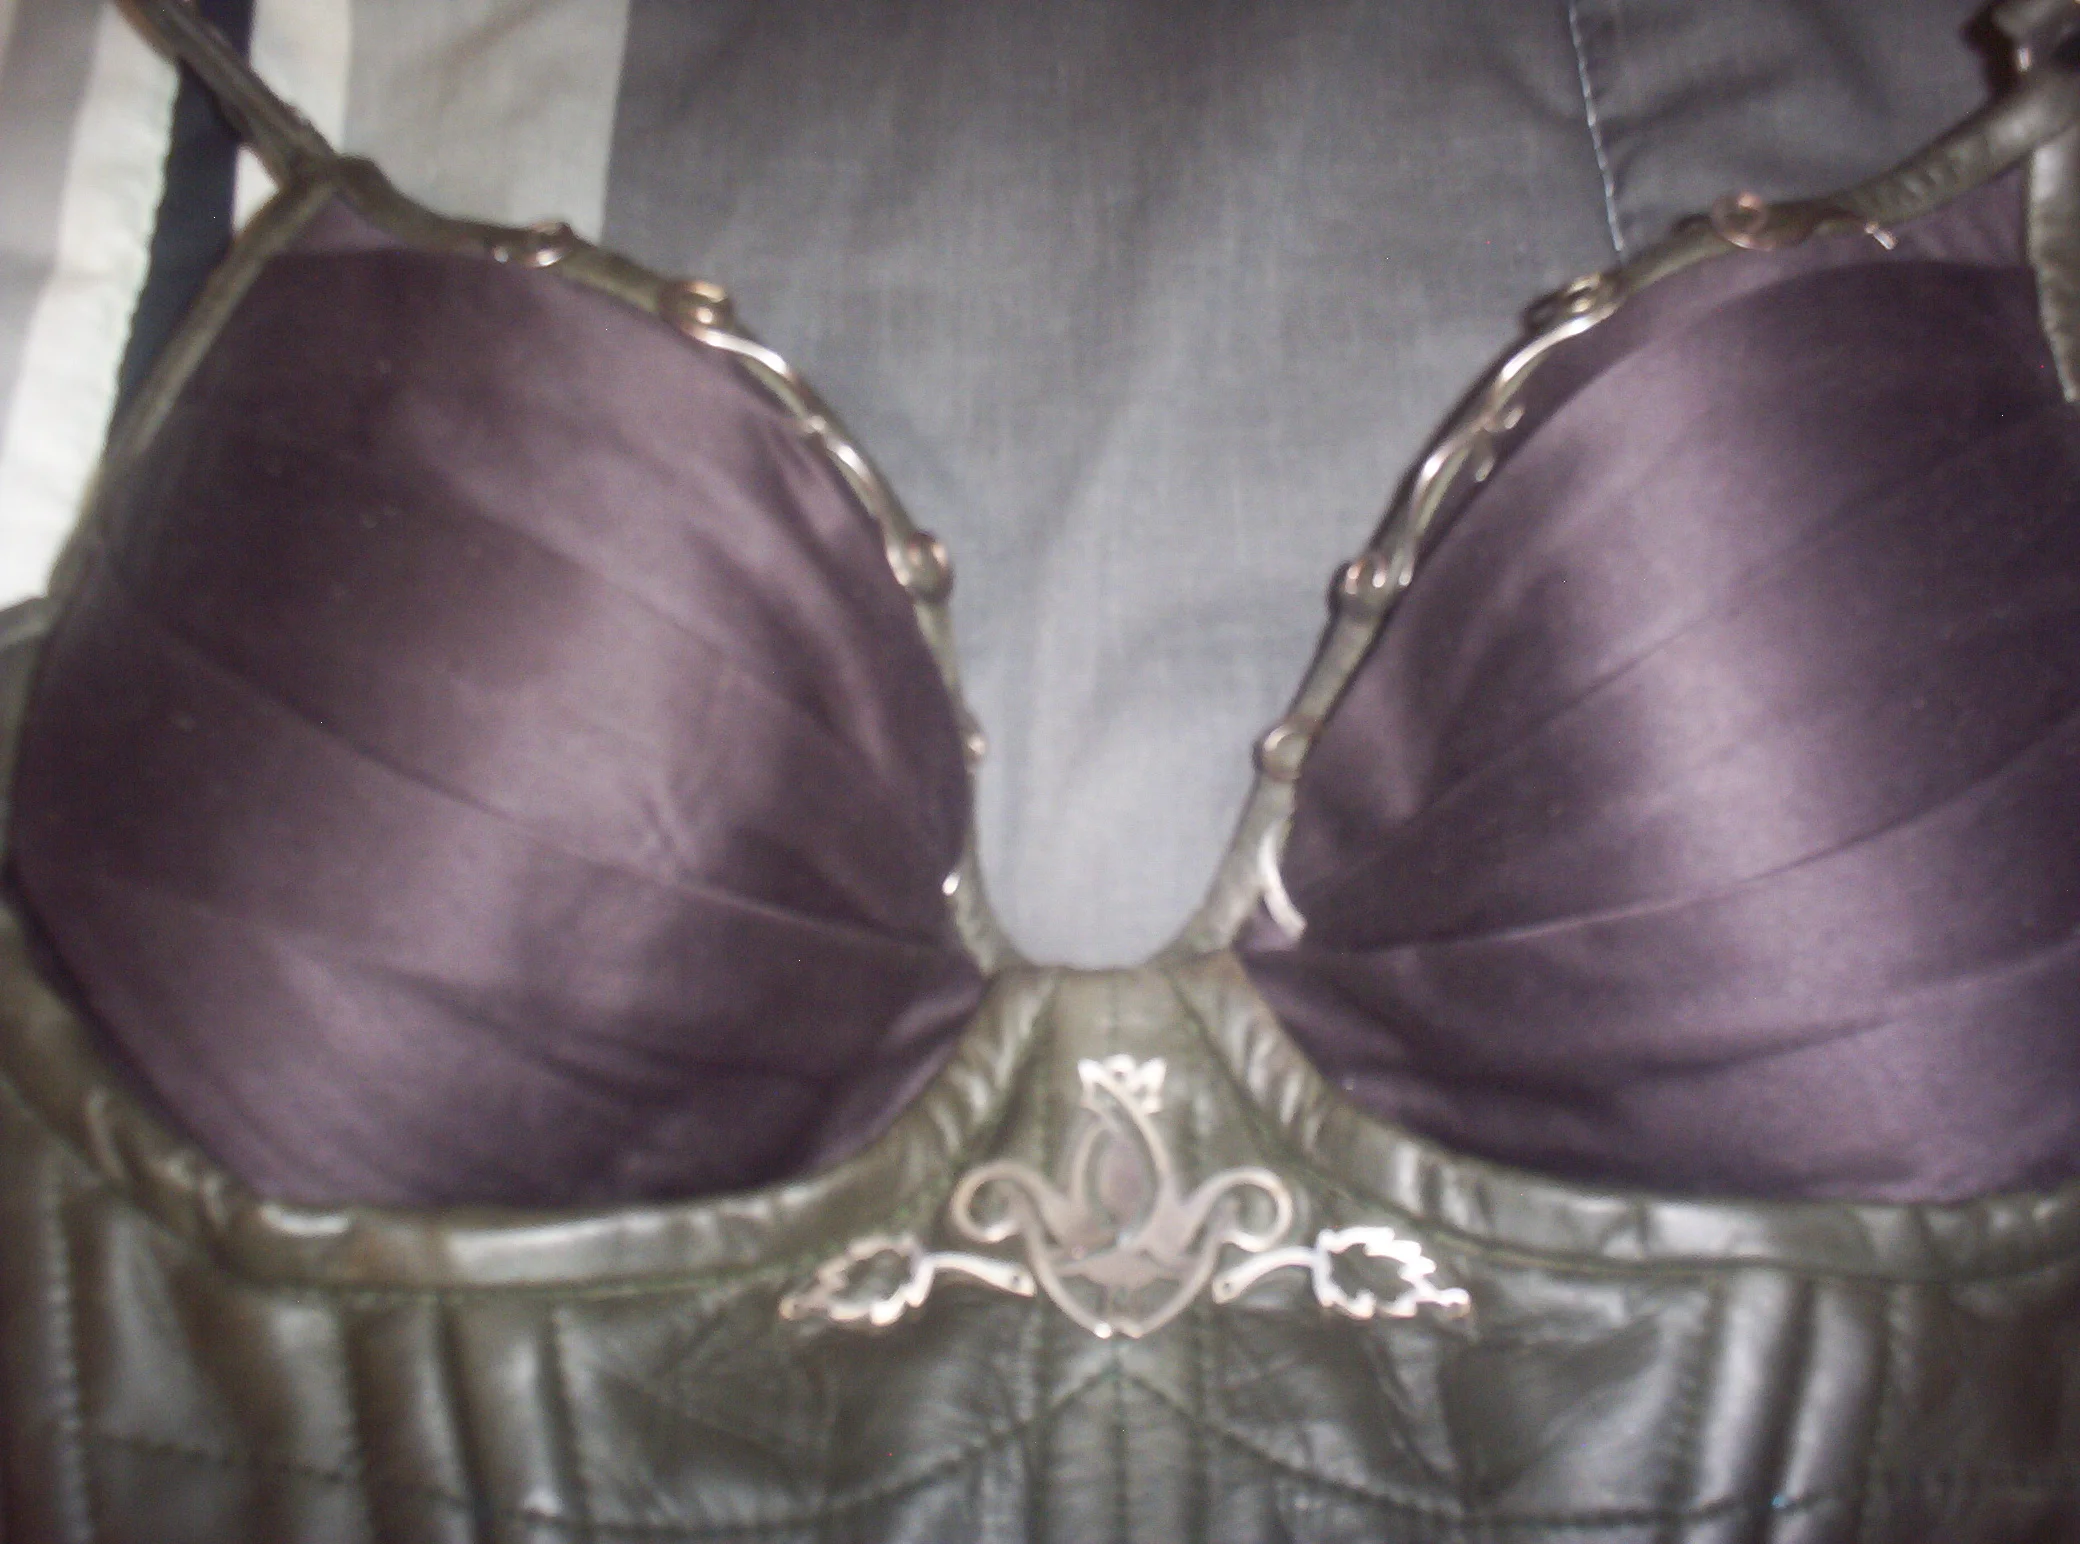
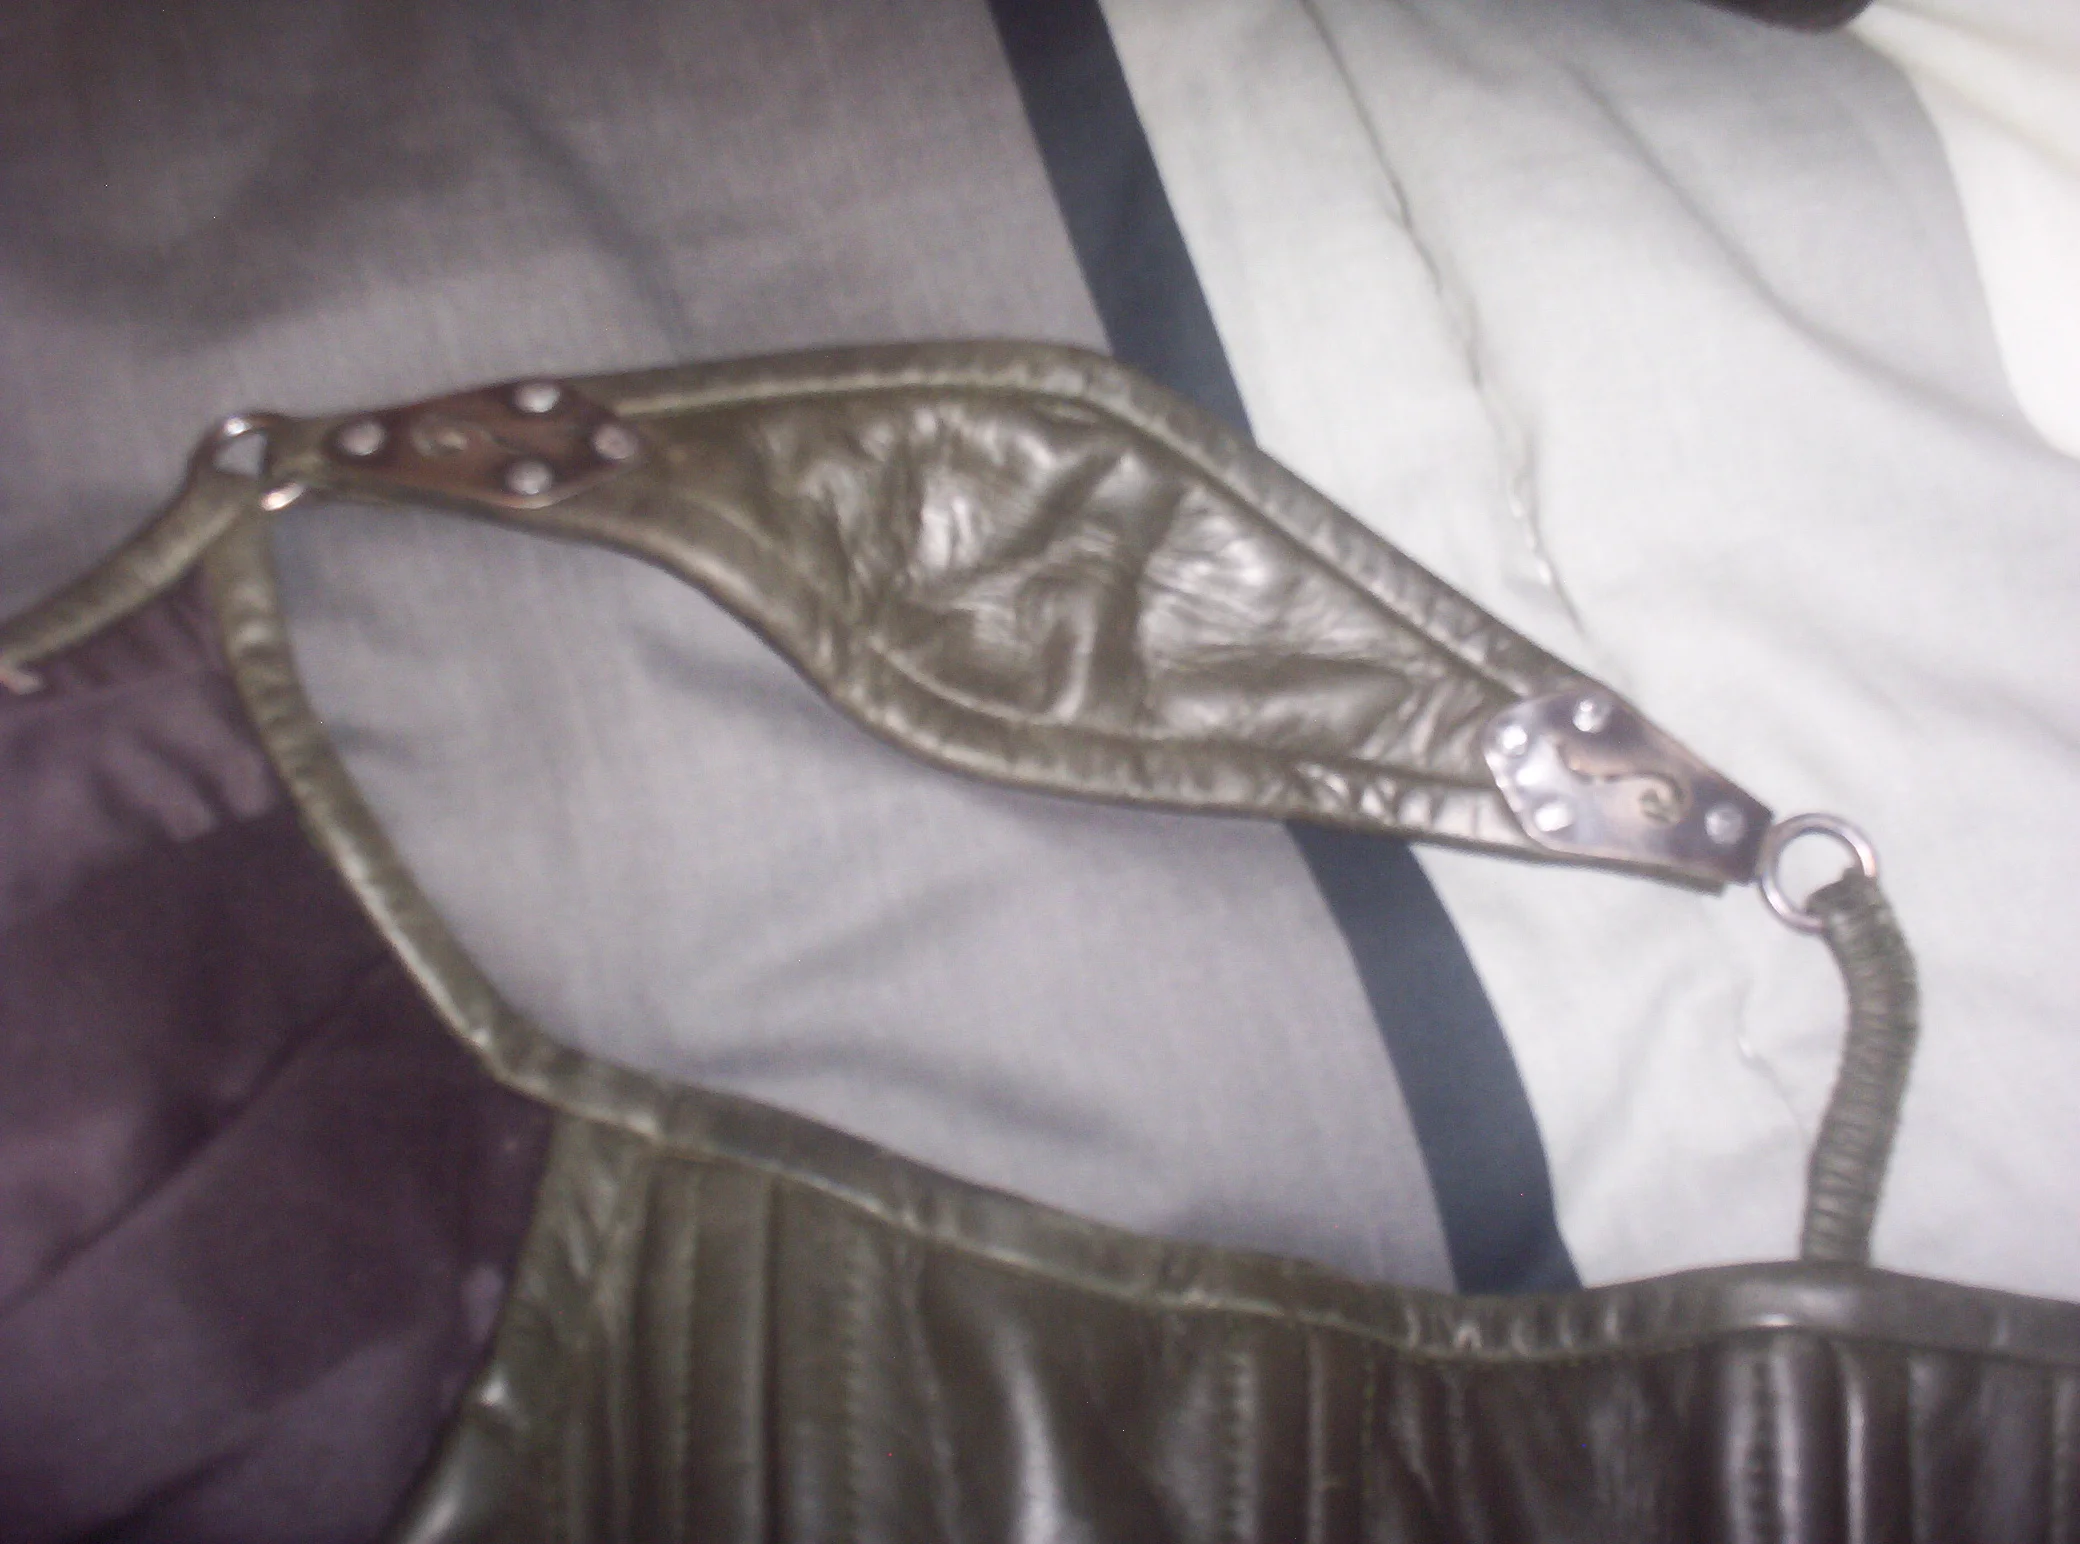
 Now looking at the vest it has a built up neckline, center yoke, and diagonal pleats running through the bust. You can't see much of the vest besides that. I made a few executive decisions and threw in a princess seam below the bust for better shaping, and did princess seams down the back. I also chose to bind the armholes to keep everything smooth. What you can easily see in the photo above is the panel of hooks where the jacket connects to the vest. Here's a even clearer picture of it.

I developed the pattern in Optitex from a size 16 sloper that I digitized using the digitizer in the lab. My sister is not a size 16, but as part of my project I had Mel develop and fit her own sloper. She will be sending it to me and I will be grading the pattern to fit her. A bonus of developing the pattern in Optitex is that I can easily change the pattern for additional sizes when I develop a grade system.

Anyway, here are my sketches for the costume. Notice my sketch of the vest does not have the princess line on the lower side front portion. I decided to add that in while drafting the pattern. Also my hook and eye guide has 5 hooks despite the fact that the jacket only has four. My sketches were done before the exhibit photos were taken. The exhibit photos have also given me the chance to see that the skirt is a 6 panel gore skirt and not a darted one like I have sketched. That's what happens when there are only screenshots to work from!

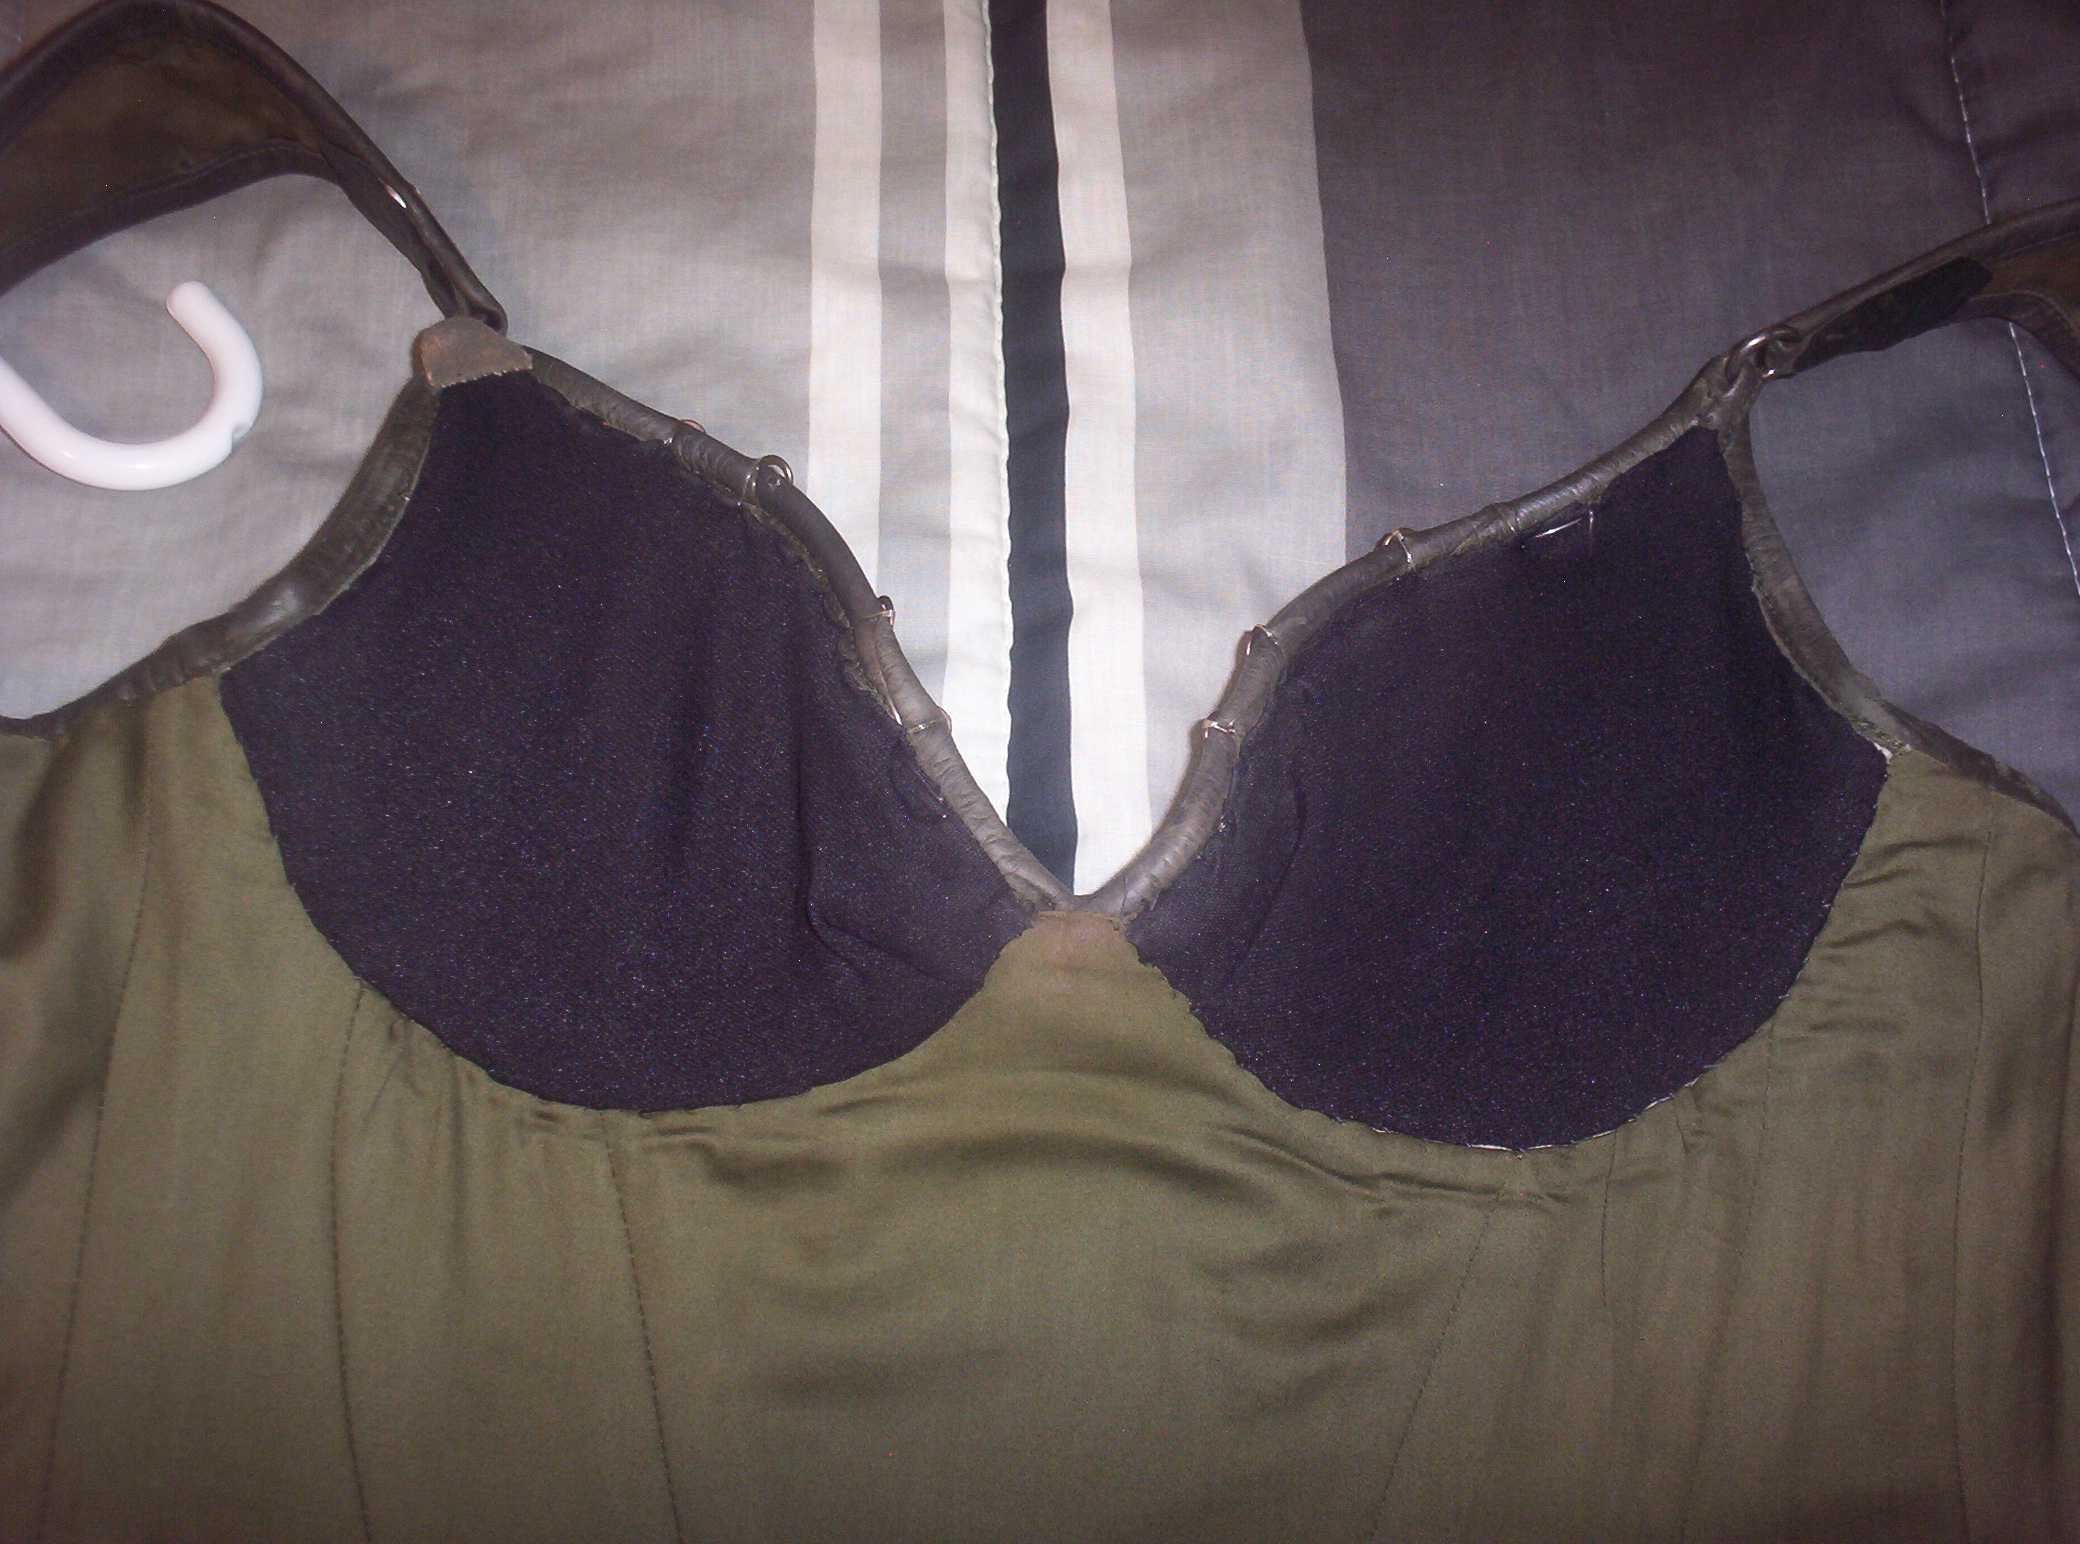
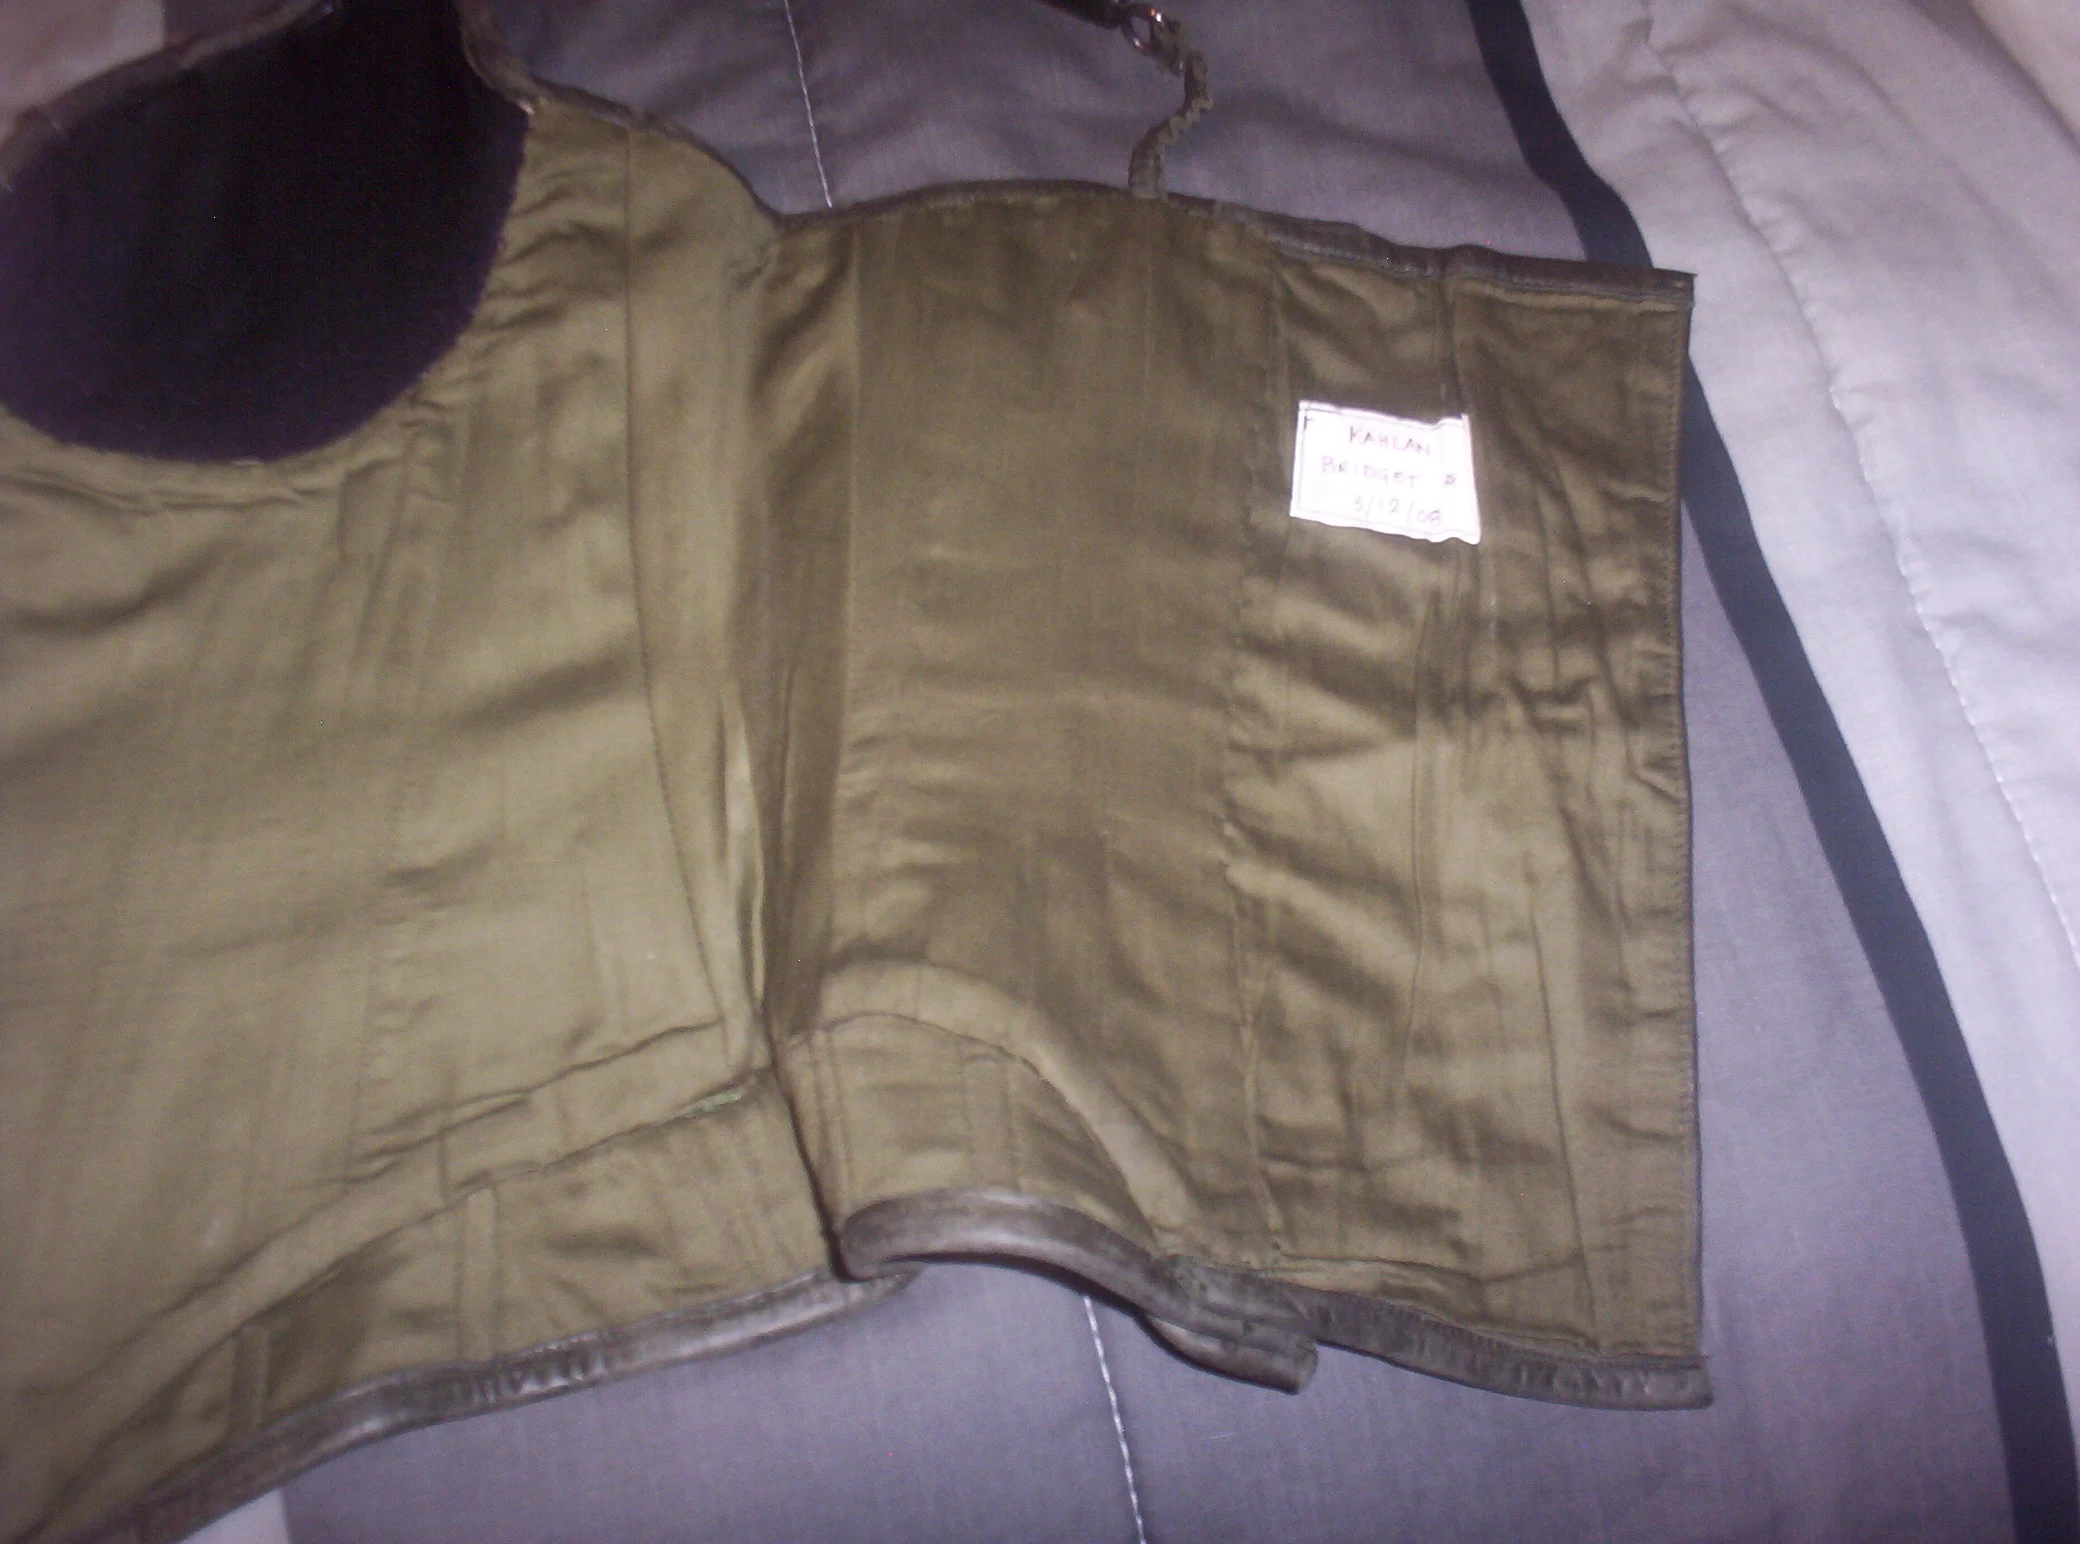
For the vest I incorporated a 2" wide back neck facing and cut a front facing from the combined front yoke pieces. I left the front facing with a center front seam in order to make it easier to line up the seams. I drafted a seperate pattern piece for the lining of the pleated part of the vest. I transferred all the access of the bust shaping in that area to a tuck at the shoulder seam to allow the lining fabric some space to move. 

The pleated portion of the front panel is broken up into an upper section and lower section in order to contour over the bust. 

Here is what the finished pattern pieces look like in Optitex

 I will eventually be making this in different sizes and offering them as a download if people are interested. I will be making a muslin mock up of this pattern in the next coming weeks. Next is the jacket!!

Costume Research-Cruella deVil

Hi All! 

For those who don't know, I have a younger sister who is CRAZY about Glenn Close, Maria Friedman, Julie Andrews and Gertrude Lawrence. She runs her own blog dedicated to these ladies and more over on Tumblr under the name LadyLizaElliott. She has some sewing experience, having worked with the University of Rhode Island's costume shop for a number of years, and having me as a sister :) She does not cosplay much, but she has always wanted to make one of the gorgeous costumes Glenn Close wore as Cruella deVil from the live action version of 101 Dalmatians. She decided to finally tackle making one of the costumes this year after my sister in law agreed to dress her two adorable daughters (1.5 and 2.5 years old) as dalmatians for Halloween if my sister dresses as Cruella. 

My sister had the chance to visit the Glenn Close costume exhibition on display at the Muscarelle Museum of Art at the William & Mary University earlier this year. She was able to see a number of Cruella costumes up close, and came away with her own costume notes and was generously given one of the full sized cardboard cutouts of the tiger printed corset and cape. It now sits displayed in her closet in her room.

After much debate she decided she'd like to recreate the tiger printed outfit for her Halloween costume. She contacted me asking tips on how to construct the cape of the ensemble. As I began to break it down I decided to document my findings here for others to see!

The original costumes were designed by Anthony Powell and have a number of beautiful design details. There are a number of great promotional shots of Glen in the costume. Here are most of them:

The first thing I'd like to point out is the way the sleeves on the cape are constructed. The first two photos are the best for viewing how they are put together. Take note of the binding surrounding the end of the sleeve. It looks like the back of the cape is tacked to the front of the sleeve at a corner in the front. If you follow the pivot of the binding at the wrist towards the underarm or bottom of the armseye you can see that the binding ends under her armpit. Looking at the picture of the back of the cape there is no indication that the binding is attached to the back anywhere but at the wrist and underarm. To get a better idea of this imagine draping a towel over your arm with one edge hanging longer than the other. Then pinch the shorter corner to the part draped over the back. I think this is how her cape is constructed.

For the yoke portion of the cape it is pretty straightforward. There are some seriously padded shoulders happening, which is easy to recreate by adding shoulder pads between the outer fabric and the lining. The back of the cape has some interesting seaming, which can be seen in this lightened screenshot from the movie:

In this shot it is clear that there is a seam at center back on the collar and the center of the cape. There is likely a side seam at the collar in order to get that exaggerated curved shape. Take note of the binding at the side of the armhole. It does not continue all the way around the armseye, which further points to the idea that the sleeve just wraps around and tacks down under her arm instead of being sewn in as a traditional sleeve. 

There's one more picture I'd like to share and that's this one:

This is a shot of the costume from the movie that I lightened so you can see the cape better. Take note of the direction of the tiger stripes here. There is a distinct difference in the direction of the stripes from the sleeve portion and the center back panels. This indicates that there are seams down the back of the cape. It is likely that the cape is constructed in four pieces: two sleeves and two back panels. The seam connecting the back panels to the sleeves likely runs in line with the armseye seam along the back of the yoke. 

I did not do any research into the way that the cape closes since my sister got to see the costume up close and has a much better idea of the closure and the brooch that is at the neckline.

To try and illustrate all these details a little easier I did a very rudimentary sketch. This is by no means meant as a definite illustration of what the cape actually looks like, it is just my interpretation in order to hopefully make everything a little easier to visualize.

I also did a very basic sketch of what some of these patterns would look like. Again, this is just for reference and not to scale or the exact shape. These are just for visual reference.

That's all for now. I will keep updating with new information and progress as she works on her costume!

Revisited: Legend of the Seeker Kahlan Costume Research: The Corset

This blog post was originally posted on my original website back in February of 2010. I am reposting some of the original content and adding some new information that was not originally available. Enjoy!

Hi All,

I’m planning on making Kahlan Amnell’s costumes from the television series “Legend of the Seeker” later on this summer. I’ve been researching the costumes for about 6 months now, and I decided to document my findings for others to reference. I’ll be going through my research first, and after I finish my other sewing projects, I’ll be posting progress images on my own construction of the costume.

I’m going to break down all the parts of her outfit little by little, with hopes of getting every piece replicated as close as possible. I do this by looking at many hi-res reference images, watching behind the scenes footage, and of course, watching the actual episodes.

Anywho, onto my first part of Kahlan’s costume, her corset.

Reference Image:

The corset is an overbust corset with bra cups and straps. The corset laces up in the back through grommets. Season One had Kahlan wearing one version of the corset, which had a panel at the hips and grommet lacing in the back. There was also a band underneath the bust in the season one corset. The first image is a screenshot and the other images are from the Shed 11 Costume auction. 

The season two corset does not have the hip panel, the underwire casing under the bust, and the back laces with boot laces rather than grommets. These photos are all from the Shed 11 Costume house Ebay auctions of the actual costumes from the show.  

The Fabric

The body of the corset is made out of soft dark olive leather. The binding on the bottom edge in the Season 2 corset is the same fabric as the cups. The season 1 corset is bound in leather. The top edge of the corset, and the straps, are leather. The bra cups have a pleated sateen fabric on them. The Shed 11 costume auctions described the corset as "The spiral boned corset is constructed from dark green leather and attaches to a bra cup covered with pleated cotton sateen fabric in the same dark green. The metal decoration is silver and was handmade by the Legend of the Seeker costume department jeweller." 

You can make out some of the fabric notes written by the costume designers in their detailed notes. This binder went up for auction on Ebay and I've yet to contact the buyer about possibly providing more information about it. 

Some construction notes:

The corset has decorative stitching that is applied before the boning channels are sewn in, which would mean the boning channels on the inside of the corset use boning tape and the boning is not just stitched in the seam allowances of the corset. The boning is applied along all the seamlines, including center front.

The metal swirls on the edge of the bra cups are made of one piece of curled metal layed over itself in different directions.

Detail Shots

Thanks to Mr. Gracie, one of the winners of one of the season 1 Kahlan costumes we can now see the inside of Kahlans corset. He was nice enough to take photos of the corset for me so I could see what the inside construction looks like.

Thanks to another Ebay buyer, I also have these close up images of another of Kahlan's Season 1 corsets.